General

Essential camera filters for landscape photography
Landscape photography isn't just about finding the perfect location; it's about capturing the essence and mood of the environment. While creativity is important here, having proper tools such as lens filters will help you to get desired results easier and faster. They're that secret ingredient that will transform your shots from good to breathtaking. In this blog, we tell you what camera filters are must-haves for landscape photography and what effects you can achieve with them.
What filters to use in landscape photography?
Circular polarising (CPL) filters
Have you ever noticed how the colours in some landscape photos pop, having the sky a vibrant blue or the foliage rich and deep? That's the magic of a polarising (CPL) filter. Its main purpose is to cut through the reflections on non-metallic surfaces like water and leaves, reducing glare and enhancing saturation. So, for example, when photographing a landscape with the water, you will be able to capture also what’s under the water. This will make the photo deeper, add more details and life to it.
Photographers use polarising filters in landscape photography when shooting scenes that have a lot of green or blue colours. The polariser will remove reflections from the leaves, making the colours more intense, deep and a bit brighter. As to the blues, it’s used mainly for enhancing the sky: when the sky is too dull and has bad contrast with other colours, a polarising filter will help to make it rich blue in the photo.
The effect of the CPL filter cannot be replicated in Photoshop, that’s why we recommend getting one in your kit.
Things to consider when using CPL filters
- Angle matters: The polarising filter works effectively only from a certain angle. Position yourself so that the sun is perpendicular to your shooting direction.
- Avoid over-polarisation: Turning the polariser to its maximum is not always the best idea. Over-polarisation can lead to unnatural-looking skies or uneven colour saturation in your images. To avoid this, check your camera's LCD screen from time to time while adjusting the filter to ensure the desired effect.
- Impact on exposure: Polarising filters typically cut around one to two stops of light. This reduction in light can help achieve slower shutter speeds for capturing motion or wider apertures for shallow depth of field. If that’s not the effect you want, adjust your camera settings accordingly to maintain proper exposure.
Read more about using CPL filters in landscape photography.
Neutral density (ND) filters
ND filters act as sunglasses for your camera. They reduce the amount of light entering the lens, allowing you to slow down the shutter speed without changing the colours of the image. Why would you want that? To beautifully blur the movement of clouds or water!
In bright conditions, it’s hard to get a long exposure time without an ND filter. Long exposure is something that allows you to get a motion blur effect. So, with the help of ND filters, you can extend shutter speeds to blur moving elements such as clouds, waterfalls, or waves. That’s all the secret to taking smooth and dreamlike landscape images!
Another reason for using ND camera filters in landscape photography is for a shallow depth of field. By reducing the amount of light entering the lens, ND filters allow for wider apertures without overexposing the image. This lets you isolate subjects and create the effect of a blurred background even in bright conditions. This is commonly used when shooting flowers, for example.
ND filters come in different strengths, measured in stops, which indicate how much light is cut. The most common ND filters used in landscape photography are 3-stop, 6-stop and 10-stop. It’s also possible to stack multiple ND filters for a greater light reduction. For beginners, we can recommend using a variable ND filter which allows changing the number of f-stops.
Read more about using ND filters in landscape photography.
Graduated neutral density (GND) filters
GND are similar to the ND filter but they have a grey gradient. They are clear at the bottom and transition to a tint at the top. These filters are used in landscape photography to balance the exposure between a bright sky and a darker foreground. The filter is rectangular or square, to get the desired effect you position it in front of the lens to have a tinted part above the horizon and a clear one for the foreground.
GND filters come in various types, each suited to different shooting scenarios. The main difference is how the transition in gradient is, thus they can be soft, medium and hard. Soft GND filters are used for cases when the horizon isn’t sharply defined or there are objects on the horizon line (e.g. a seascape with some rocks standing out from the water). Hard GND filters are good for scenes with a distinct and straight horizon line when there is a clear separation between the sky and foreground, like in a simple seascape.
There’s one more type of GND filter that is used specifically for shooting sunrises and sunsets. It’s a unique challenge for landscape photographers due to the extreme contrast between the bright horizon and the darker sky above. Reverse GND filters solve this problem by darkening only the brightest part of the scene—the horizon—while gradually becoming lighter towards the top to maintain the natural brightness of the sky.
Ultraviolet (UV) filters
UV filters are transparent filters that help reduce atmospheric haze. While their impact on image quality may be subtle, they can be particularly useful at high altitudes or in coastal areas where UV rays and haze might affect the clarity and colour of your landscapes.
However, UV filters are primarily used to protect the front element of your lens. It’s especially useful if you are going to shoot landscapes where elements can make your lens dirty easily: when it’s raining, in the desert, or at the seaside. It’s easier to clean the UV filter than the lens.
Read more about why UV filters are necessary.
Get a complete set of filters for landscape photography!
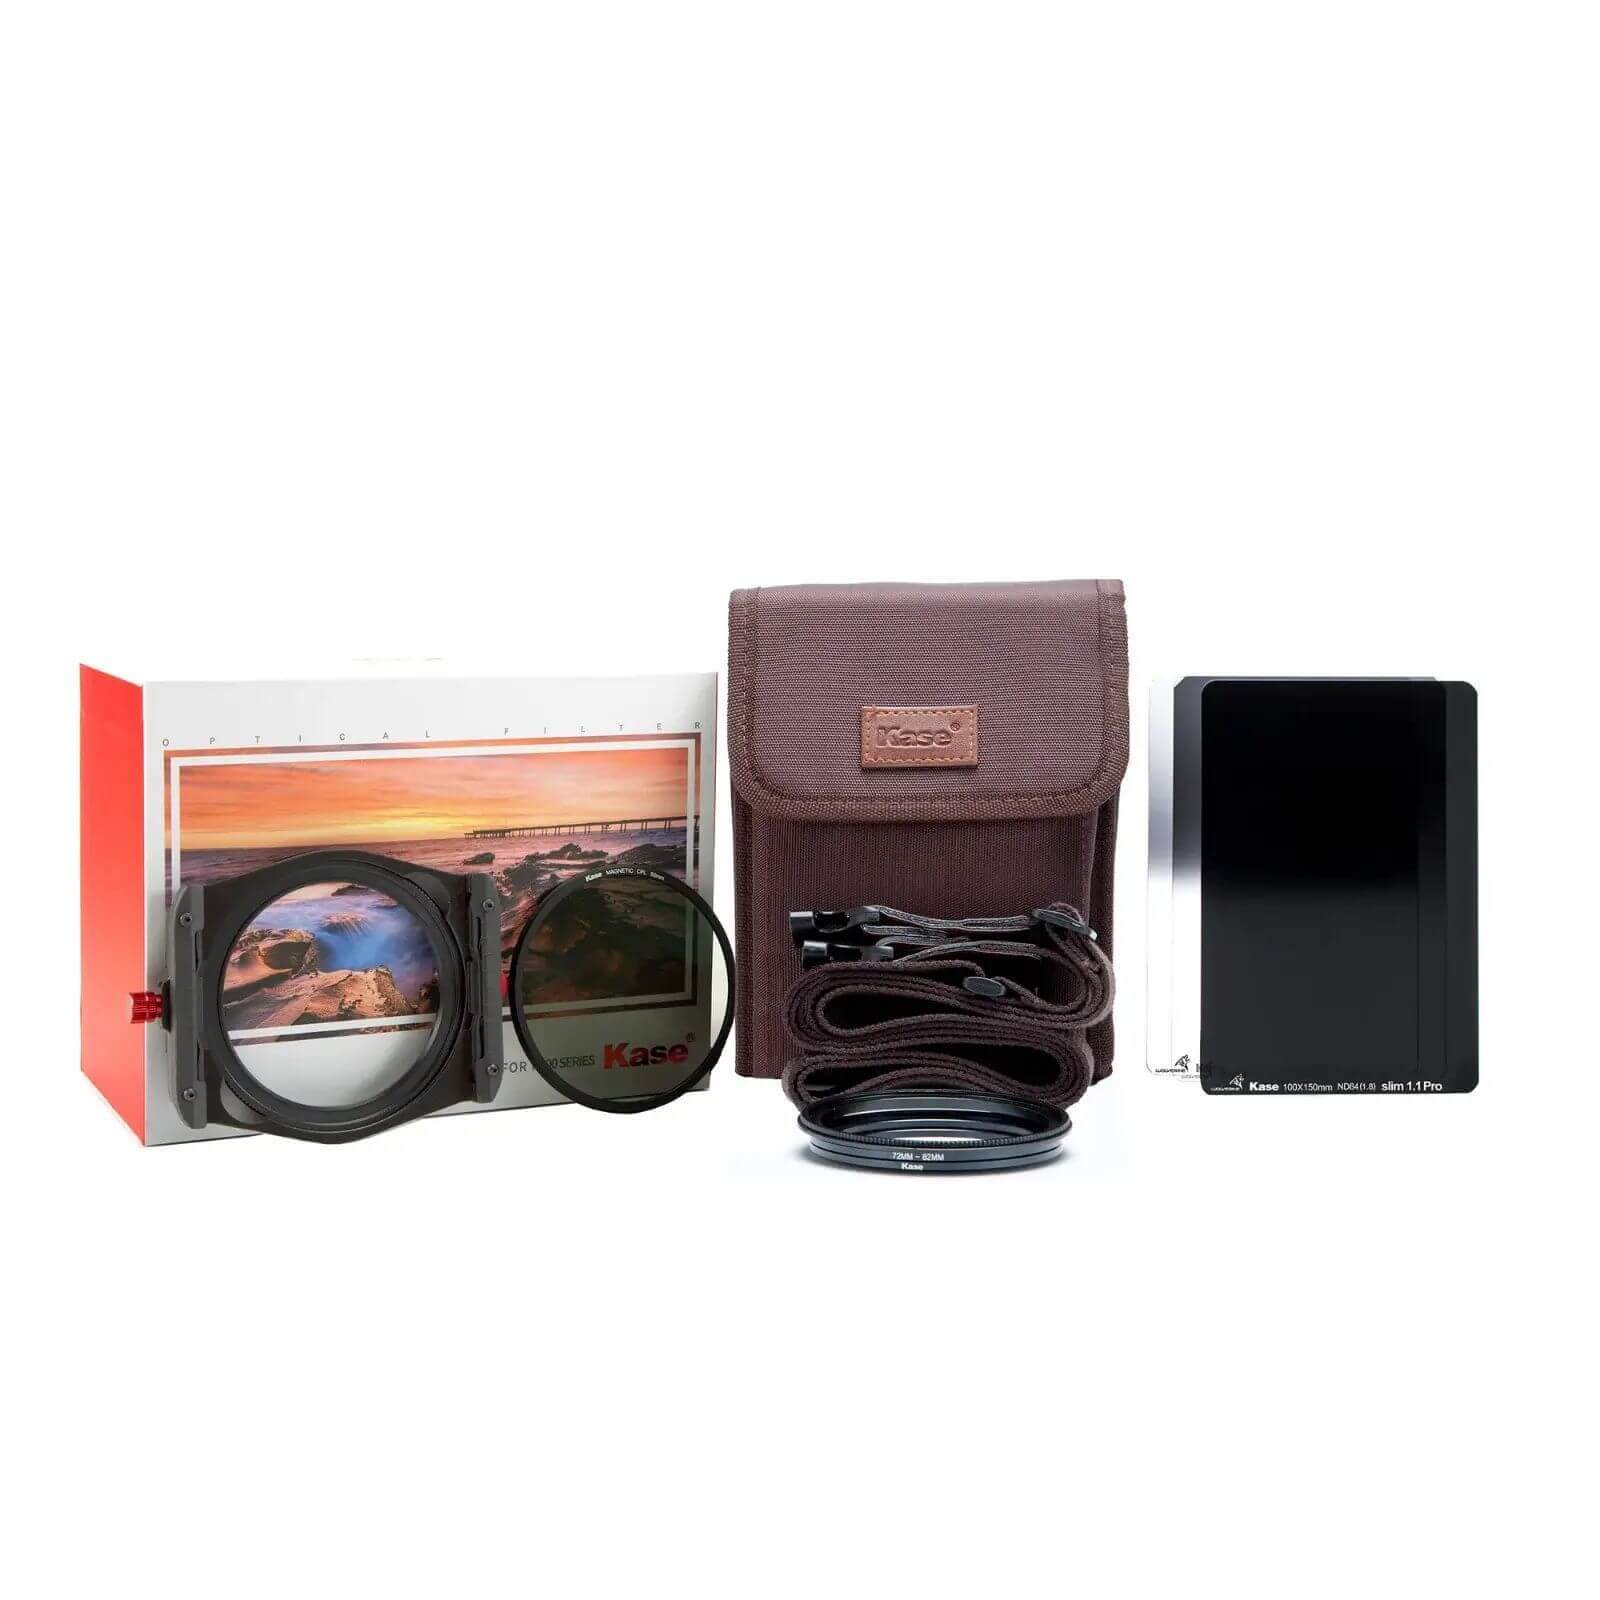
K100 Wolverine High End set will help you to start right away with shooting landscapes! You’ll find in it everything you need: Magnetic CPL, soft and reverse GND filters, 6-stop ND filter, and all the tools to attach the filters.
See more detailsTips for choosing camera filters for landscape photography
When it comes to filters, size, and quality matter. Ensure the filter fits your lens diameter: in this guide you can find out how to choose the filter size.
Opt for higher quality to avoid compromising image quality. Remember, filters are an investment in your photography. Putting a cheap plastic filter on an expensive lens will not improve the image quality.
Sum-up of filters you need for shooting landscapes
- Use the CPL filter to remove reflections, and make green and blue colours richer.
- Shoot dynamics of moving clouds and water with ND filters.
- Use GND to balance the sky and foreground exposure, particularly when photographing sunrises and sunsets.
- Put on a UV filter to protect the camera lens when necessary.
Need some help with choosing a filter for your camera? Our experts are here for you!