General

Why ND filters are essential for landscape photography and how to use them
Capturing the beauty of nature is always thrilling but sometimes it can be tricky. The bright light and moving elements in the frame can pose challenges. That's where ND filters come in handy. They help to capture breathtaking landscapes with correct exposure and dynamic elements like waterfalls or skies with clouds. Let's dive into how ND filters can simplify the landscape photography process and improve your photos.
What is a neutral density filter?
Neutral density filters, or ND filters, reduce the amount of light that enters your camera without altering colour or contrast. This allows you to achieve longer exposure times or wider apertures in bright conditions, offering a bunch of creative opportunities.
Why would you need an ND filter for long exposures in landscape photography? A lot of times, it’s just impossible to achieve long exposure and get creative effects without the filter. When taking landscape pictures during daylight or in well-lit environments, the camera's shutter speed may not be slow enough to achieve a long exposure without overexposing the image. By using an ND filter to reduce the amount of light entering the camera, you can lengthen the exposure time while maintaining proper exposure levels, thereby capturing the desired effect of motion blur or smooth water surfaces in your landscape shots.
When to use ND filters in landscape photography
ND filters can be used in various ways to enhance landscape photography. Here are some of the uses:
Balancing exposure in bright conditions
In landscape photography, you often have a wide range of brightness levels: the bright skies combine with shadowy foregrounds. ND filters help reduce the amount of light entering the camera and thus balance the final exposure. This allows you to maintain detail and texture in both highlight and shadow areas.
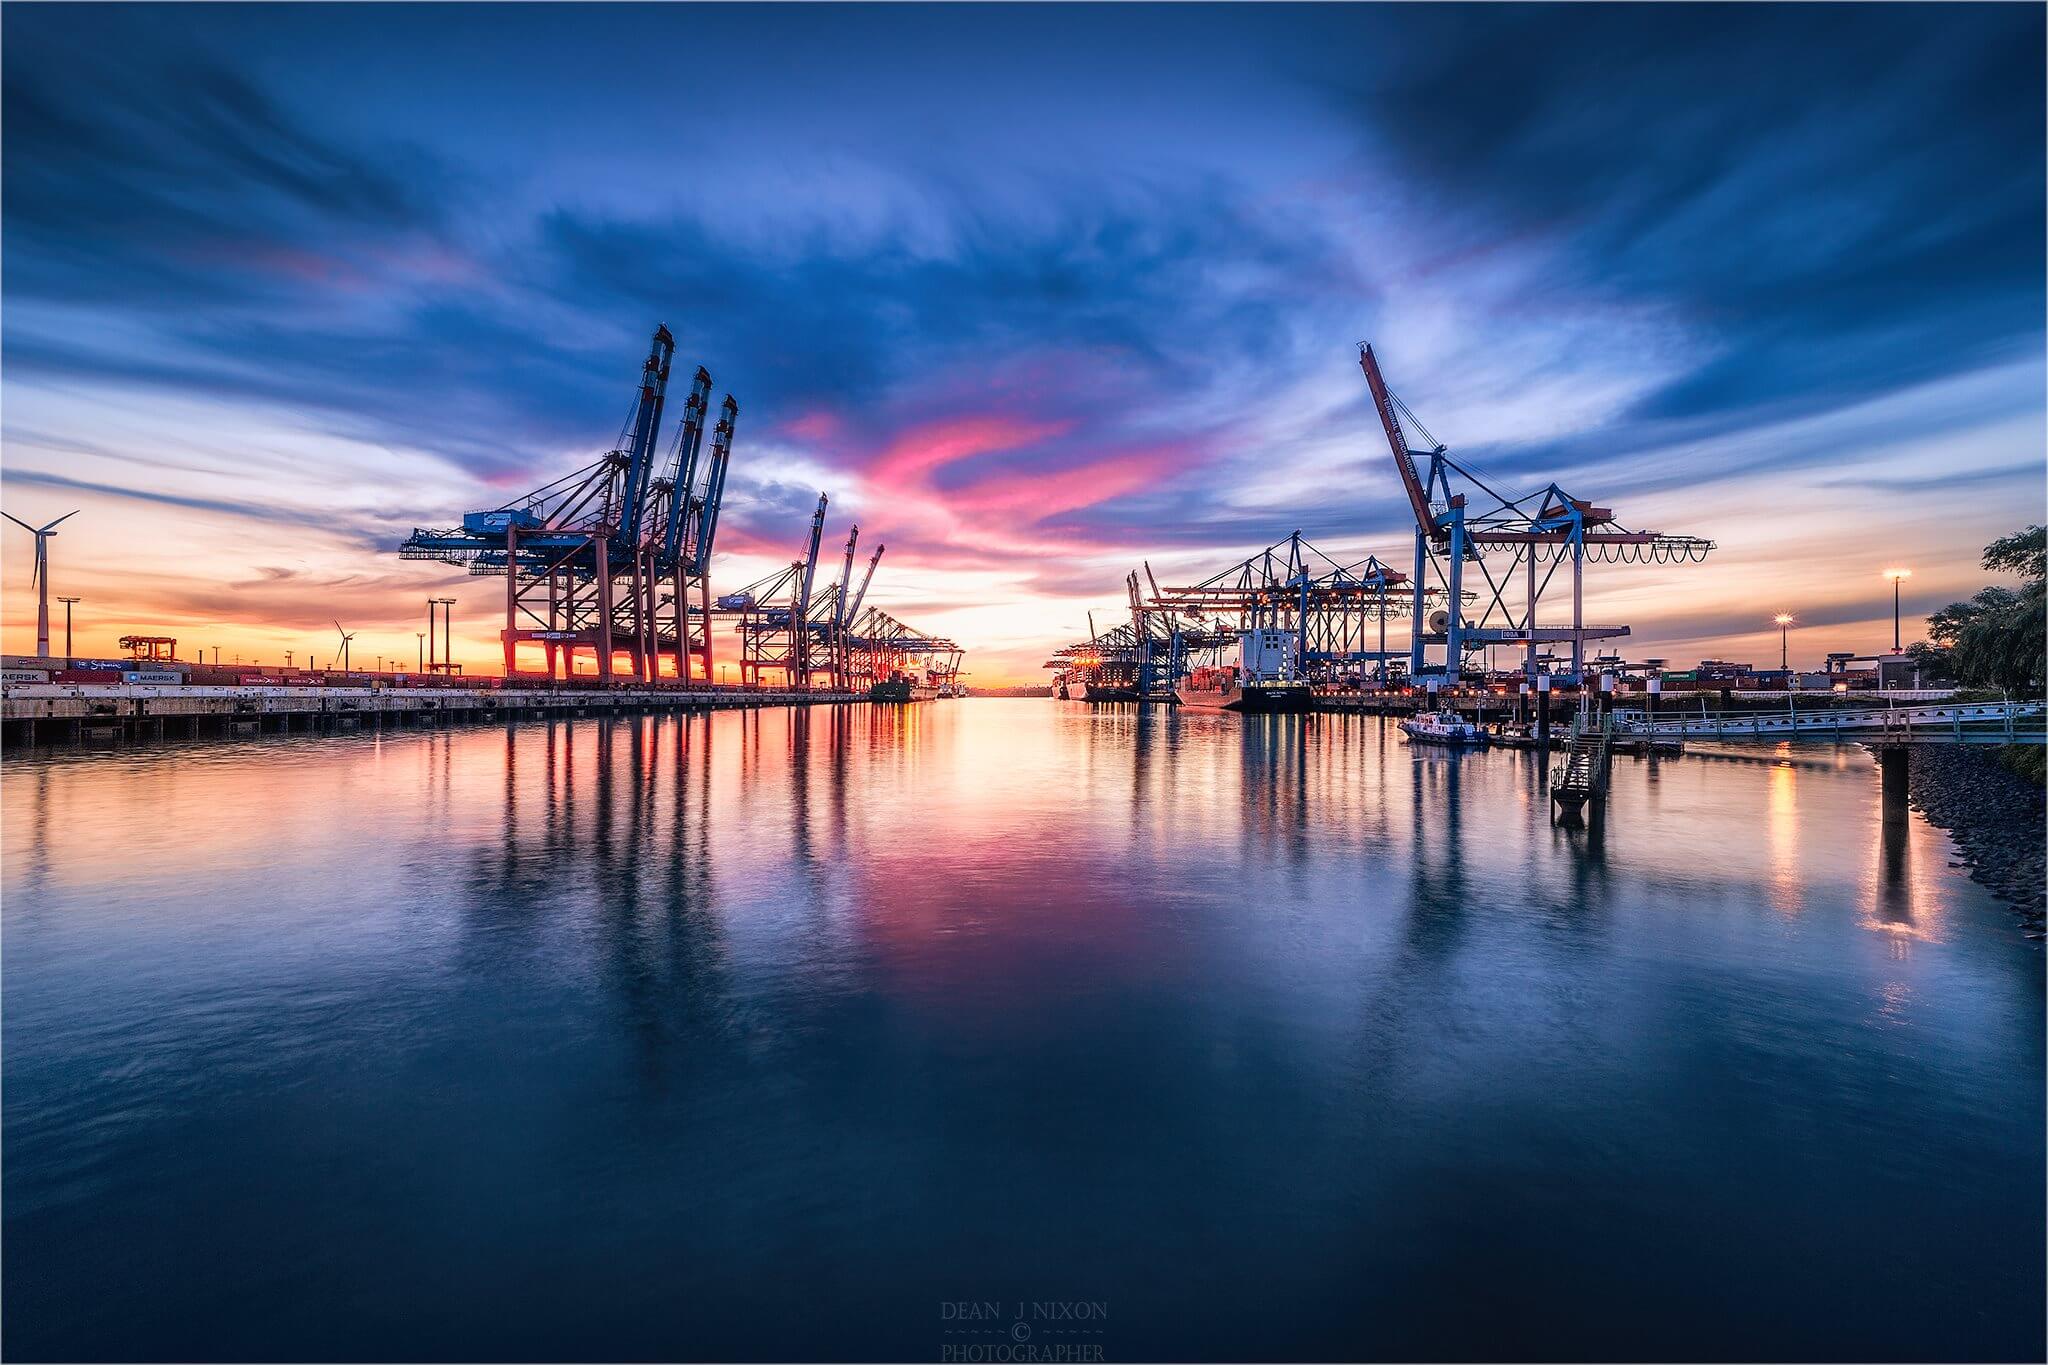
For example, when photographing a sunrise or sunset, the sky may be much brighter than the landscape below. By using an ND filter, you can reduce the intensity of the light entering the camera and capture the vibrant colours of the sky while keeping detail in the rest of the photo.

Creating motion blur effect with longer exposures
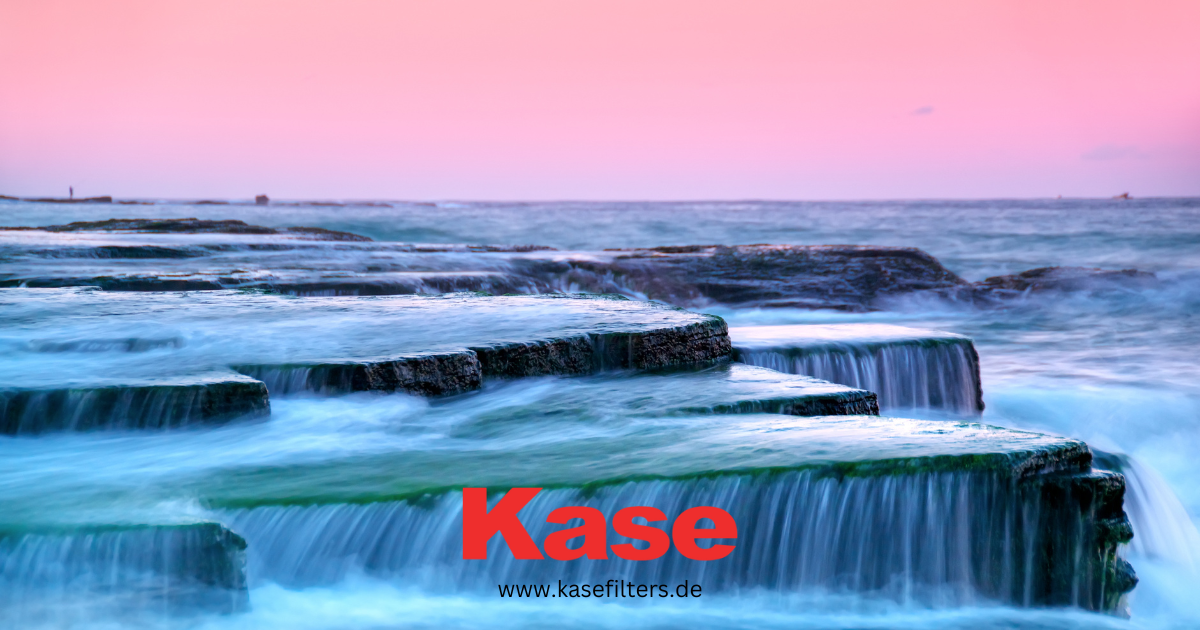
One of the most popular uses of ND filters in landscape photography is to create stunning motion blur effects. ND filters reduce the light and allow slowing of the shutter speed up to several minutes. Longer exposure times make it possible to capture the movement of water, clouds, or other elements in the scene. This can add a sense of dynamism and drama, transforming static landscapes into dynamic scenes. That’s exactly how dramatic skies with moving and silkily smooth waterfall photos are created!

Which ND filter to use for landscape photography?
Choosing the appropriate ND filter depends on the shooting conditions and the desired effect. We will tell you about the most common and useful ND filters for landscape photography.
- ND8 3-stop filter: Ideal for slightly reducing light in moderately bright conditions, such as shooting on a partly cloudy day. This ND Filter is enough to give a slight motion blur. You will probably not get water that looks like milk, but the motion blur effect will be present while maintaining the texture. Pro tip: If you are shooting in dim light and find the shutter speed too slow, you can have a wider aperture or increase ISO.
- ND64 6-stop filter: Perfect for capturing moderate motion blur and balancing exposures in landscapes on sunny days. Still, if you want an extreme motion blur to have milky water, this filter will work well in dimmed light and for harsh light, you may need to use an ND filter with more stops.
- ND1000 10-stop filter: With this filter, you can achieve extended exposures of up to 2 minutes in bright daylight conditions. 10-stop filters are used for dramatic motion blur and creative effects. For example, you can take a shot with stretched clouds across the sky during a bright day.
Are you not sure which filter is best for you?
How to use ND filters for landscape photography- Attach the ND filter to your lens: Securely screw the filter onto the front of your lens or attach it using a filter holder if you have a rectangular ND filter.
- Adjust camera settings: Set your camera to manual mode and adjust the aperture and ISO to achieve the desired depth of field and sensitivity.
- Set the shutter speed: With an ND filter attached, you will need to compensate for the reduced light by using a slower shutter speed. Experiment with different exposure times to achieve your desired effect. When using slow shutter speed, make sure to use a tripod to avoid any camera movements.
- Take a test shot and adjust settings if needed: Take your time to compose your shot and then make a test shot. Check the histogram to ensure the exposure is correct and make any adjustments if necessary.
To easily calculate the exposure time correctly for your specific filter, you can use our ND filter table. If you are shooting during the sunrise or sunset the amount of light will change pretty quickly and you should consider it when calculating the time.
Ready to take your landscape photography to new heights with Kase ND filters?
Explore our range of premium ND filters for landscape photography and start capturing breathtaking scenes today. Don't hesitate to reach out if you have any questions or need assistance selecting the right ND filter for your needs.
