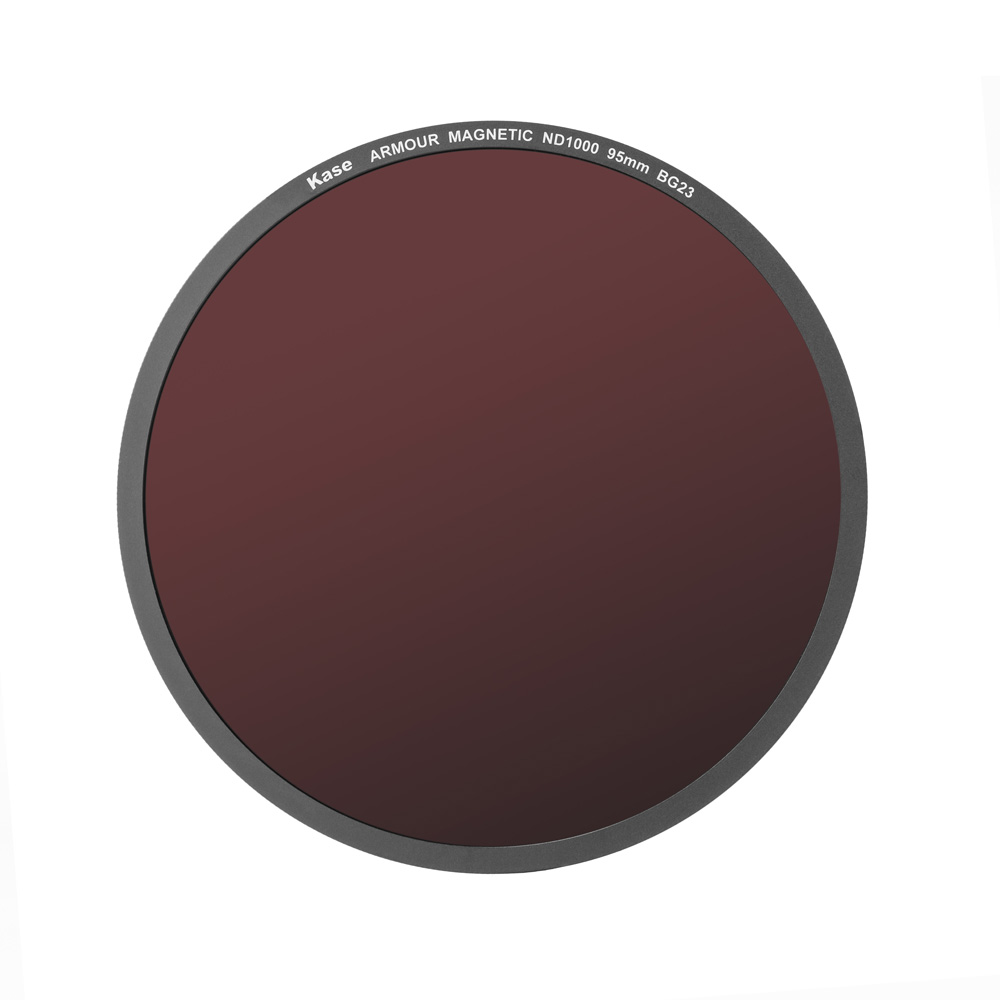
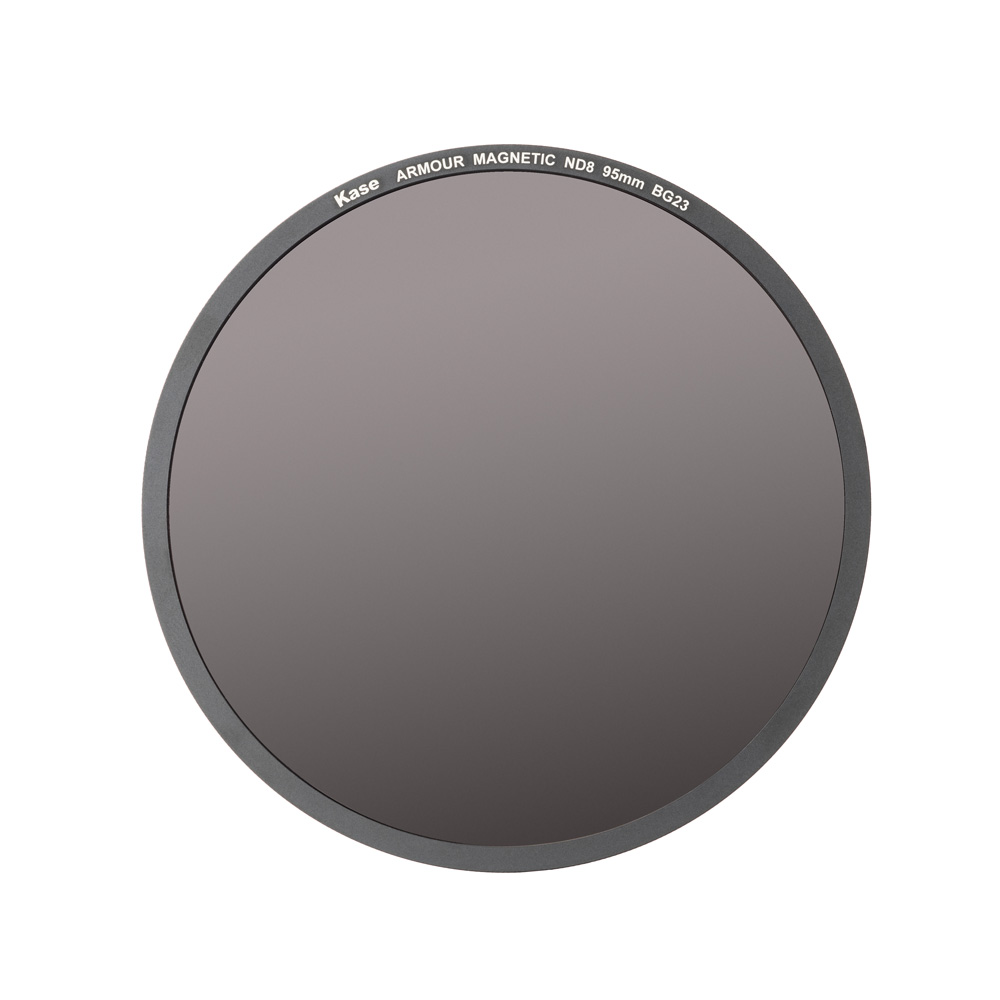
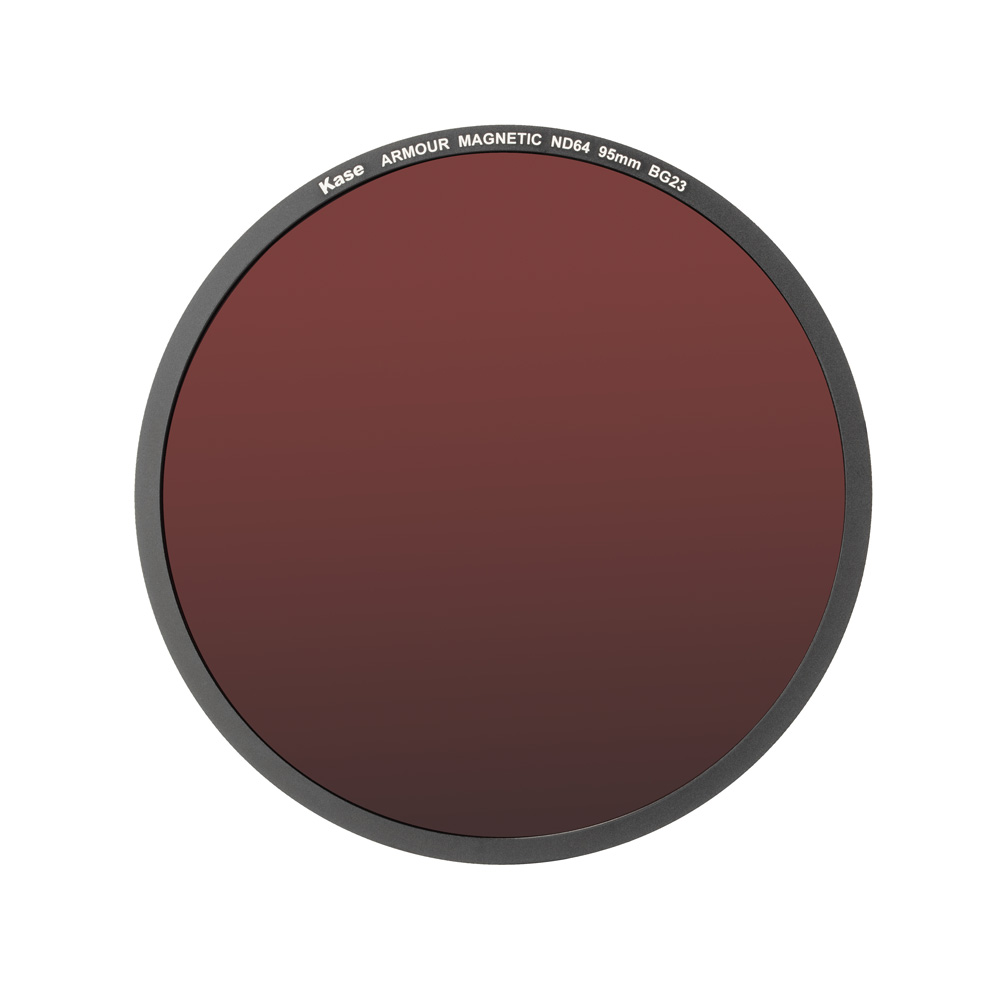
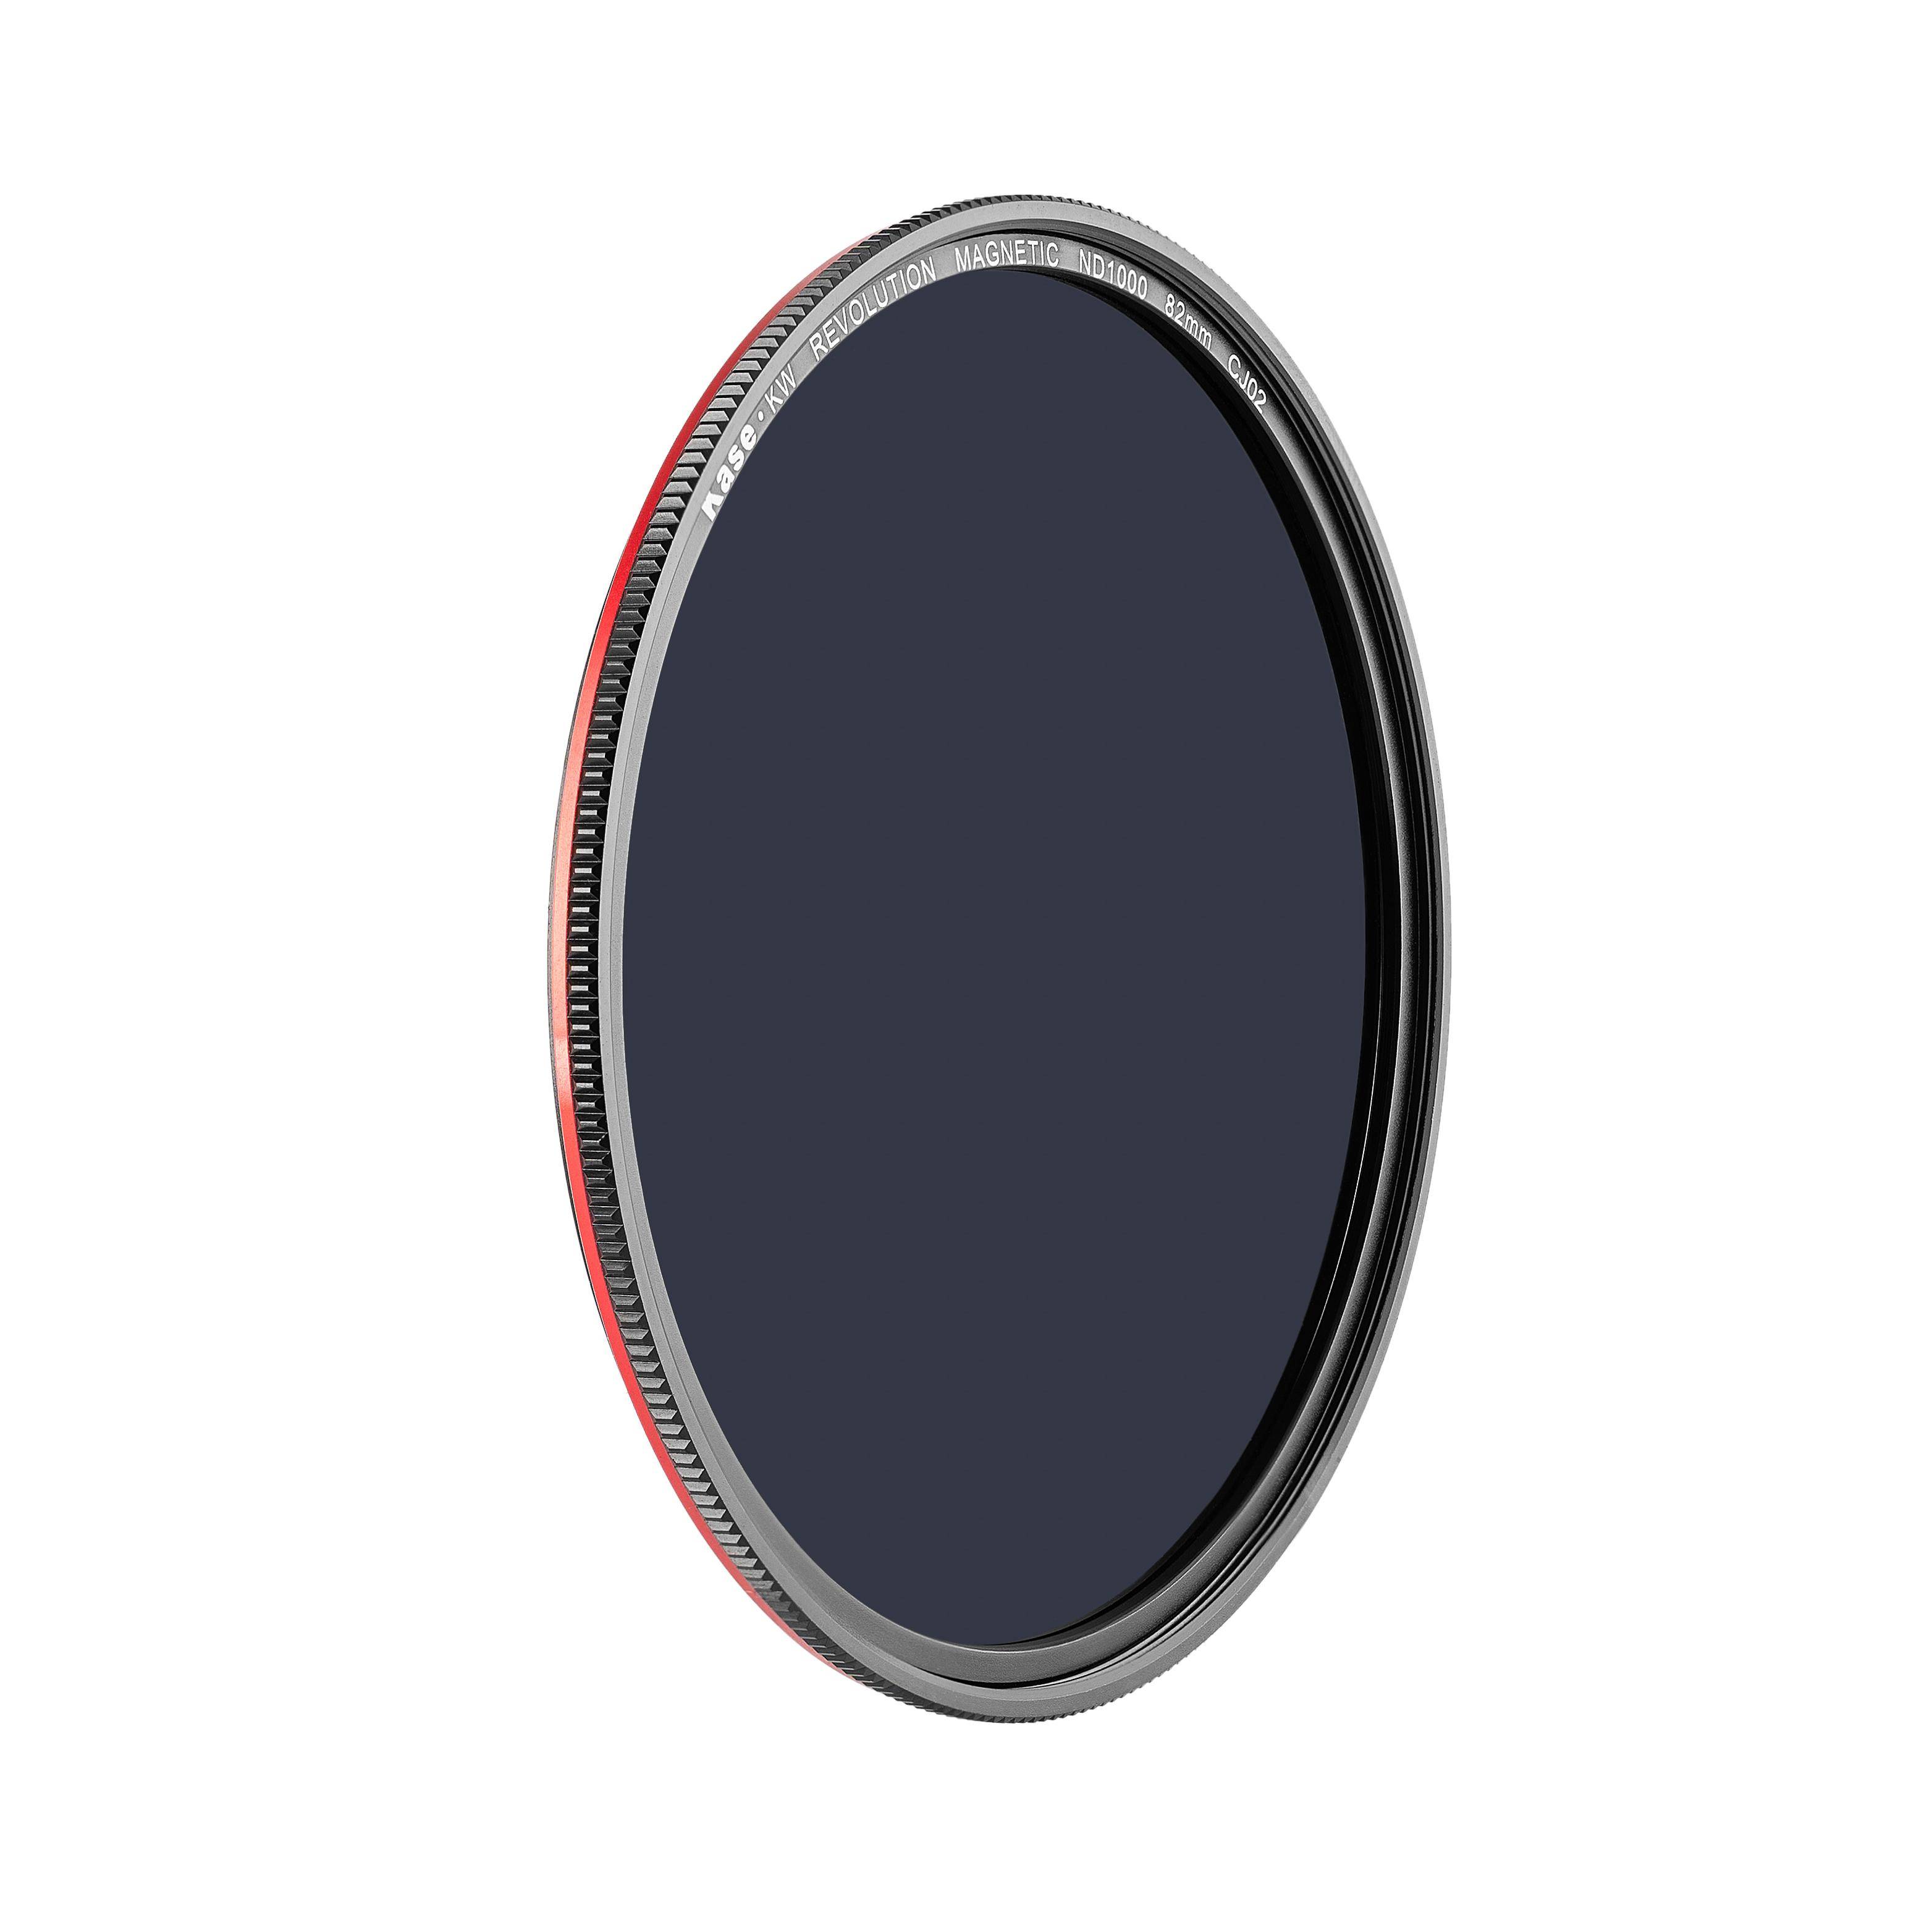
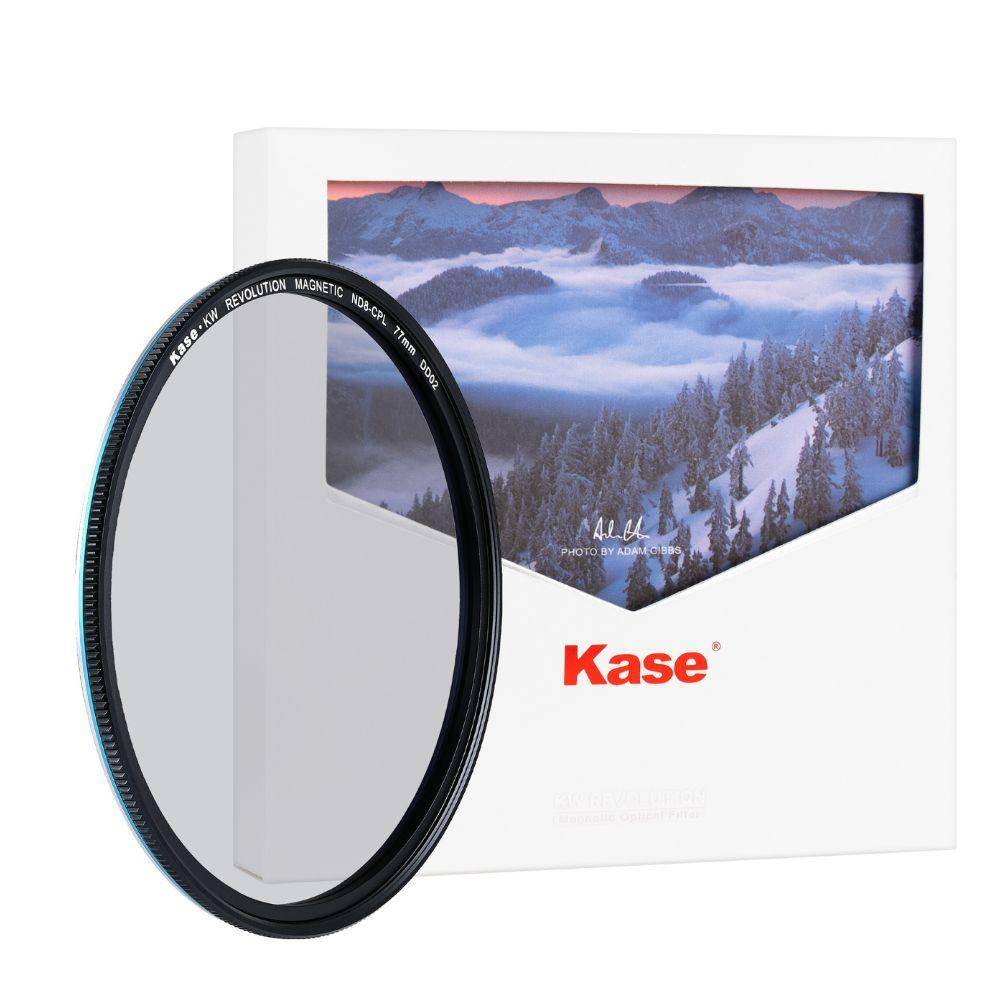
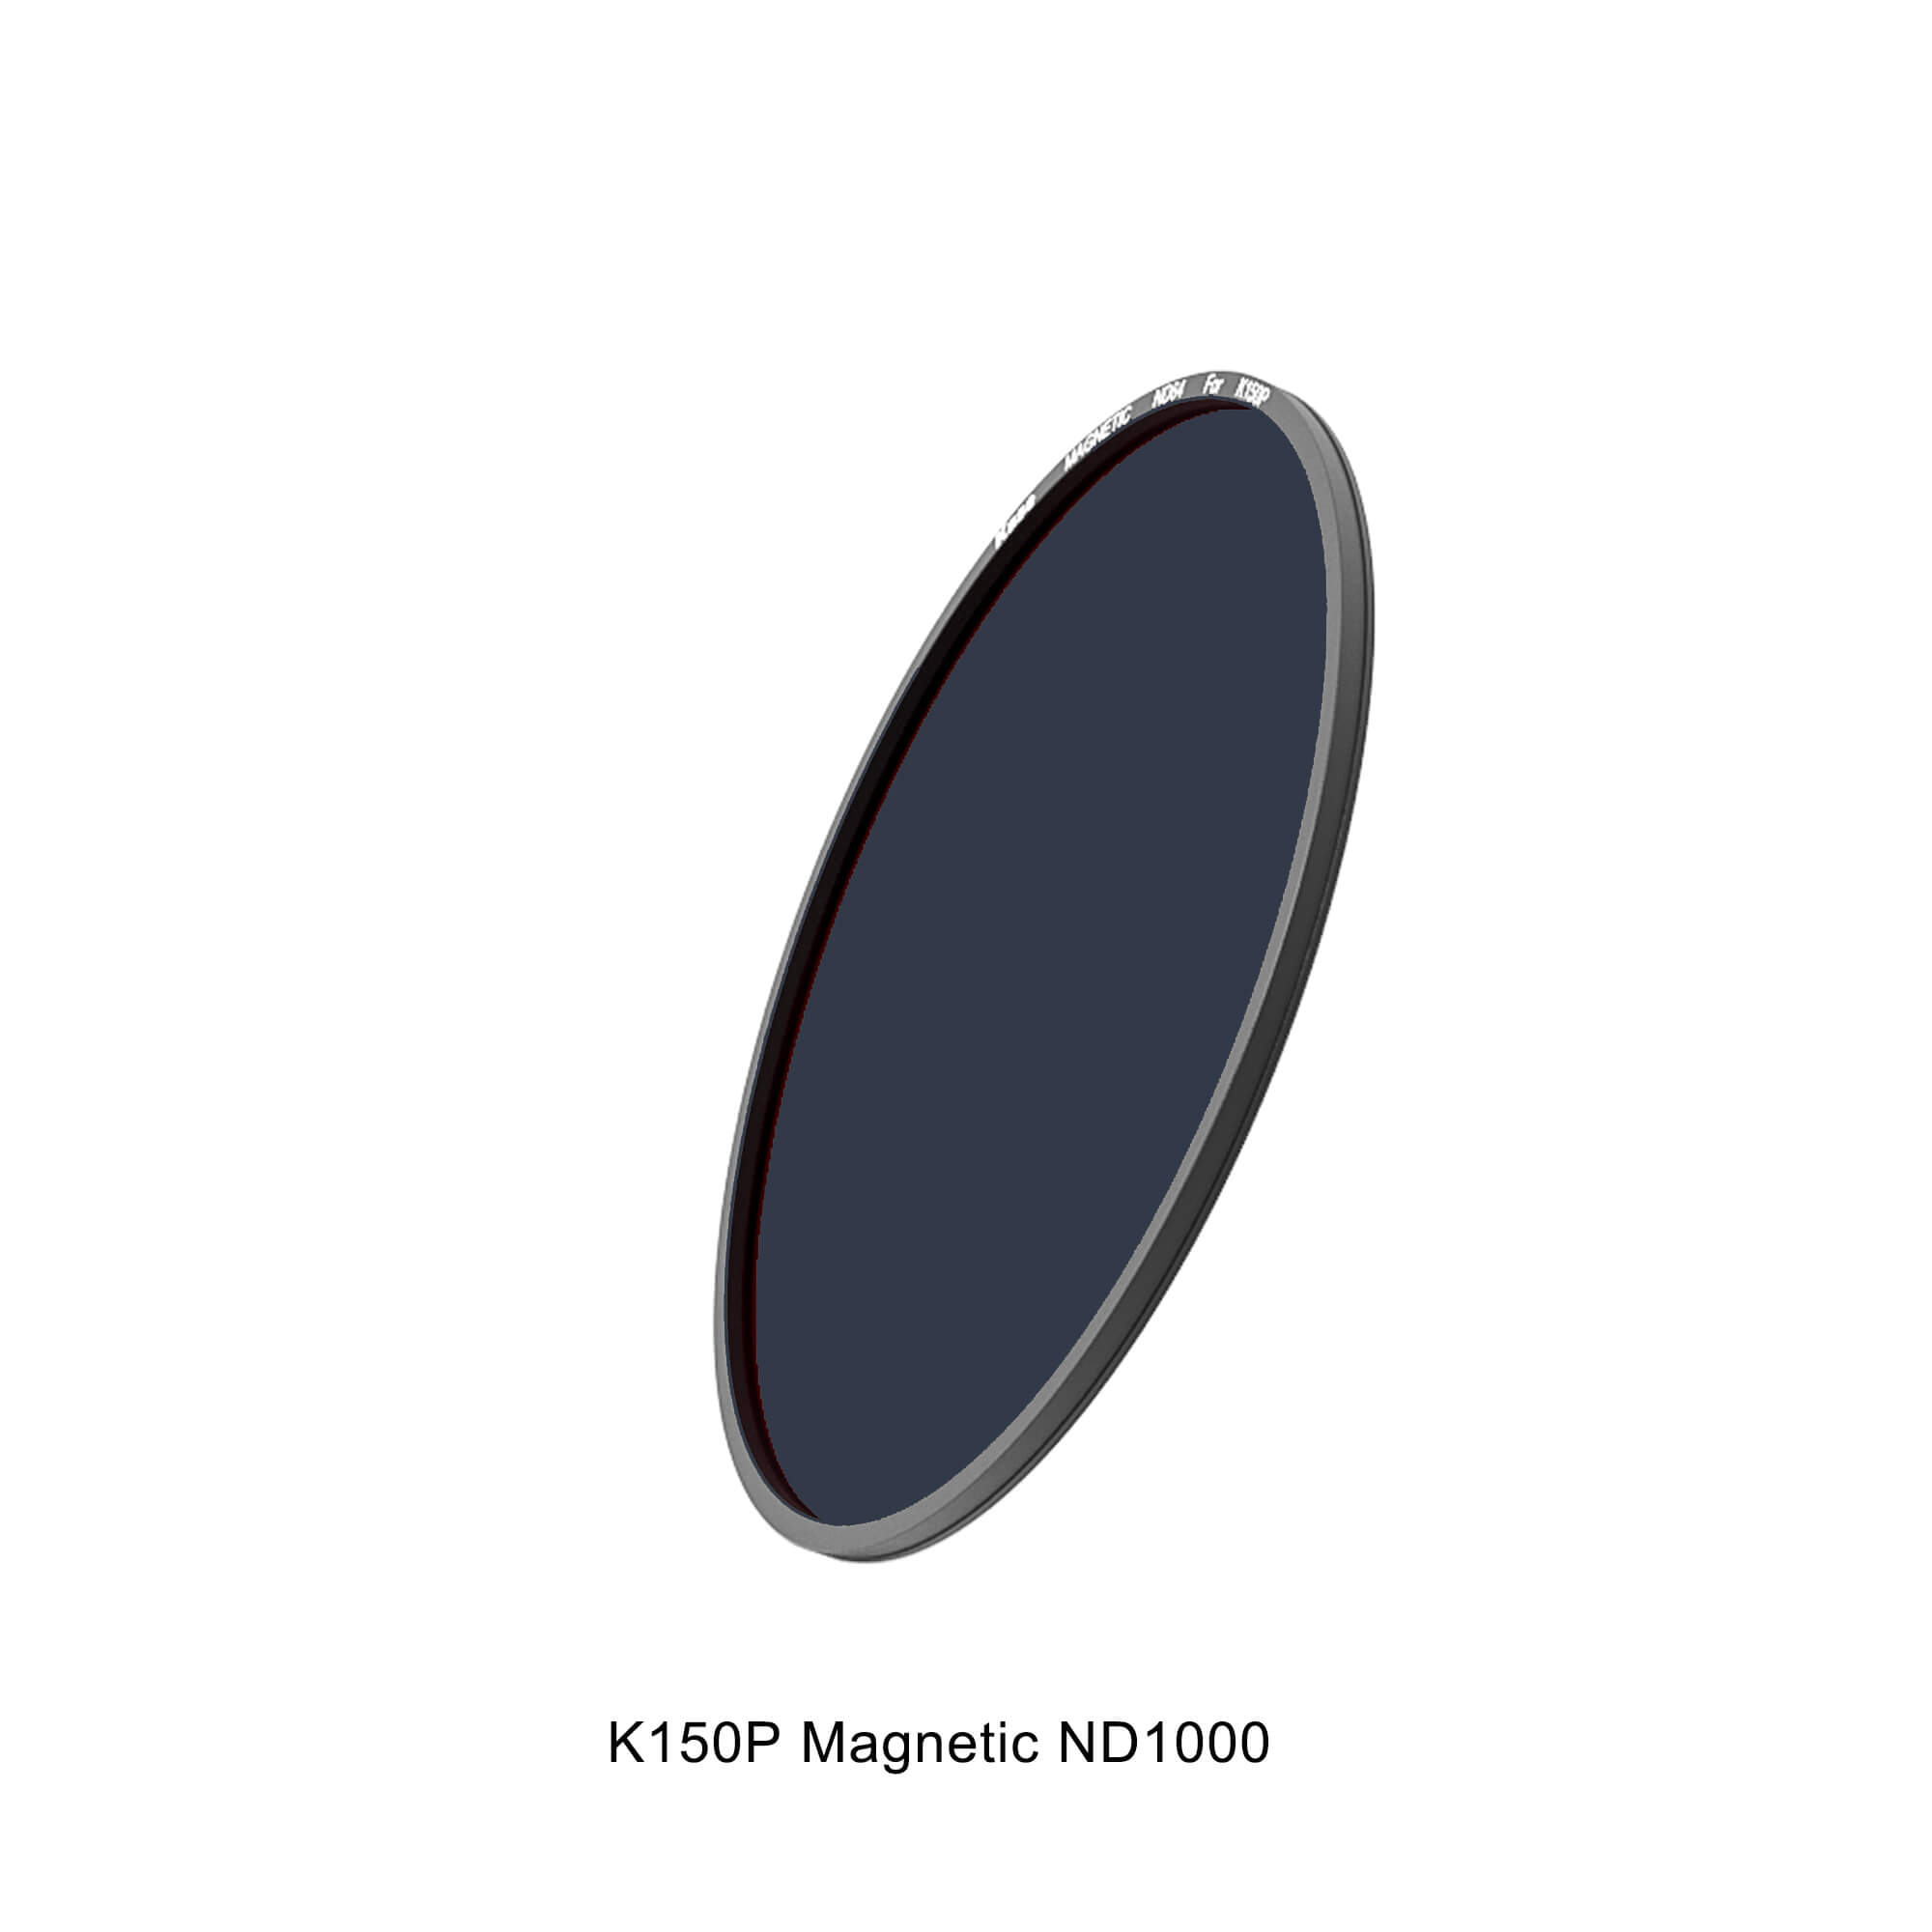
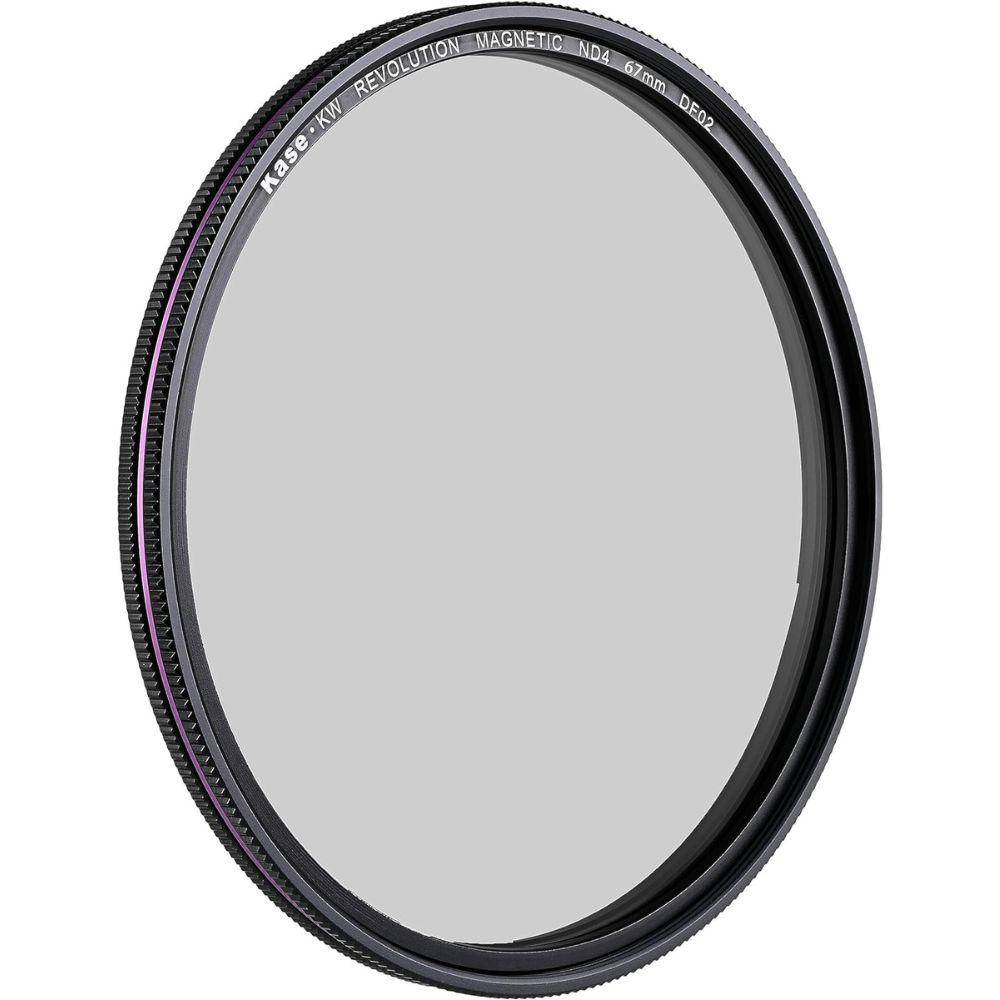
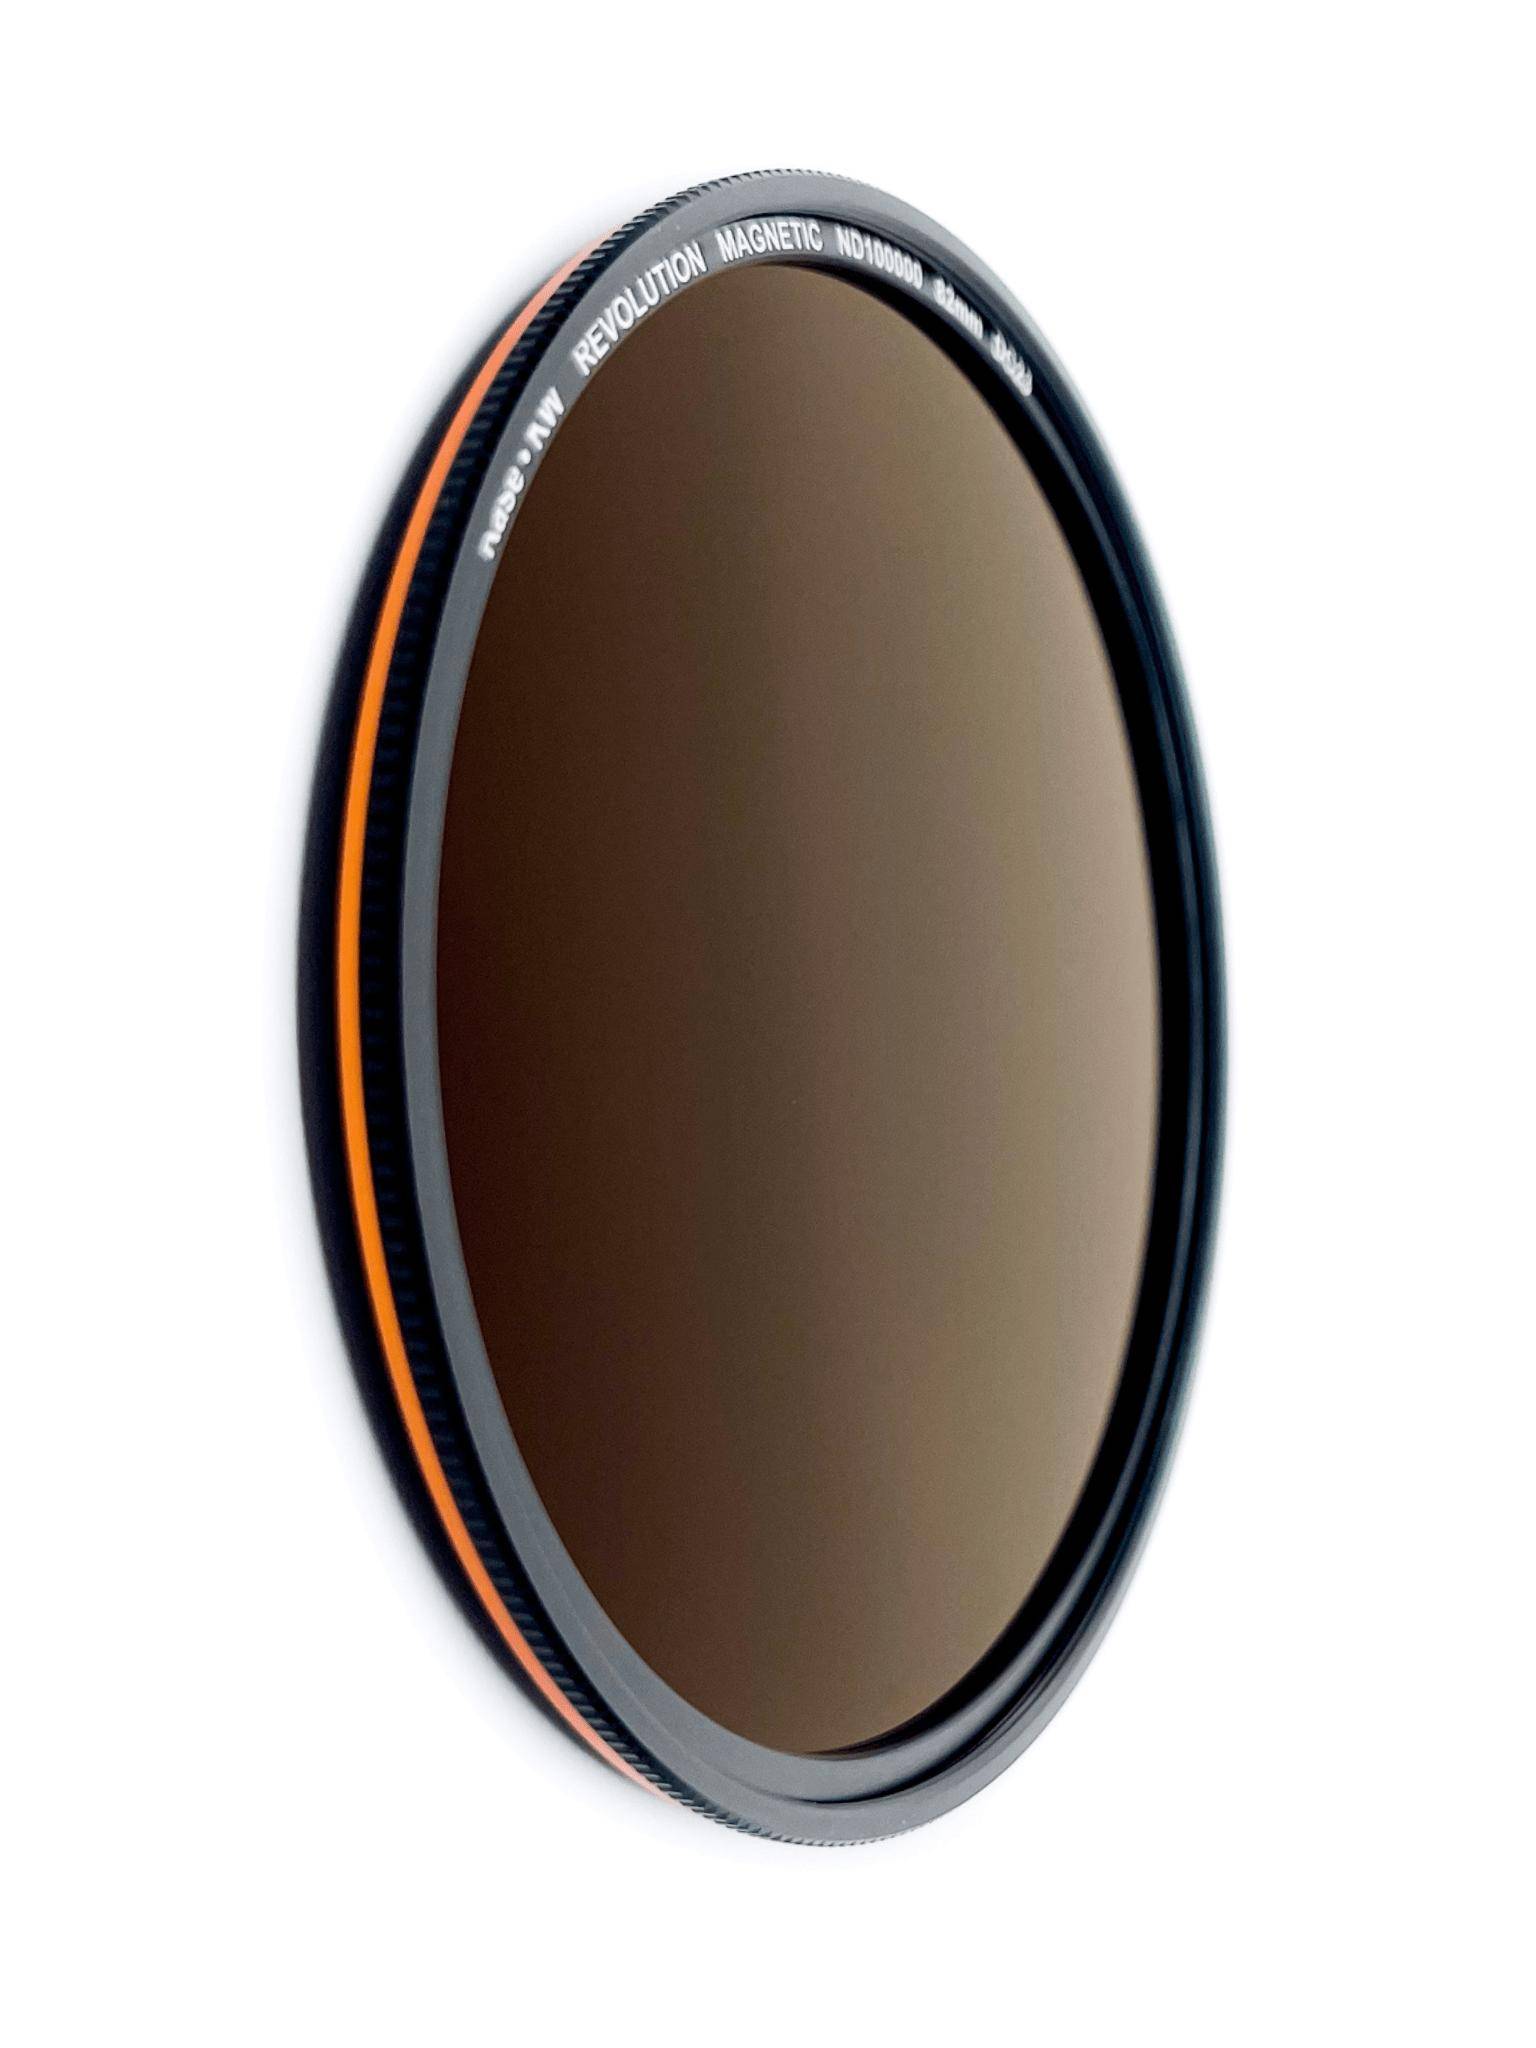
Magnetic circular ND lens filters from Kase
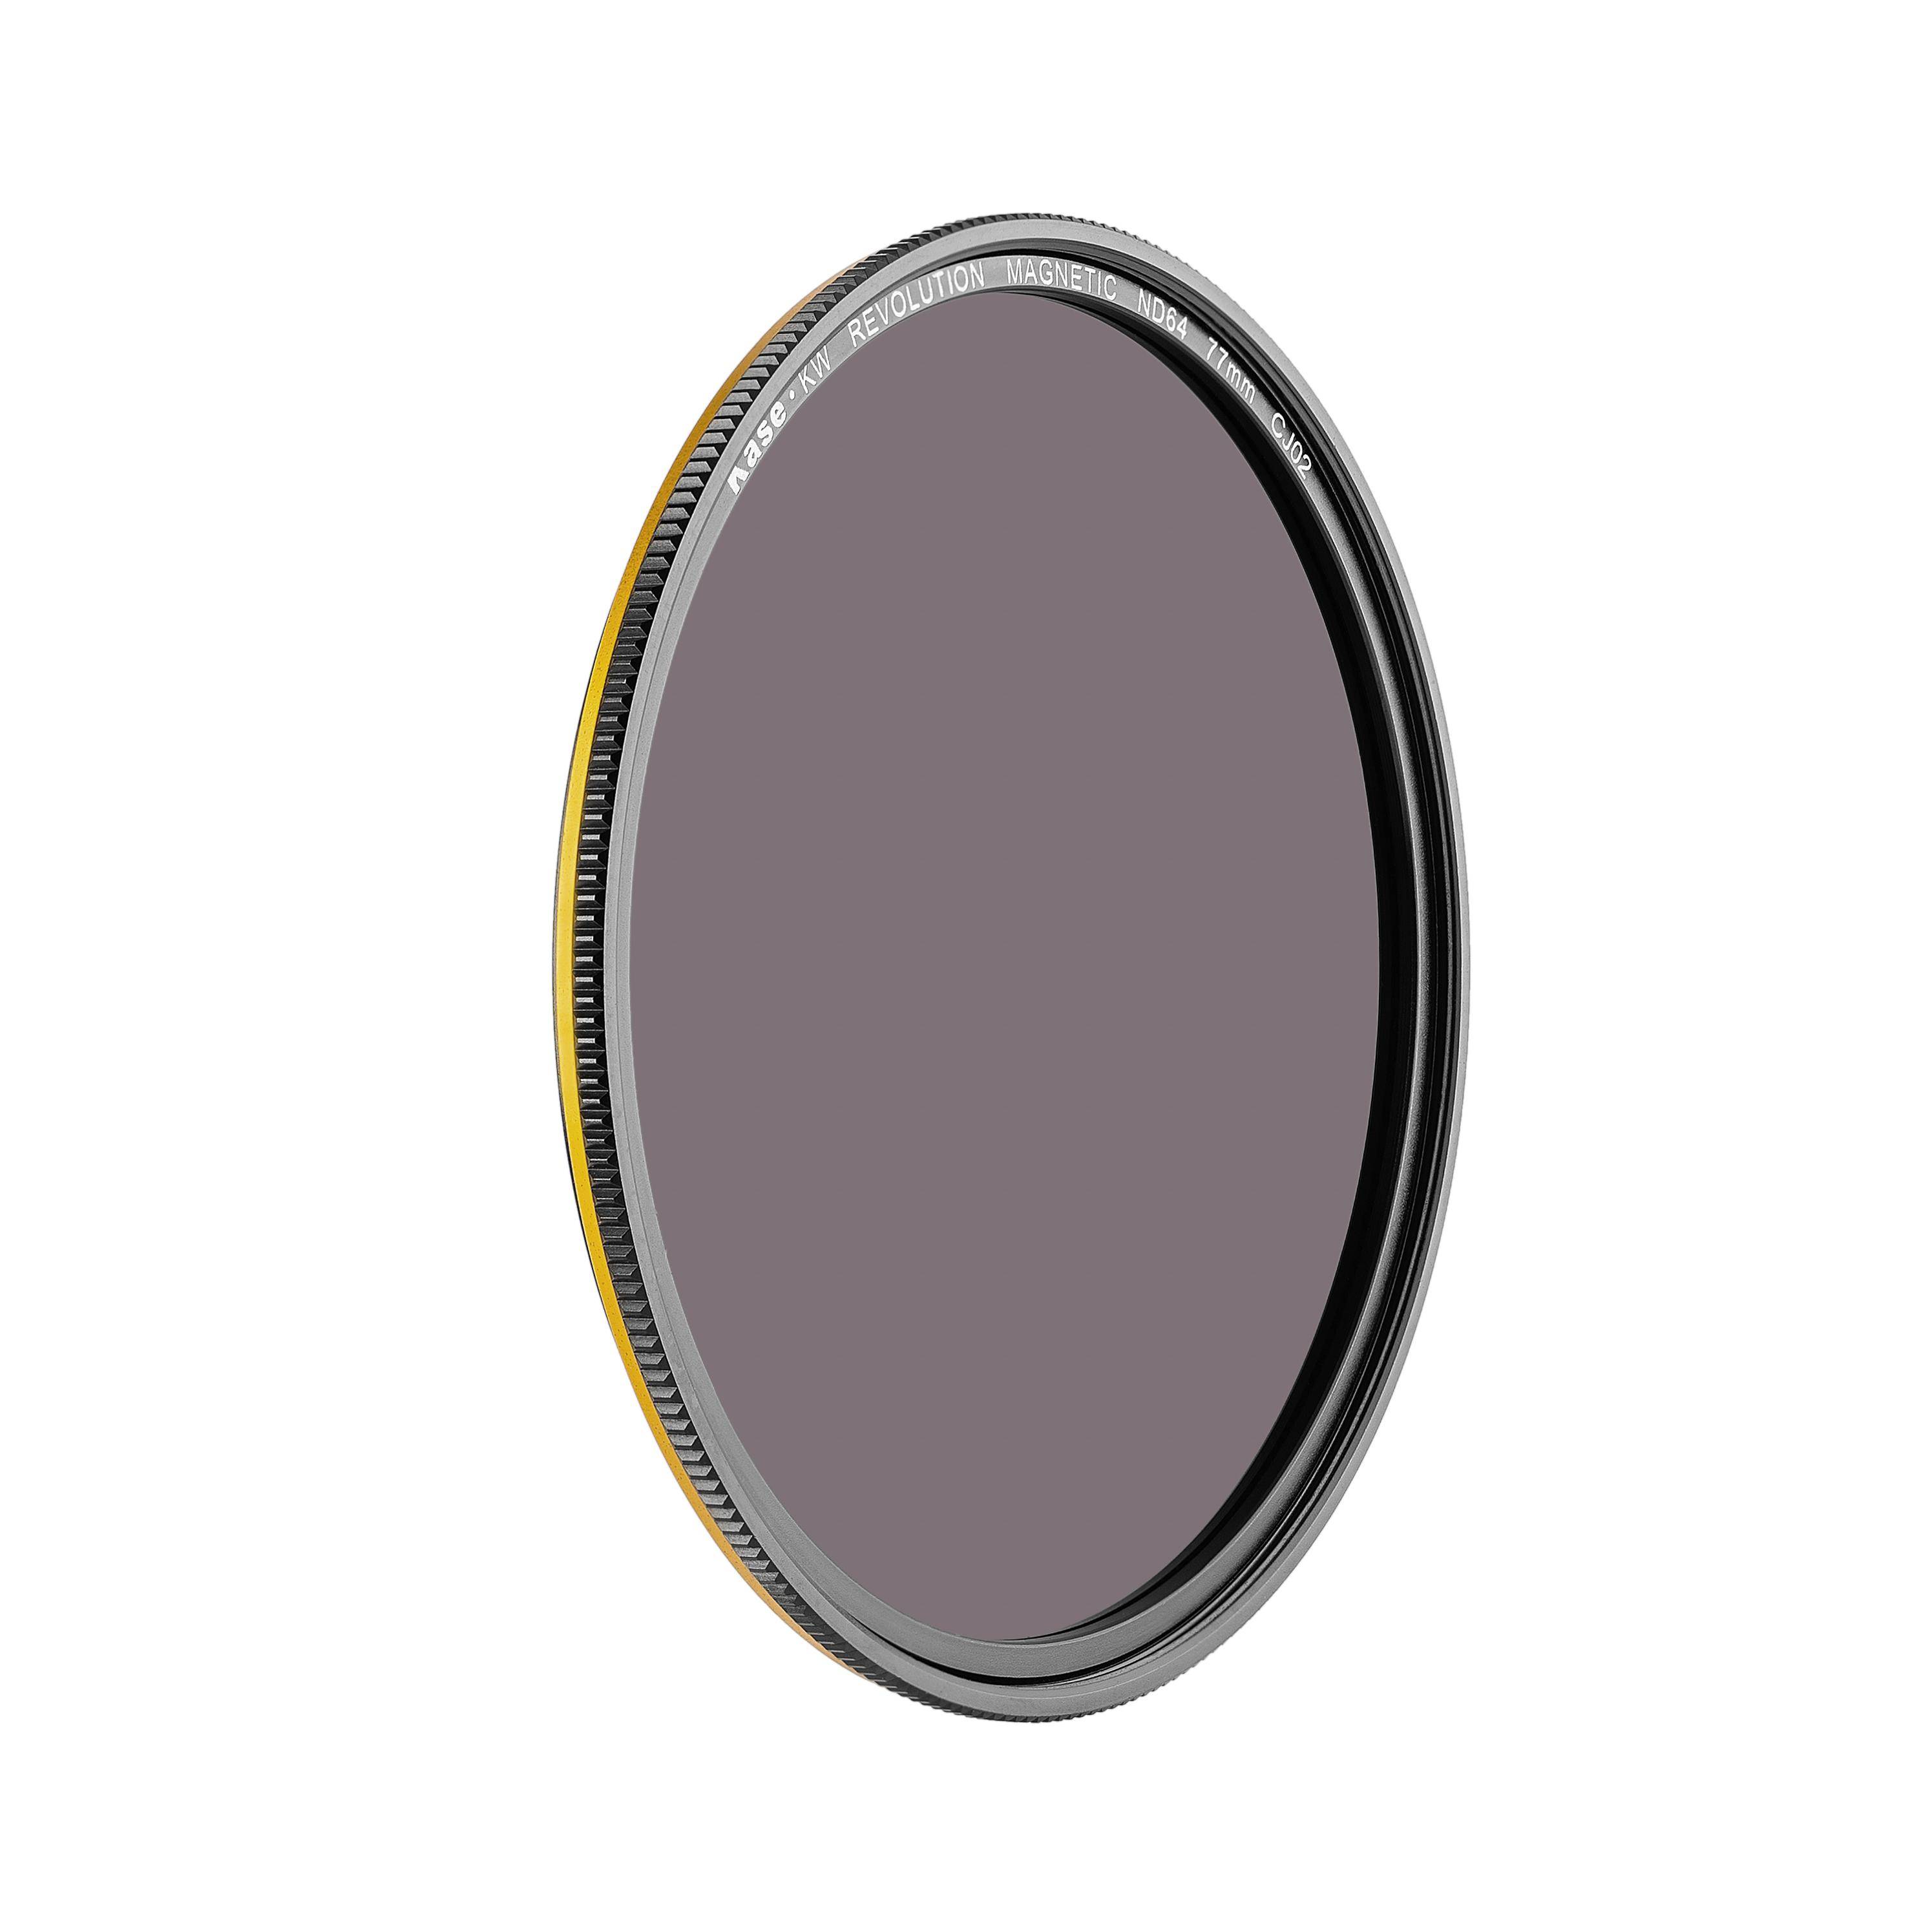
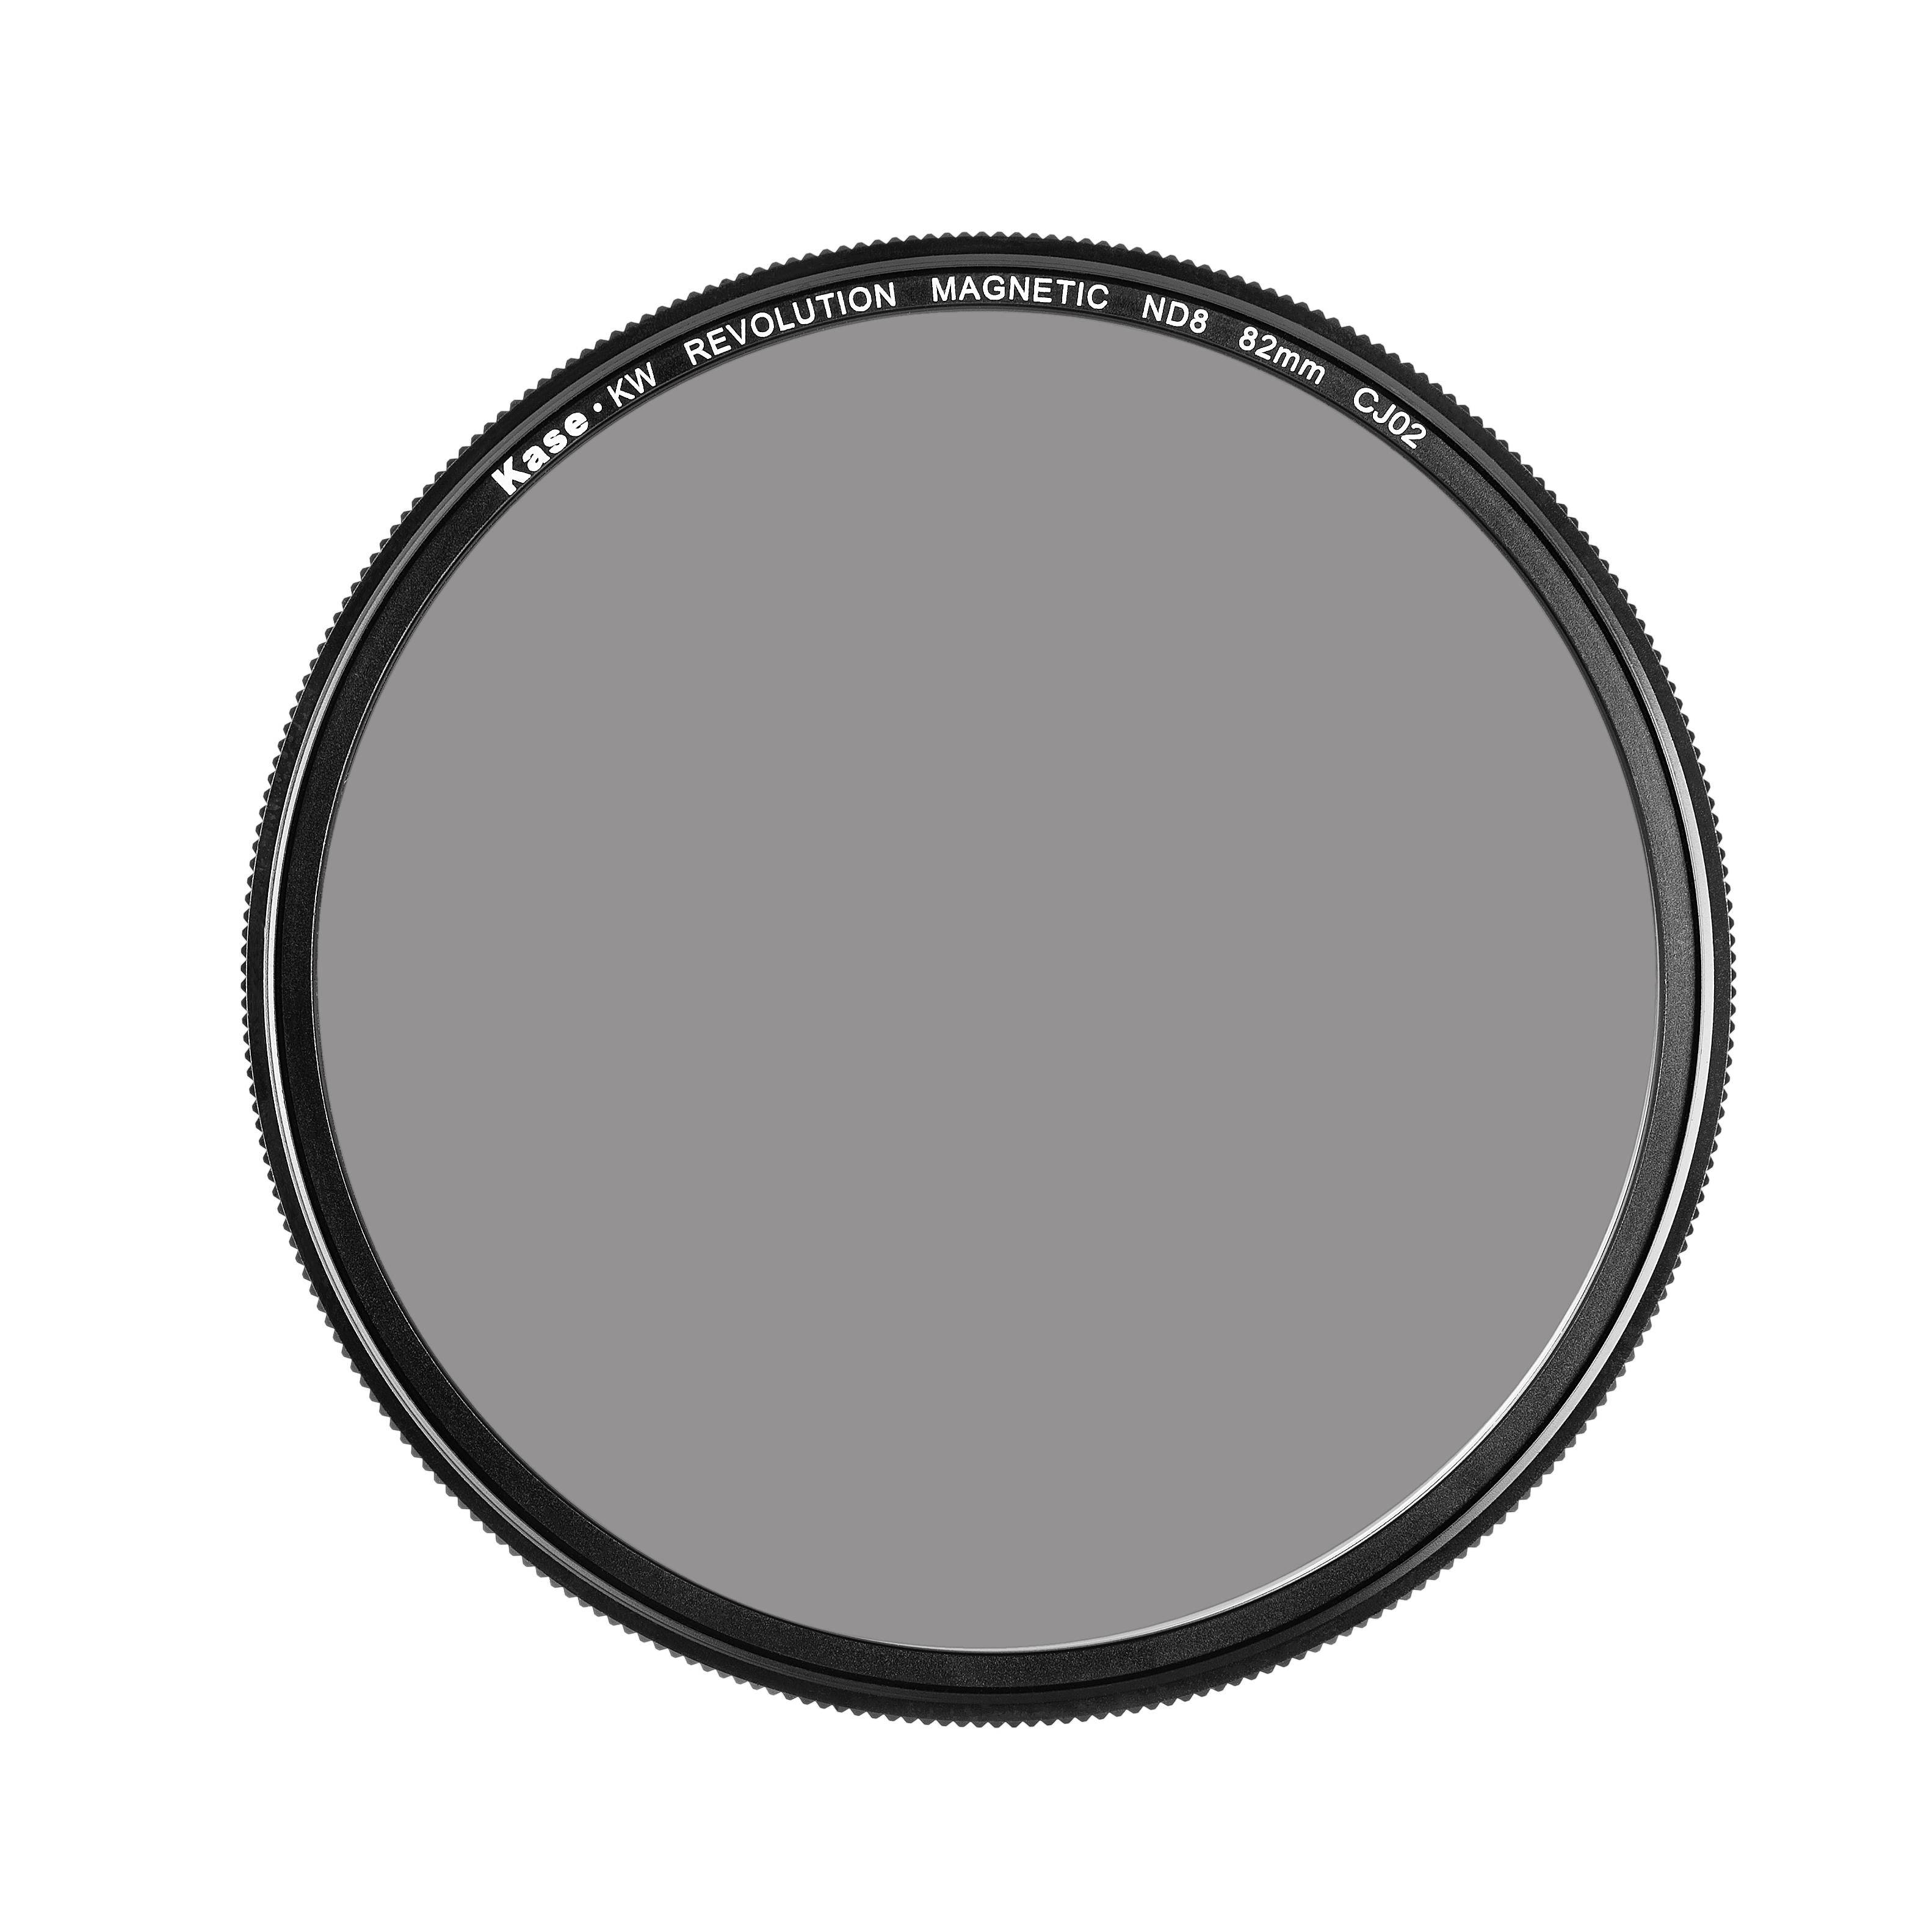
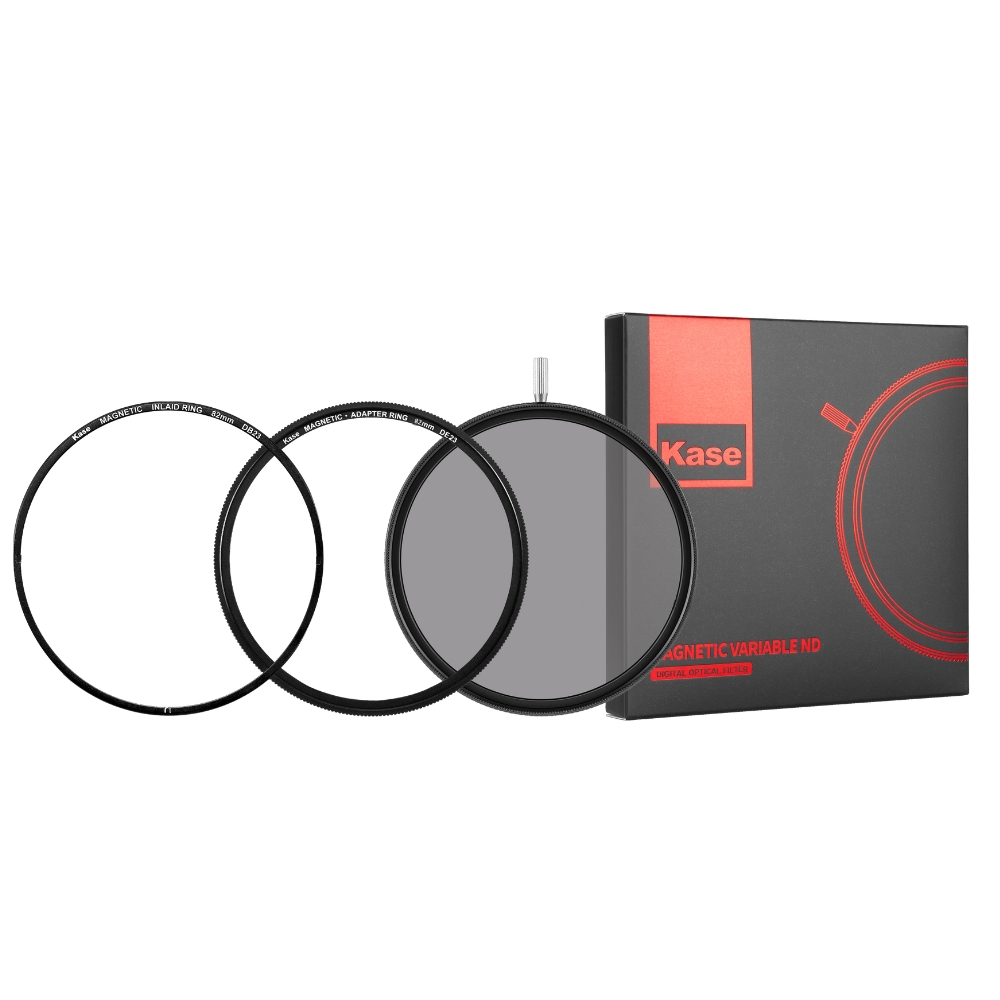
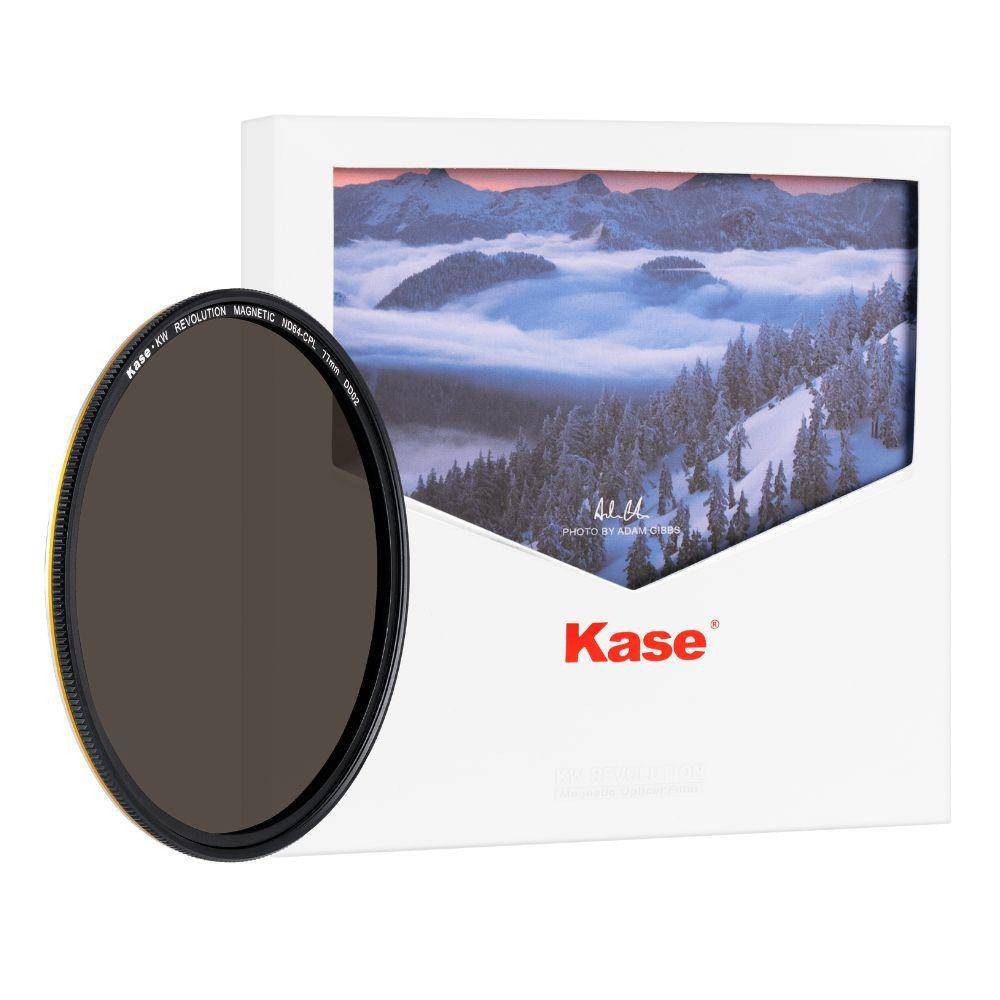
Explore our curated collection of Kase magnetic circular ND filters below and embark on a journey of photographic excellence!
Filter products
In Stock
Average rating of 5 out of 5 stars
In Stock
In Stock
In Stock
In Stock
Average rating of 4 out of 5 stars
In Stock
In Stock
In Stock
In Stock
Not In Stock
In Stock
In Stock
Kase magnetic circular ND filters: Key features
- High-quality optical glass: Crafted with precision, our magnetic ND lens filters have high-quality optical glass that ensures clarity and sharpness in every shot without any colour cast.
- Oil and water-repellent nano-coating: These filters come with a nano-coating that repels oil and water, ensuring your lens remains clean and free from unwanted smudges.
- Shock resistant: Built to endure, magnetic ND filters are shock-resistant, so that you don’t need to worry about breaking them accidentally if dropped.
- Black anodised finish: The filters are black anodised to perfection, minimising light reflections and preventing any unwanted flares, allowing you to capture stunning images even in challenging lighting conditions.
- Easy to clean: Thanks to the nano-coating our filters are easy and fast to clean.
Effects you can achieve using Kase magnetic circular ND filters
ND filters are used to limit the amount of light coming to the camera lens and allow shooting in bright conditions. Besides that, with their help you can achieve some interesting artistic effects:
- Motion blur: Using long exposure, you can capture silky smooth waterfalls, dreamy clouds, and captivating light trails with ease.
- Creative depth of field: Experiment with wider apertures in bright conditions, creating bokeh effects and isolating subjects effectively.
- Vibrant colours: ND lens filters can also help to enhance colour saturation and contrast, adding depth and vibrancy to your images.
More about Kase magnetic circular ND filters
Are Kase magnetic circular ND filters compatible with my camera lens?
Our magnetic circular ND filters come in a variety of sizes, ensuring compatibility with a wide range of camera lenses. Be sure to check the product specifications for the correct fit.
How to attach a magnetic ND filter to my lens?
Attaching a magnetic circular ND filter is simple: just place the magnetic ring on your lens, and the filter will securely attach to it. Ensure the ring and filter sizes match your lens diameter for a snug fit.
Can I stack multiple magnetic lens filters for greater effect?
It depends. For example, you can mount only one magnetic filter in the K150P filter holder at a time, but you can use several ARMOUR ND filters or combine ND filter with polariser.
While it's possible to use several magnetic ND filters in some cases, be careful when doing it on wide angle lenses not to cause vignetting. Experimentation is key, so feel free to explore and find the combinations that suit your creative vision!
Do magnetic ND filters have a colour cast?
No, Kase magnetic ND filters are crafted to provide accurate colour reproduction. However, it's always a good practice to white balance your camera when using any type of filter.
Do magnetic lens filters cause vignetting?
Our magnetic circular ND filters are designed to minimise vignetting, but it's essential to choose the correct filter size for your lens to avoid any unwanted darkening at the corners of your images.
Products you may also like
In Stock


