Neutral density (ND) filters explained: How they work and how to use them
ND filters are an indispensable tool for managing light in photography and videography. These one-of-a-kind filters help you to shoot in difficult lighting conditions and create breathtaking shots with interesting effects. In this guide, we will cover how ND filters work, their usage, the different types available and share tips on how to choose the right ND filter for your needs.
Jump to:
How do ND filters work?
What to use ND filters for
Types of ND filters
How to use an ND filter
How to choose an ND filter
FAQ
How do neutral density (ND) filters work?
Neutral density filters, commonly known as ND filters, are pieces of glass or resin that reduce the amount of light entering your camera lens. These filters are painted in grey fully or partially, which allows them to block the incoming light by a specific number of stops while maintaining the original colours of the image. ND filters act like sunglasses for your camera, allowing you to use slower shutter speeds or wider apertures in bright light conditions without overexposing your photos.
By reducing the light, ND filters help create effects like motion blur in waterfalls, silky smooth seas or dramatic skies. Simply saying, they give you greater control over your exposure settings and creative possibilities that wouldn't be achievable otherwise.
Using ND filters: When and for what?
ND filters are particularly popular among landscape photographers, however, they are quite versatile and can be used also for other types of photography. Here are some uses for ND filters:
Long exposure photography
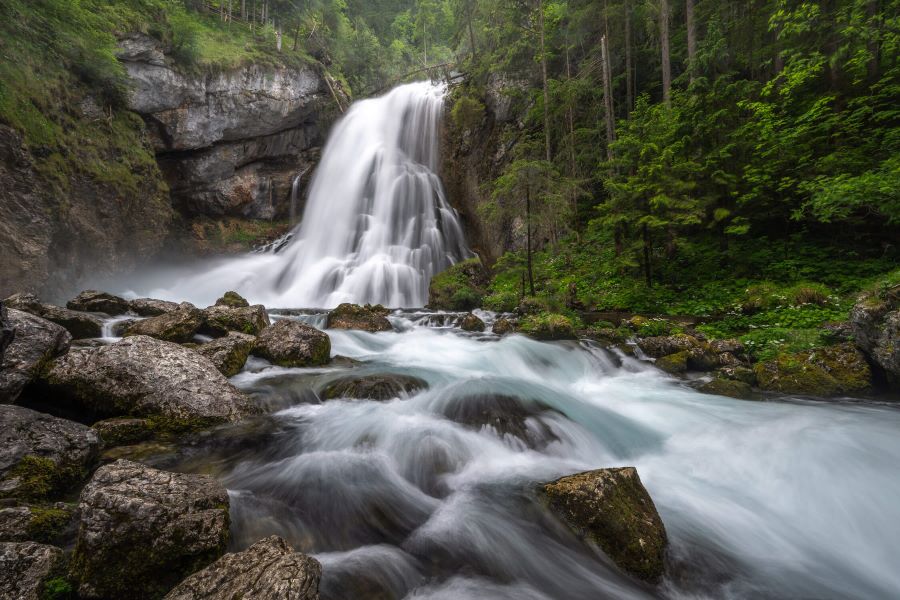
Long-exposure photography requires using slow shutter speeds to capture motion. Using ND filters is essential for this technique, especially in bright daylight. By reducing the amount of light entering the lens, ND filters allow you to use longer shutter speeds without overexposing your image. Without an ND filter, these long exposures would be impossible in daylight as too much light would enter the lens, resulting in a completely white, overexposed photo.
With the long exposure, you can achieve a motion blur effect, make the water silky in the photo or capture dramatic skies with moving clouds.
Learn how to use ND filters for long exposures.
Balancing exposures in bright conditions
One of the primary challenges for photographers shooting in bright conditions is balancing the exposure between the sky and the ground. ND filters help to prevent overexposure by lowering the brightness of the entire screen and to preserve details in both highlights and shadows.
For example, when shooting a landscape with a bright sky and a darker foreground, a graduated ND filter can darken the sky without affecting the foreground, resulting in a well-balanced photo.
Read more about how to use ND filters for landscapes.
Shallow depth of field
In bright conditions, using a wide aperture to achieve a shallow depth of field without overexposing the image can be challenging. ND filters solve this problem by blocking the extra light, allowing you to use wide apertures even in bright sunlight. With reduced light, you can create a blurred background and creamy bokeh effect.
For example, if you're taking a portrait outdoors on a sunny day, an ND filter lets you use a wide aperture to blur the background beautifully while keeping the exposure balanced.
Read more about using ND filters for portrait photography.

Different types of ND filters
ND filters come in various forms, types and strengths and each of them suits different needs and preferences. Below you can see a breakdown of all the types of ND filters.
ND filters by form and attachment
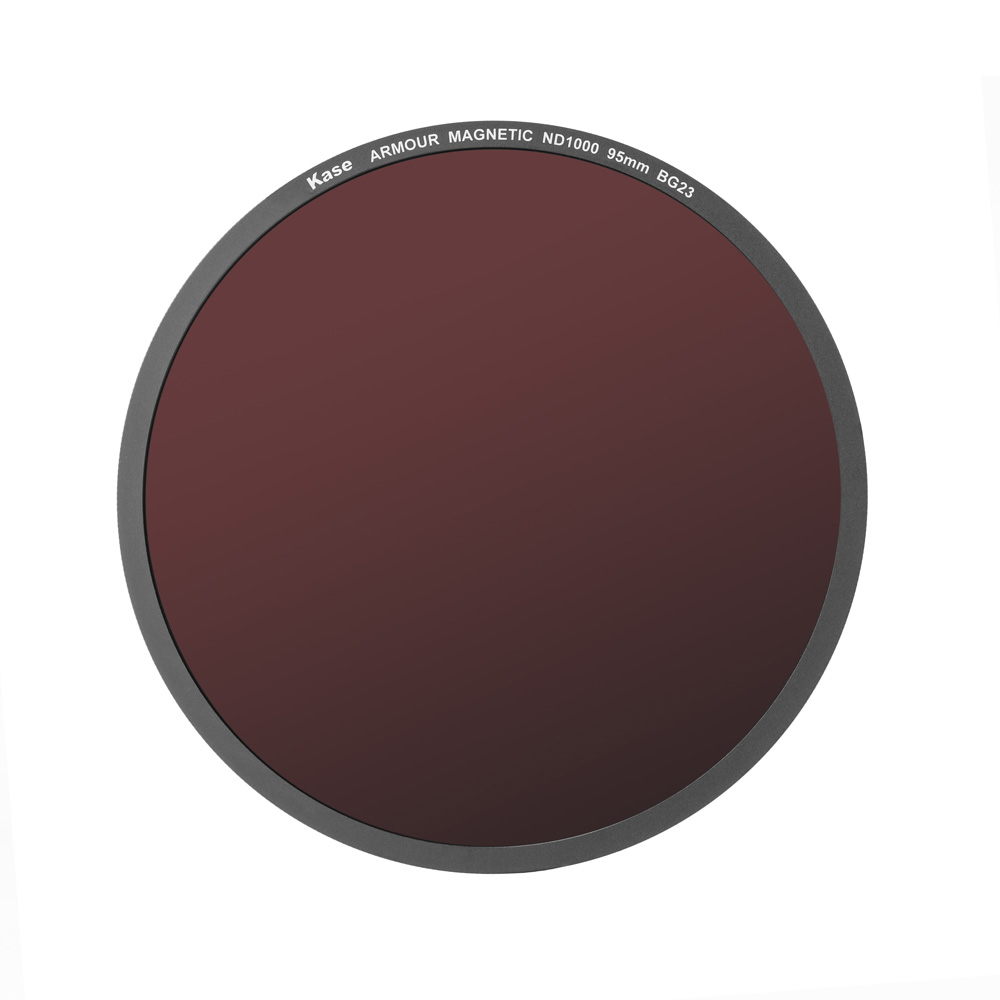
- Circular screw-in and magnetic ND filters: These filters screw directly onto the front of your lens or attach magnetically, which is even quicker and easier. They're convenient for everyday shooting and come in various sizes to fit different lenses.
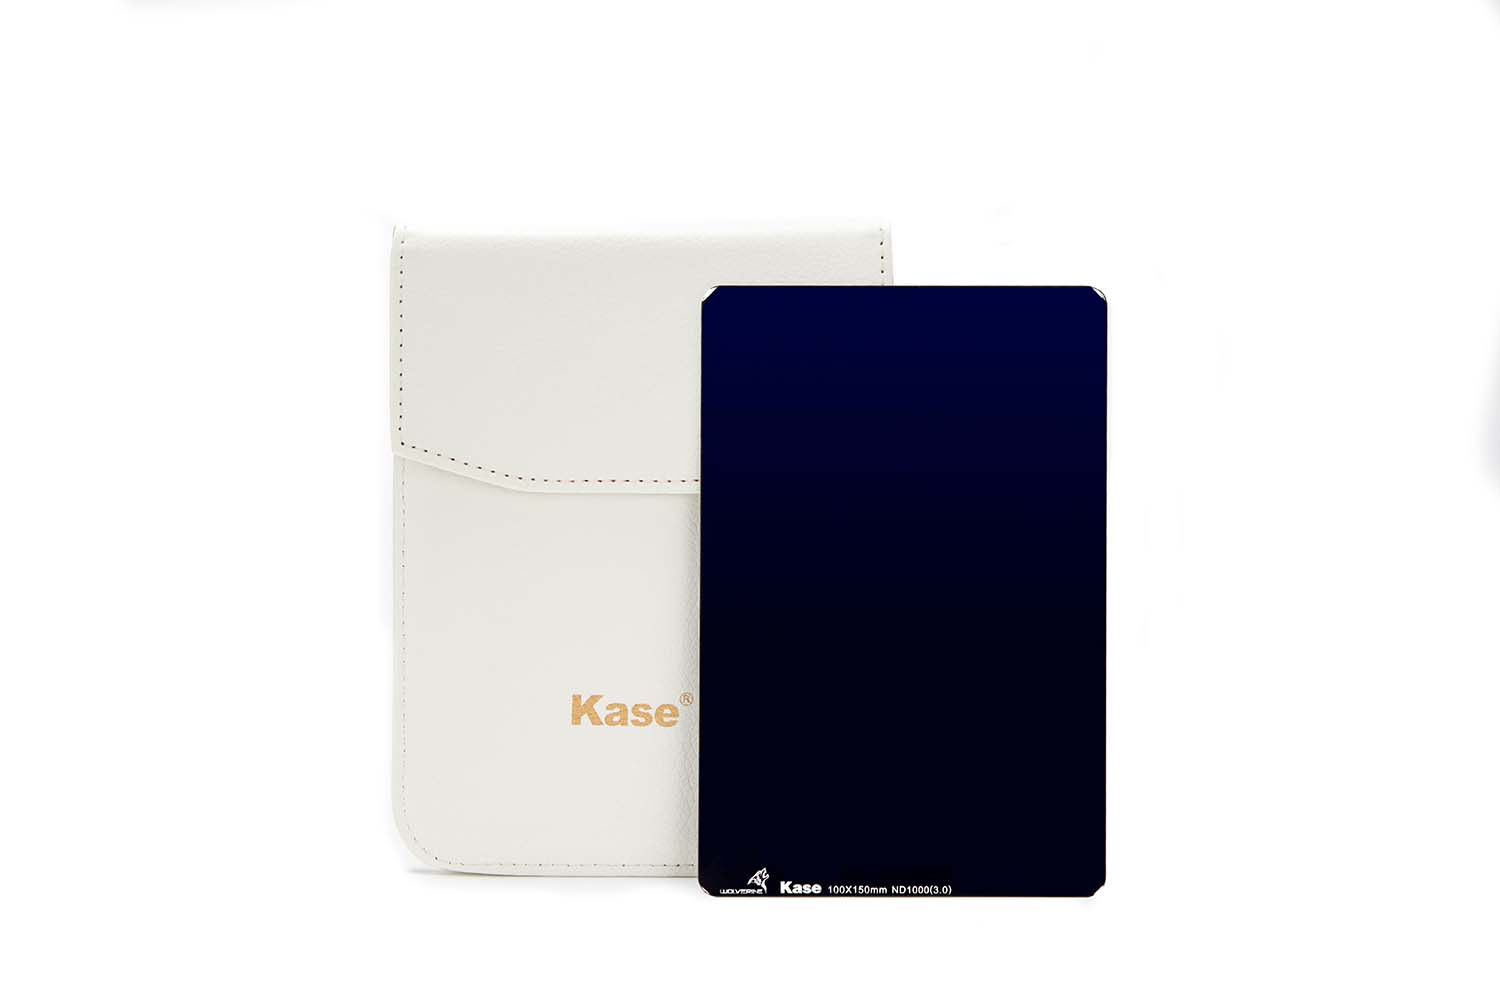
- Square/rectangular ND filters: Square and rectangular filters are typically used with a filter holder system. They are less convenient to carry but can be easily combined with different lenses. This type of ND filters is favoured by professional landscape photographers for its versatility and the ability to stack multiple filters.
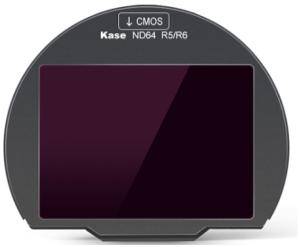
- Clip-in ND filters: Clip-in filters are designed for mirrorless cameras to be installed inside the camera body.
Explore ND filters from Kase
ND filters by type
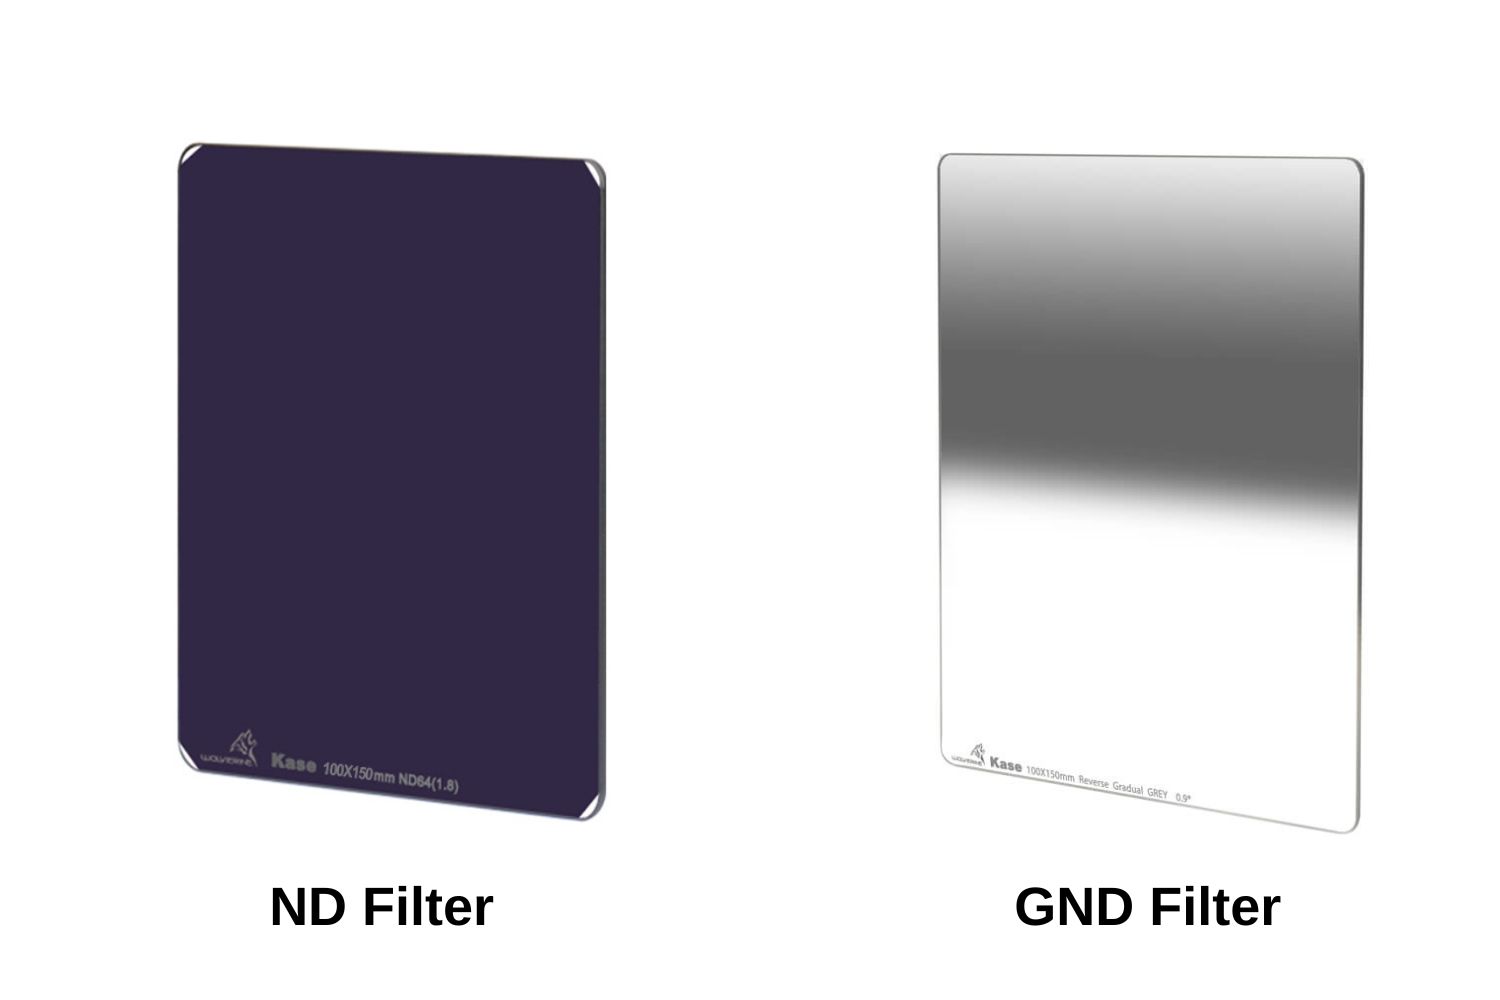
- Fixed (solid) ND filters: These are the classic ND filters that provide a set level of light reduction (by a certain number of f-stops), available in various strengths (e.g., ND2, ND4, ND8).
- Variable ND Filters: They allow you to adjust the level of light reduction by rotating the filter, offering flexibility and convenience. For example, there are ND covering a range between 1.5 and 5 stops, or 6 and 9 stops.
- Graduated ND (GND) filters: Instead of having the entire glass painted with grey, these filters feature a gradual transition from dark to clear. This transition can be soft, hard or medium, therefore there are different types of GND filters. Photographers use these ND filters to balance exposure in scenes with bright skies and dark foregrounds.
Read more about fixed vs variable ND filters.
ND filters by strength
ND filters are available in different strengths, measured in stops. Common strengths include ND2 (1 stop), ND4 (2 stops), ND8 (3 stops), and higher. The strength you need depends on the lighting conditions and the effect you're aiming for.
ND filters usually include the ND factor in their name, e.g. ND16, but some providers use the optical density instead, e.g. ND 1.2, for the same filter. To be sure you pick the right strength of the ND filter, double-check the number of stops in the specifications.
The table below includes all common ND filter strengths and will help you find the right filter easily.
| ND filter in stops | ND factor | Optical density |
|---|---|---|
| 1 | ND2 | ND 0.3 |
| 2 | ND4 | ND 0.6 |
| 3 | ND8 | ND 0.9 |
| 4 | ND16 | ND 1.2 |
| 5 | ND32 | ND 1.5 |
| 6 | ND64 | ND 1.8 |
| 7 | ND128 | ND 2.1 |
| 8 | ND256 | ND 2.4 |
| 9 | ND512 | ND 2.7 |
| 10 | ND1000 | ND 3.0 |
| 12 | ND4000 | ND 3.6 |
| 15 | ND32000 | ND 4.5 |
| 16 | ND64000 | ND 4.8 |
At Kase, we offer ND filters of all common strengths! If you are looking for a neutral density filter to buy, be sure to check our catalogue of ND filters.
How to use a neutral density (ND) filter: step-by-step
Using an ND filter is not as difficult as it may seem. Here's a step-by-step guide for doing it effectively:
- Put your camera on a tripod. It’s essential to mount the camera on a tripod when using an ND filter to avoid the camera moving during long exposure.
- Compose the shot. You should do it before attaching an ND filter, since after with the dark filter in place it will be hard to see something through the viewfinder.
- Compose the shot. You should do it before attaching an ND filter, since after with the dark filter in place it will be hard to see something through the viewfinder.
- Set the focus. This should be done before the filter is placed on the lens, because after the camera will struggle to focus.
- Take the shot without a filter. This test shot will help you understand which exposure settings to use after. Note the exposure time.
- Choose your ND filter. Assess the lighting conditions and choose the right ND filter based on the desired effect.
- Attach the ND filter. Depending on the type of ND filter you are using, screw it on the lens or insert it in the filter holder. Ensure the filter is attached properly and there are no light leaks.
- Adjust the camera settings:
- First of all, switch your camera to the manual mode if it´s not yet. If you exposure time is more than 30s, go to the bulb mode.
Now, you will need to adjust the settings to compensate for the ND filter. To adjust the shutter speed, you can use an ND filter exposure table or calculate it manually the following formula to adjust your shutter speed:
Adjusted Shutter Speed = Original Shutter Speed × ND Filter Factor
For instance, if your original shutter speed is 1/30s and you're using a 6-stop ND64 filter, the new shutter speed will be approximately 2 seconds (1/30s × 64 = 2s).
- Take a photo using a remote shutter release or timer. Trigger the shutter remotely or use your camera's timer function to avoid touching the camera and provoking a shake.
IMPORTANT NOTE: If you are shooting during sunrise or sunset, take into account that the lighting conditions change fast. Calculate 1 stop less for a sunrise and 1 stop more for a sunset when adjusting the shutter speed. Alternatively, you can adjust the aperture or ISO instead of prolonging the shutter speed even more, for example.
How to choose an ND filter
To choose the right ND filter, consider the following factors:
- Filter type: How versatile your ND filter should be? If you want to have a filter that works in a variety of scenarios, go for a variable ND filter. Otherwise, for the highest image quality, consider using a fixed ND filter.
- Filter shape: If you go for a fixed ND filter, decide about the filter shape. Both square and circular filters have their pros and cons. If you are not sure, read our comparison of square and circular filters.
- Filter size: Check which size of lens you plan to use it on. If you have several lenses, take the diameter of the biggest lens (if you take a circular ND filter, you will be able to use it with a smaller lens with an adapter ring). Read more about how to choose the size of the filter.
- Filter strength: The strength you need depends on the lighting conditions and the effect you want to achieve. For most beginners, ND8 or ND64 filters are good options since they work in various lighting scenarios.
- Price: Knowing the size, shape and strength of the filter you need, check for different products. The price can differ depending on the producer and materials used. If you want the best image quality, choose filters made of optical glass and with nano-coating, avoid going for resin filters.
FAQ about using ND filters
How many ND filters do I need?
It depends on your photography style and the variety of lighting conditions you typically shoot in. For beginners, two fixed ND filters may be enough to cover most scenarios. Remember that you can also stack them to obtain an even higher stop of light reduction. Variable ND filters can also be a versatile option, as they allow you to adjust the light reduction without needing multiple filters. However, for specialised photography, such as extremely long exposures, you might require a specific high-strength ND filter, like an ND1000.
How to know which ND filter to use?
There is no right choice here: it all depends on what effect you want to achieve. Here’s some advice that may help you:
- ND2 to ND8: For mild light reduction, suitable for slightly bright conditions or when you want to achieve a small amount of motion blur.
- ND16 to ND64: For moderate light reduction, ideal for capturing longer exposures during the day, such as smoothing water or achieving shallow depth of field in sunlight.
- ND1000 and higher: For strong light reduction, perfect for extremely long exposures, even in bright daylight, to create dramatic effects like silky smooth water or cloud movement over several minutes.
Start with a mid-range ND filter like ND8 or ND16 if you're unsure, as these are suitable for many situations.
How to choose ND filter size?
The filter size you need corresponds to the diameter of your lens, usually indicated on the front or side of the lens barrel in millimetres (e.g., 58mm, 72mm). Match this number to the filter size when purchasing. If you have multiple lenses with different diameters, you can buy the largest size filter you need and use step-up rings to adapt it to smaller lenses. Read more about how to choose the right filter size.
Do you have any other questions left about ND filters? Check our full FAQ about ND filters.
Ready to experiment with ND filters? Kase offers high-quality filters, check our catalogue!


