Graduated ND filters explained: How and when to use them
Graduated ND (neutral density) filters are commonly used by landscape photographers in challenging light conditions. In this guide, we will explore what GND filters are, why and when to use them, the different types available, and how to effectively incorporate them into your photography. Whether you're a beginner looking to enhance your skills or an experienced photographer aiming to learn new techniques, this guide will provide valuable insights into using graduated ND filters effectively.
Jump to:
What is a GND filter?
Why use graduated ND filters
Types of GND filters and their uses
How to use graduated ND filters
Which ND grad filter to buy
What is a GND filter?
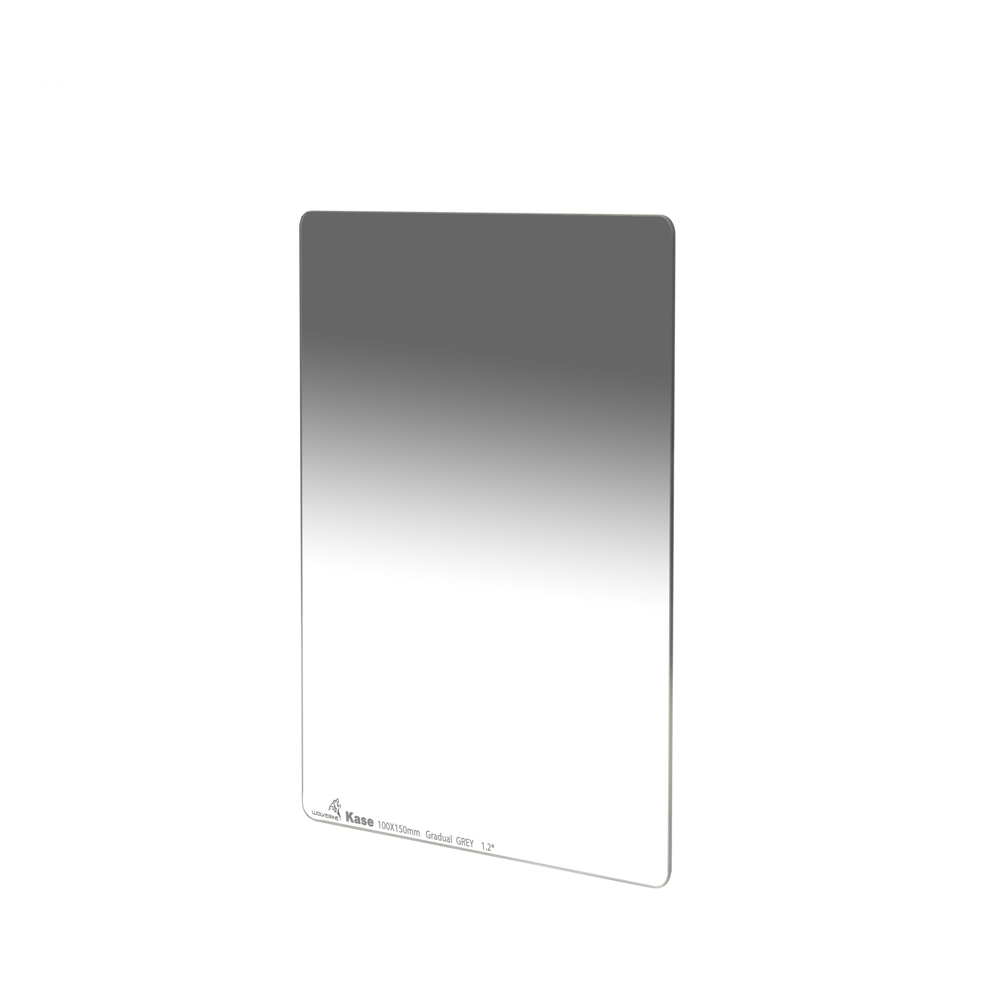
A graduated neutral density (GND) filter is a type of camera lens filter used to control exposure in specific parts of an image. Unlike regular ND filters, which darken the whole image evenly, graduated ND filters have a gradient that goes from dark to clear. This allows darkening just one part of the photo, usually the sky, while keeping the rest of the scene well-exposed.
Graduated ND filters come in various strengths, usually measured in stops (e.g., 1-stop, 2-stop, 3-stop), indicating how much light they block. They also have different transitions between the dark and clear areas, which we will cover below in this guide.
Why use graduated ND filters in landscape photography?
Imagine you’re photographing a sunset over the ocean. Without a graduated ND filter, you might end up with a perfectly exposed ocean but almost white sky, losing the beautiful colours of the sunset. By using a graduated ND filter, you can capture both the vibrant sky and the detailed ocean in a single shot.
Graduated ND filters are incredibly useful for balancing exposure in high-contrast scenes. Here’s why you should consider using them:
- Balancing exposure: In landscape photography, the sky is often much brighter than the foreground. A graduated ND filter helps even out this difference, preventing overexposure in the sky while keeping the foreground properly lit.
- Enhancing colours and details: By reducing the brightness of the sky, these filters can improve the colours and details in your photos. You’ll notice richer skies and more defined landscapes.
- Reducing post-processing time: Instead of trying to fix an overexposed sky in post-processing, you can get it right there and see the result immediately.
When to use graduated ND filters in landscape photography
Using graduated neutral density filters makes sense only if you have a high dynamic range on the photo, in other words, when there is a high-contrast scene. If the lighting across your scene is already even, a GND filter won’t add much value.
Here are the ideal times to use them:
- Seascapes: Shooting at the beach or near water bodies often means a bright horizon line. A graduated ND filter can darken the sky while keeping the reflective water well-exposed.
- Sunrises and sunsets: Both can be tricky to photograph due to the high contrast between the bright sky and the darker ground. A graduated ND filter helps you capture the full range of colours without losing detail.
- Mountain and forest scenes: A graduated ND filter helps manage contrasts in scenes like mountains against bright sky or sunlight coming through trees.
- Other landscapes or cityscapes where the sky and foreground create high contrast.
Read also FAQ about GND filters
Types of different graduated ND filters and when to use them
Shapes of GND filters
As with most of other filters, GND filters come in different shapes: circular and rectangular (or square). However, professional photographers use rectangular ND grad filters with a filter holder. They offer flexibility in positioning the gradient transition. You can move the filter up and down or side to side to match the horizon or the area you want to darken. With circular filters, you cannot control how the filter will be positioned exactly.
Types of graduated ND filters
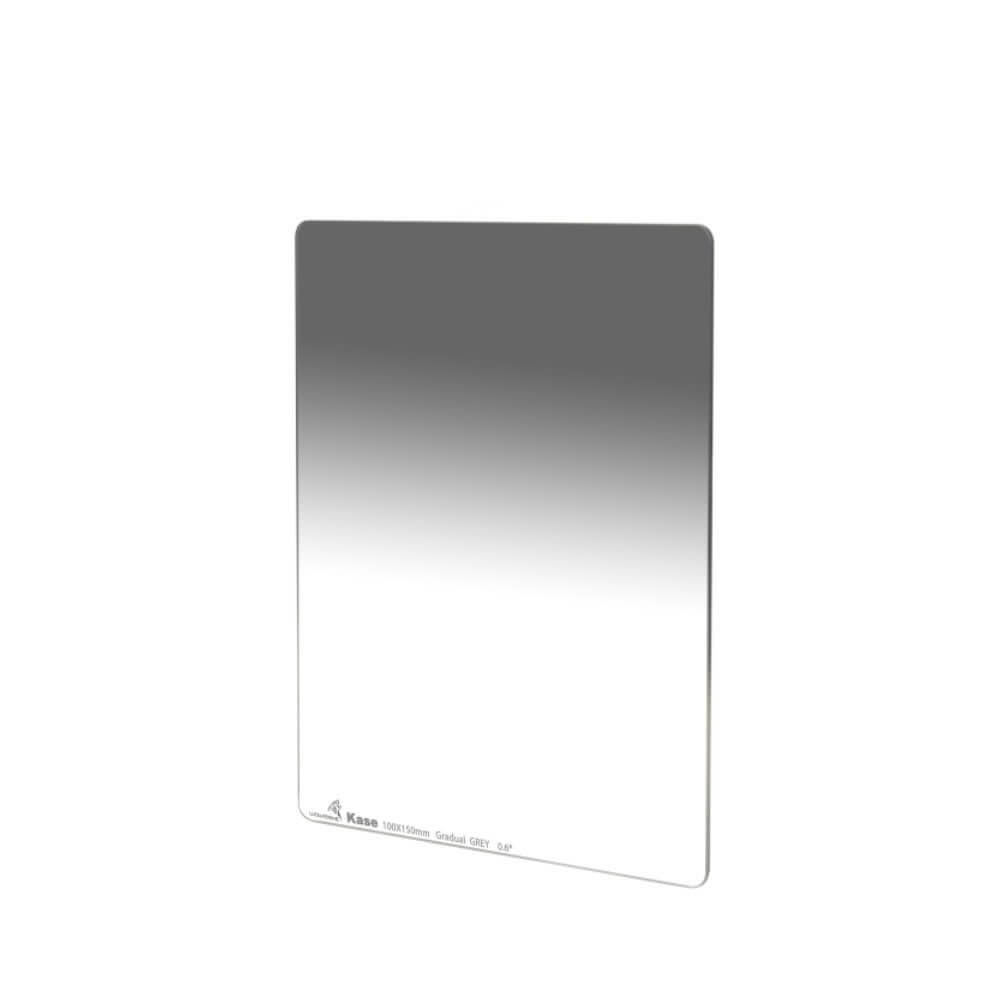
Soft GND filters
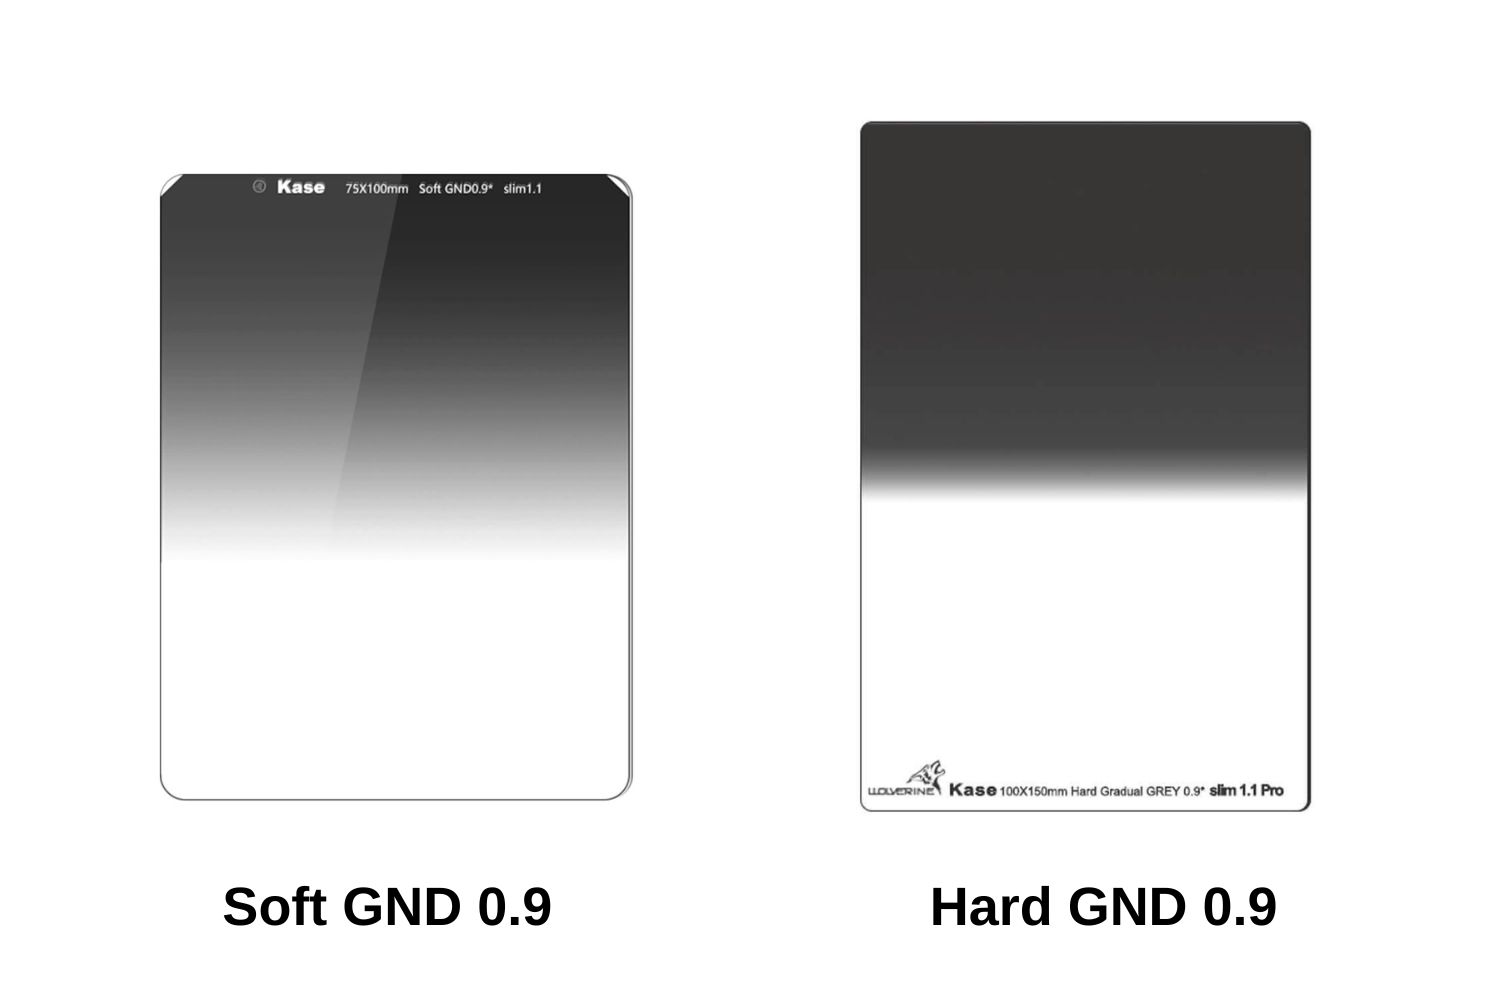
These filters have a gradual transition from dark to clear, making the change in density less noticeable. Soft graduated ND filters provide a natural blending effect, ensuring a smooth transition between the darkened sky and the lighter foreground.
Best to use for: Scenes with uneven horizons where there are protruding objects, like forests, mountains, or cityscapes.
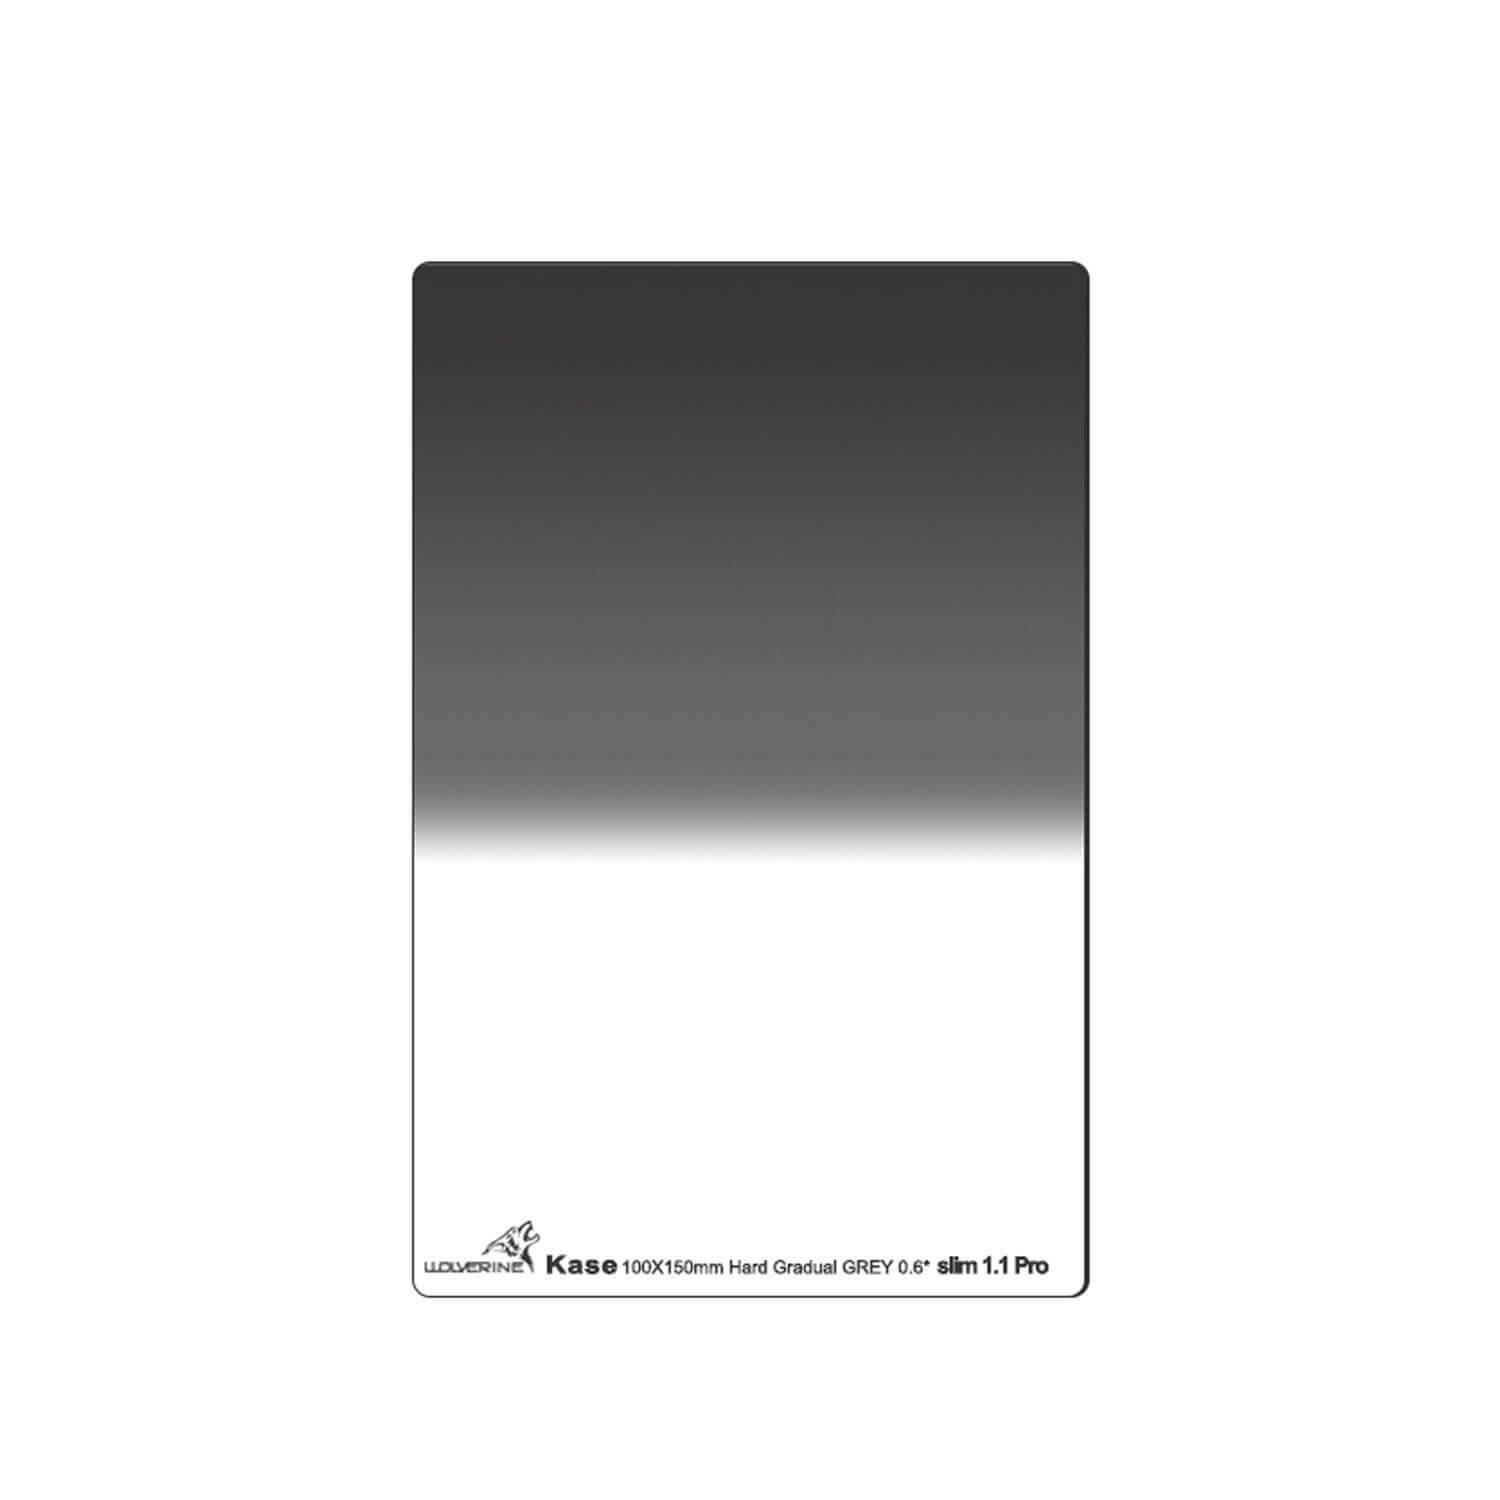
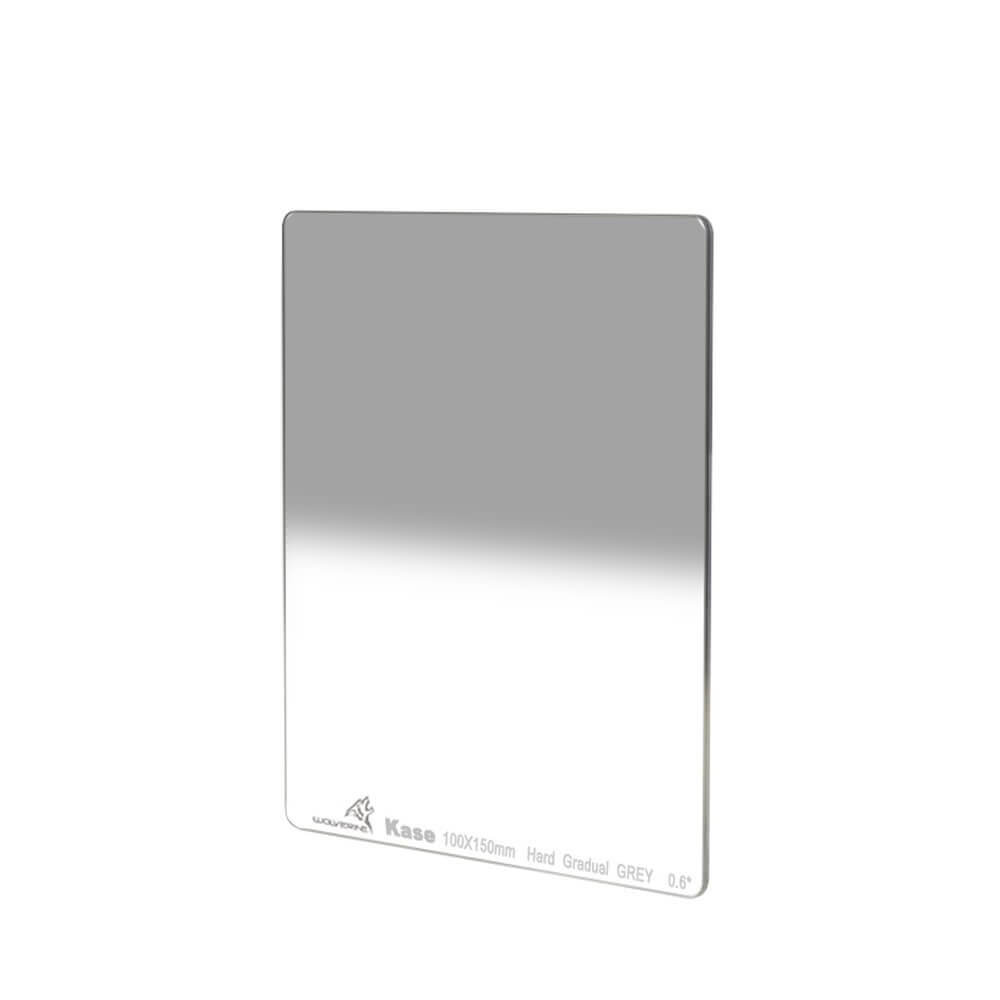
Hard GND filters
These filters have an abrupt transition between the dark and clear areas. Hard graduated neutral density filters offer precise control over the exposure balance and are especially useful when the horizon line is straight and distinct.
Best to use for: Scenes with a clear, defined horizon, such as seascapes or flat landscapes.
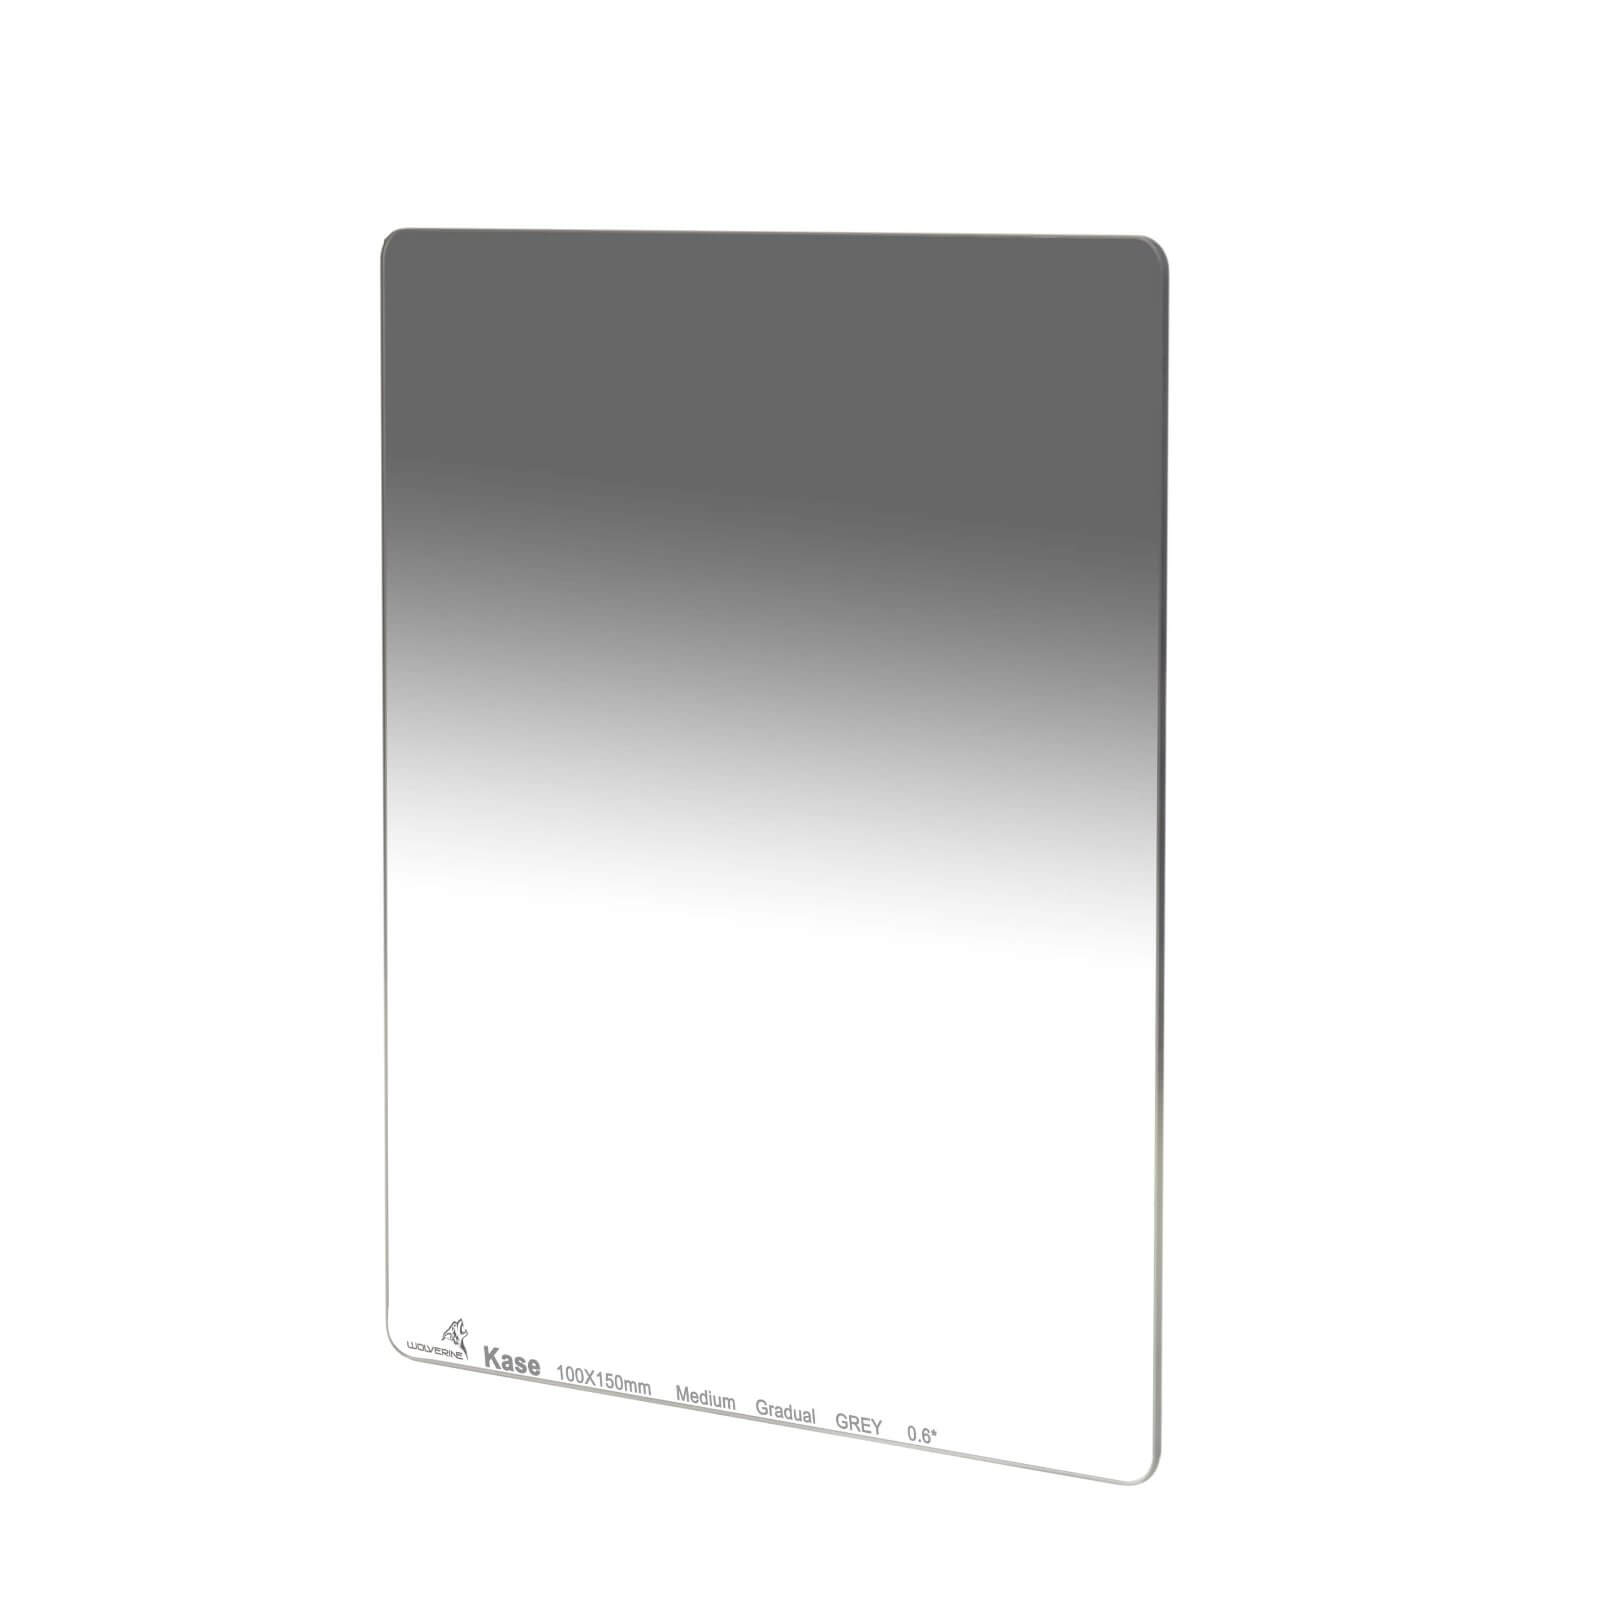
Medium GND filters
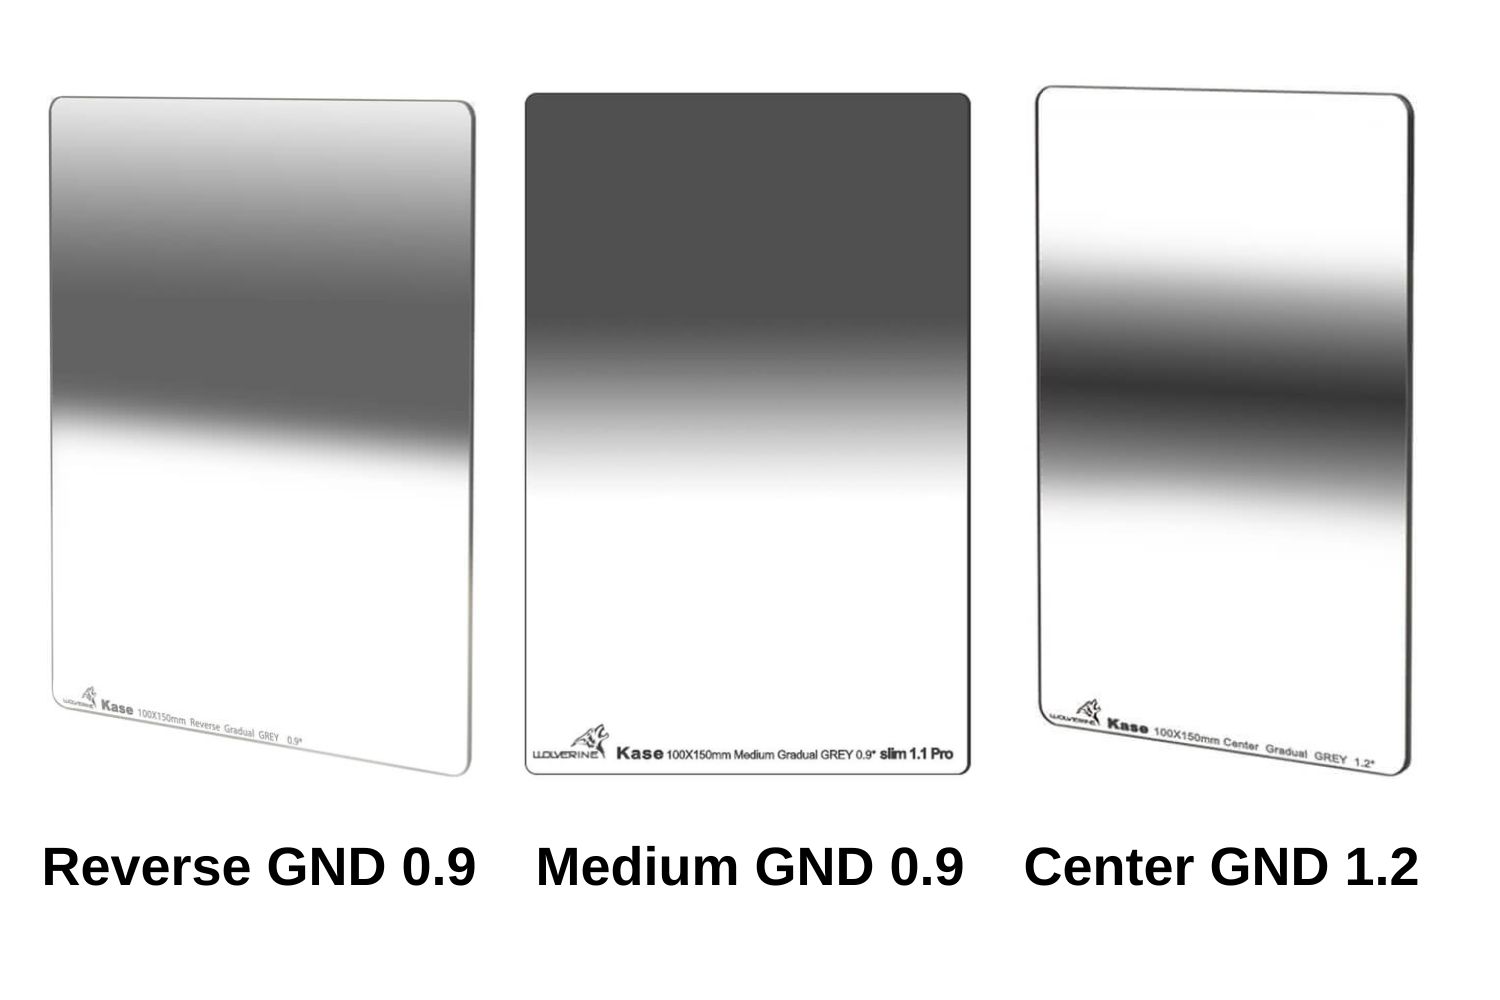
Medium graduated ND filters have a bit more distinct transition than soft GND but less abrupt than hard GND filters have.
Best to use for: Landscapes without big protruding objects on the horizon line.
See our medium graduated ND filters
Centre GND filters
They have a dark line area in the middle that transitions to clear towards both edges of the filter. Centre-graduated ND filters provide a balanced exposure when dealing with intense light in the centre of the image, preventing overexposure in that area while maintaining details around it.
Best to use for: Scenes where the brightest light source is centred in the frame, like the sun or a bright reflection.
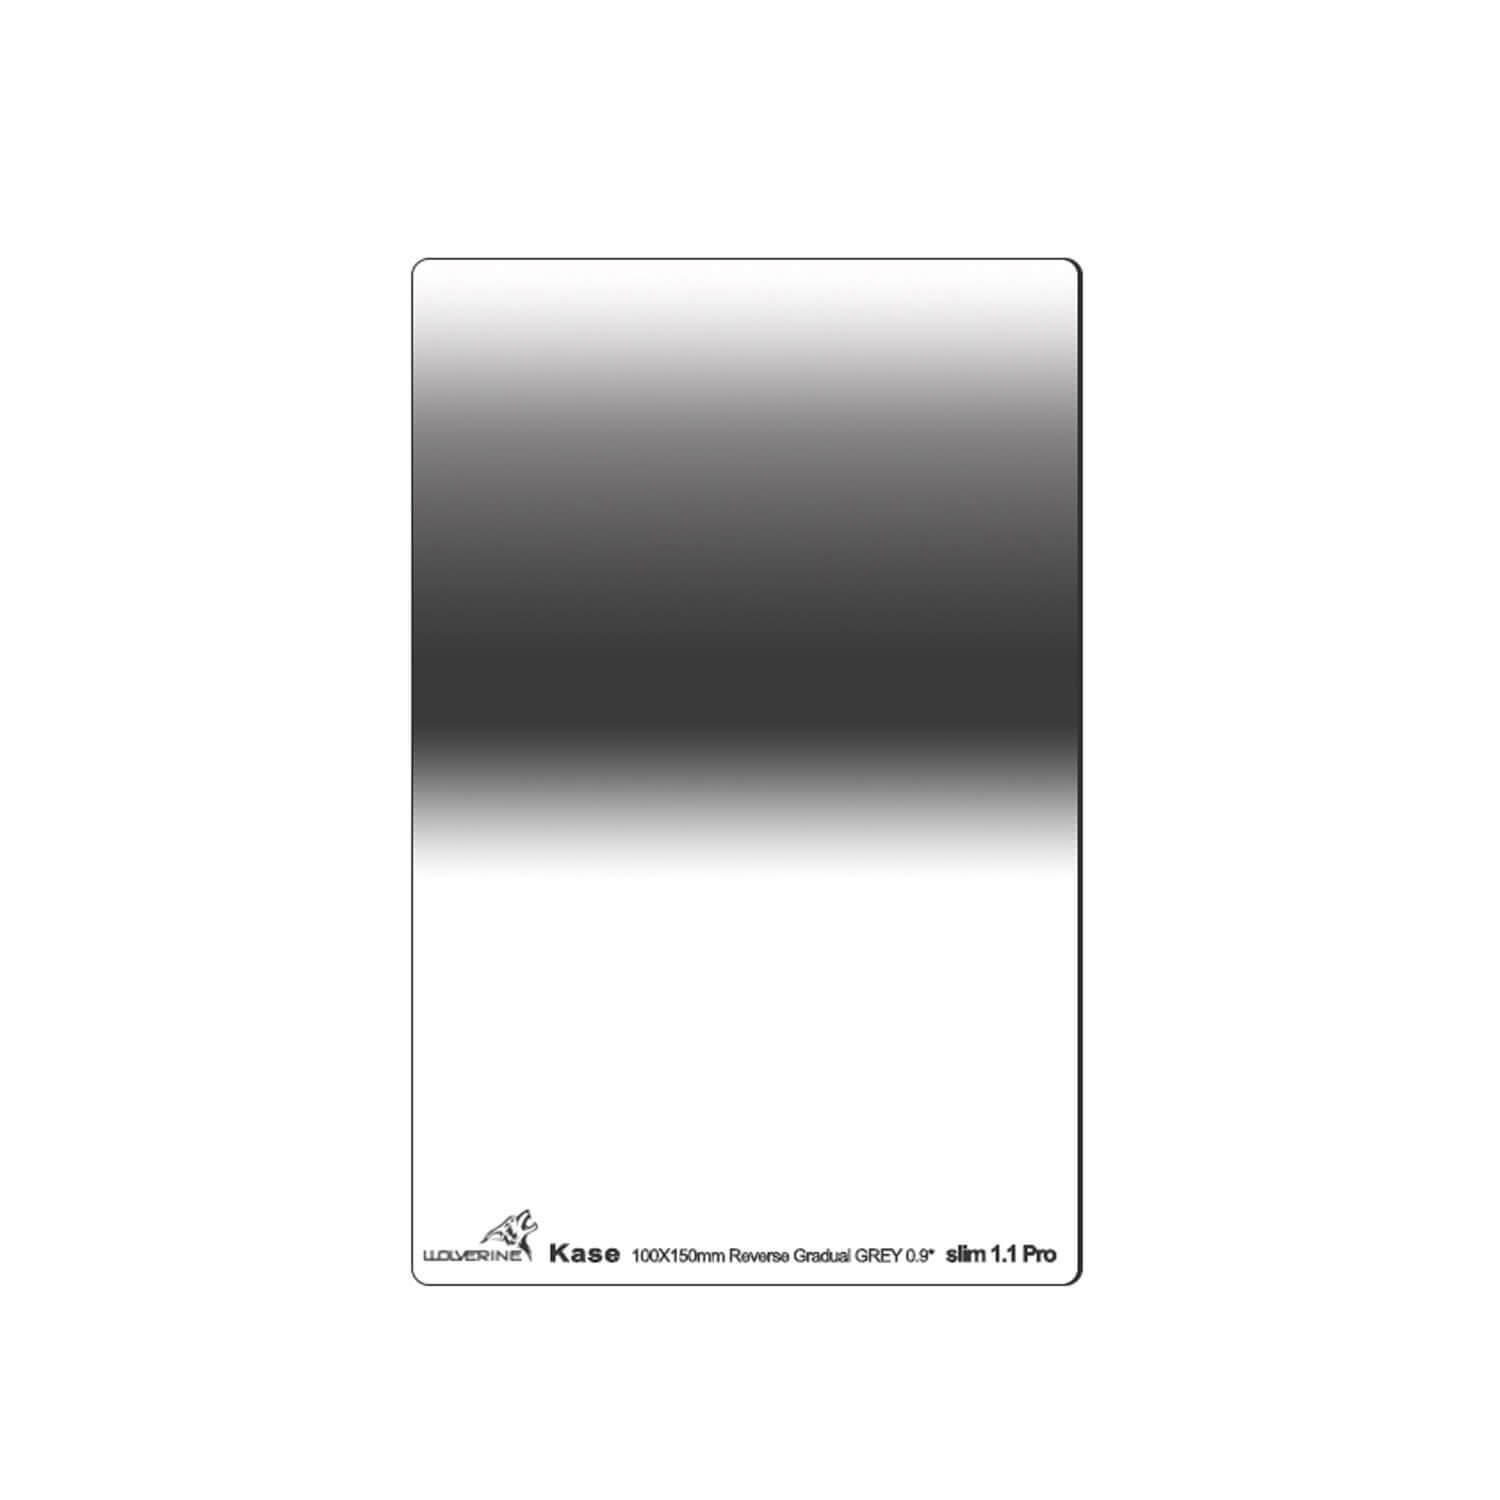
Reverse GND filters
This type of graduated ND filter is darkest near the centre and gradually becomes lighter towards the edge, ideal for capturing intense light near the horizon. It helps to manage the intense light at the horizon without darkening the upper sky too much, preserving details in both the sky and the foreground.
Best for: Reverse graduated ND filters are perfect to use for sunrise and sunset photography where the brightest part of the scene is near the horizon.
Explore our reverse GND filters
How to use graduated ND filters: step-by-step
Using graduated ND filters is not difficult, but it requires some practice to get a good shot. Start off with these instructions on how to use a graduated neutral density filter correctly:
- Choose the right filter for the scene. Based on the scene, choose between soft, hard, reverse, middle or centre graduated ND filters. Look at the horizon line and the light source to understand which transition suits you more.
- Identify the scene’s dynamic range:
- Point your camera at the foreground and take a meter reading. Note the exposure settings (aperture, shutter speed, and ISO).
- Point your camera at the sky and take a meter reading. Note the exposure settings.
- Compare the two readings. The difference in stops between the sky and the foreground indicates the strength of the graduated ND filter you need to use. The usual practice is to reduce the exposure of the bright area so that it’s one stop more than the dark foreground: e.g. the sky is 3 stops brighter, then GND of 2 stops is the best to use for maintaining a natural look.
- Attach the filter: Insert the filter into a holder attached to your lens. Adjust the filter's position by sliding it up or down to align the gradient with the horizon. If you are using the circular graduated ND filter, just screw it onto the front of your lens.
- Compose your image and position the filter correctly. For scenes with a clear horizon, align the transition line of the filter with the horizon. For irregular horizons, adjust the filter to ensure the gradient covers the brightest areas without darkening the foreground too much.
- Take the shot using camera settings for the foreground from step 2. Experiment with different filter positions and stops to find the perfect balance.
To get the best shots when using graduated ND filters, you can use a tripod – it will allow you to position the filter precisely and make your work with more convenient.
Which ND grad filter to buy?
Here are some considerations for choosing a GND filter for your needs, below you can also find a ready recommendation for beginners if you want just a solution ?
Which graduated ND filter to use in photography depends on what type of landscapes you shoot and the focal length of your lens.
- Type of landscape: The straighter the horizon is, the harder the gradient transition you need. For straight horizons, use hard graduated ND filters, for uneven horizons – soft. For sunrises and sunsets, reverse GND filters work the best.
- Focal length: The same filter will look different on a different focal length.
- Wide-angle lenses: Soft graduated ND filters work well with wide-angle lenses, providing a seamless transition in expansive scenes. Hard graduated ND filters can be more noticeable in wide shots, so careful positioning is needed.
- Standard and telephoto lenses: Hard graduated ND filters are more effective with standard and telephoto lenses, where the horizon is more defined and easier to align with the transition. Soft graduated ND filters are still useful but may require more precise positioning.
For beginners, a 2-stop soft graduated ND filter is a great starting point. It offers a moderate reduction in light, making it versatile for various lighting conditions without being too extreme. A soft graduated ND filter is also recommended for beginners due to its gradual transition, which is more forgiving and easier to use in different landscape compositions.


