What are neutral density filters used for?
Because not every photographer can take their photos in the studio and adjust the light in a targeted manner. As soon as you want to take pictures in bright sunshine, but you need a wide open aperture for reasons of the desired composition, most cameras quickly reach their limits with an exposure time of 1/4000 seconds, despite an ISO setting of 100. In order not to overexpose the image, the aperture would have to be closed even further, which would then destroy the planned image look.
And this is exactly where the gray or ND filter is used in photography. Another purpose can be found in long-term exposures. Here, too, the effects and properties of the neutral density filter can be used to significantly increase the exposure time.
See more on our dedicated ND filter article.
How does an ND filter work?
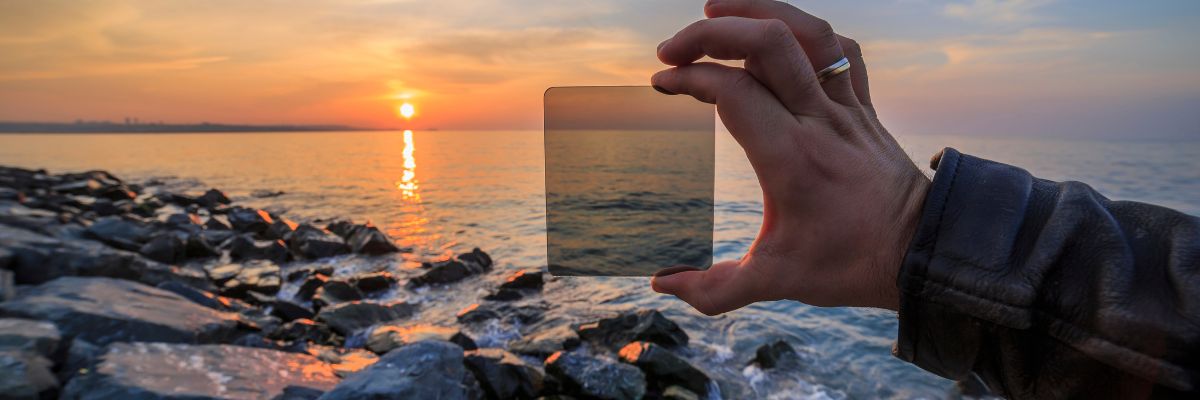
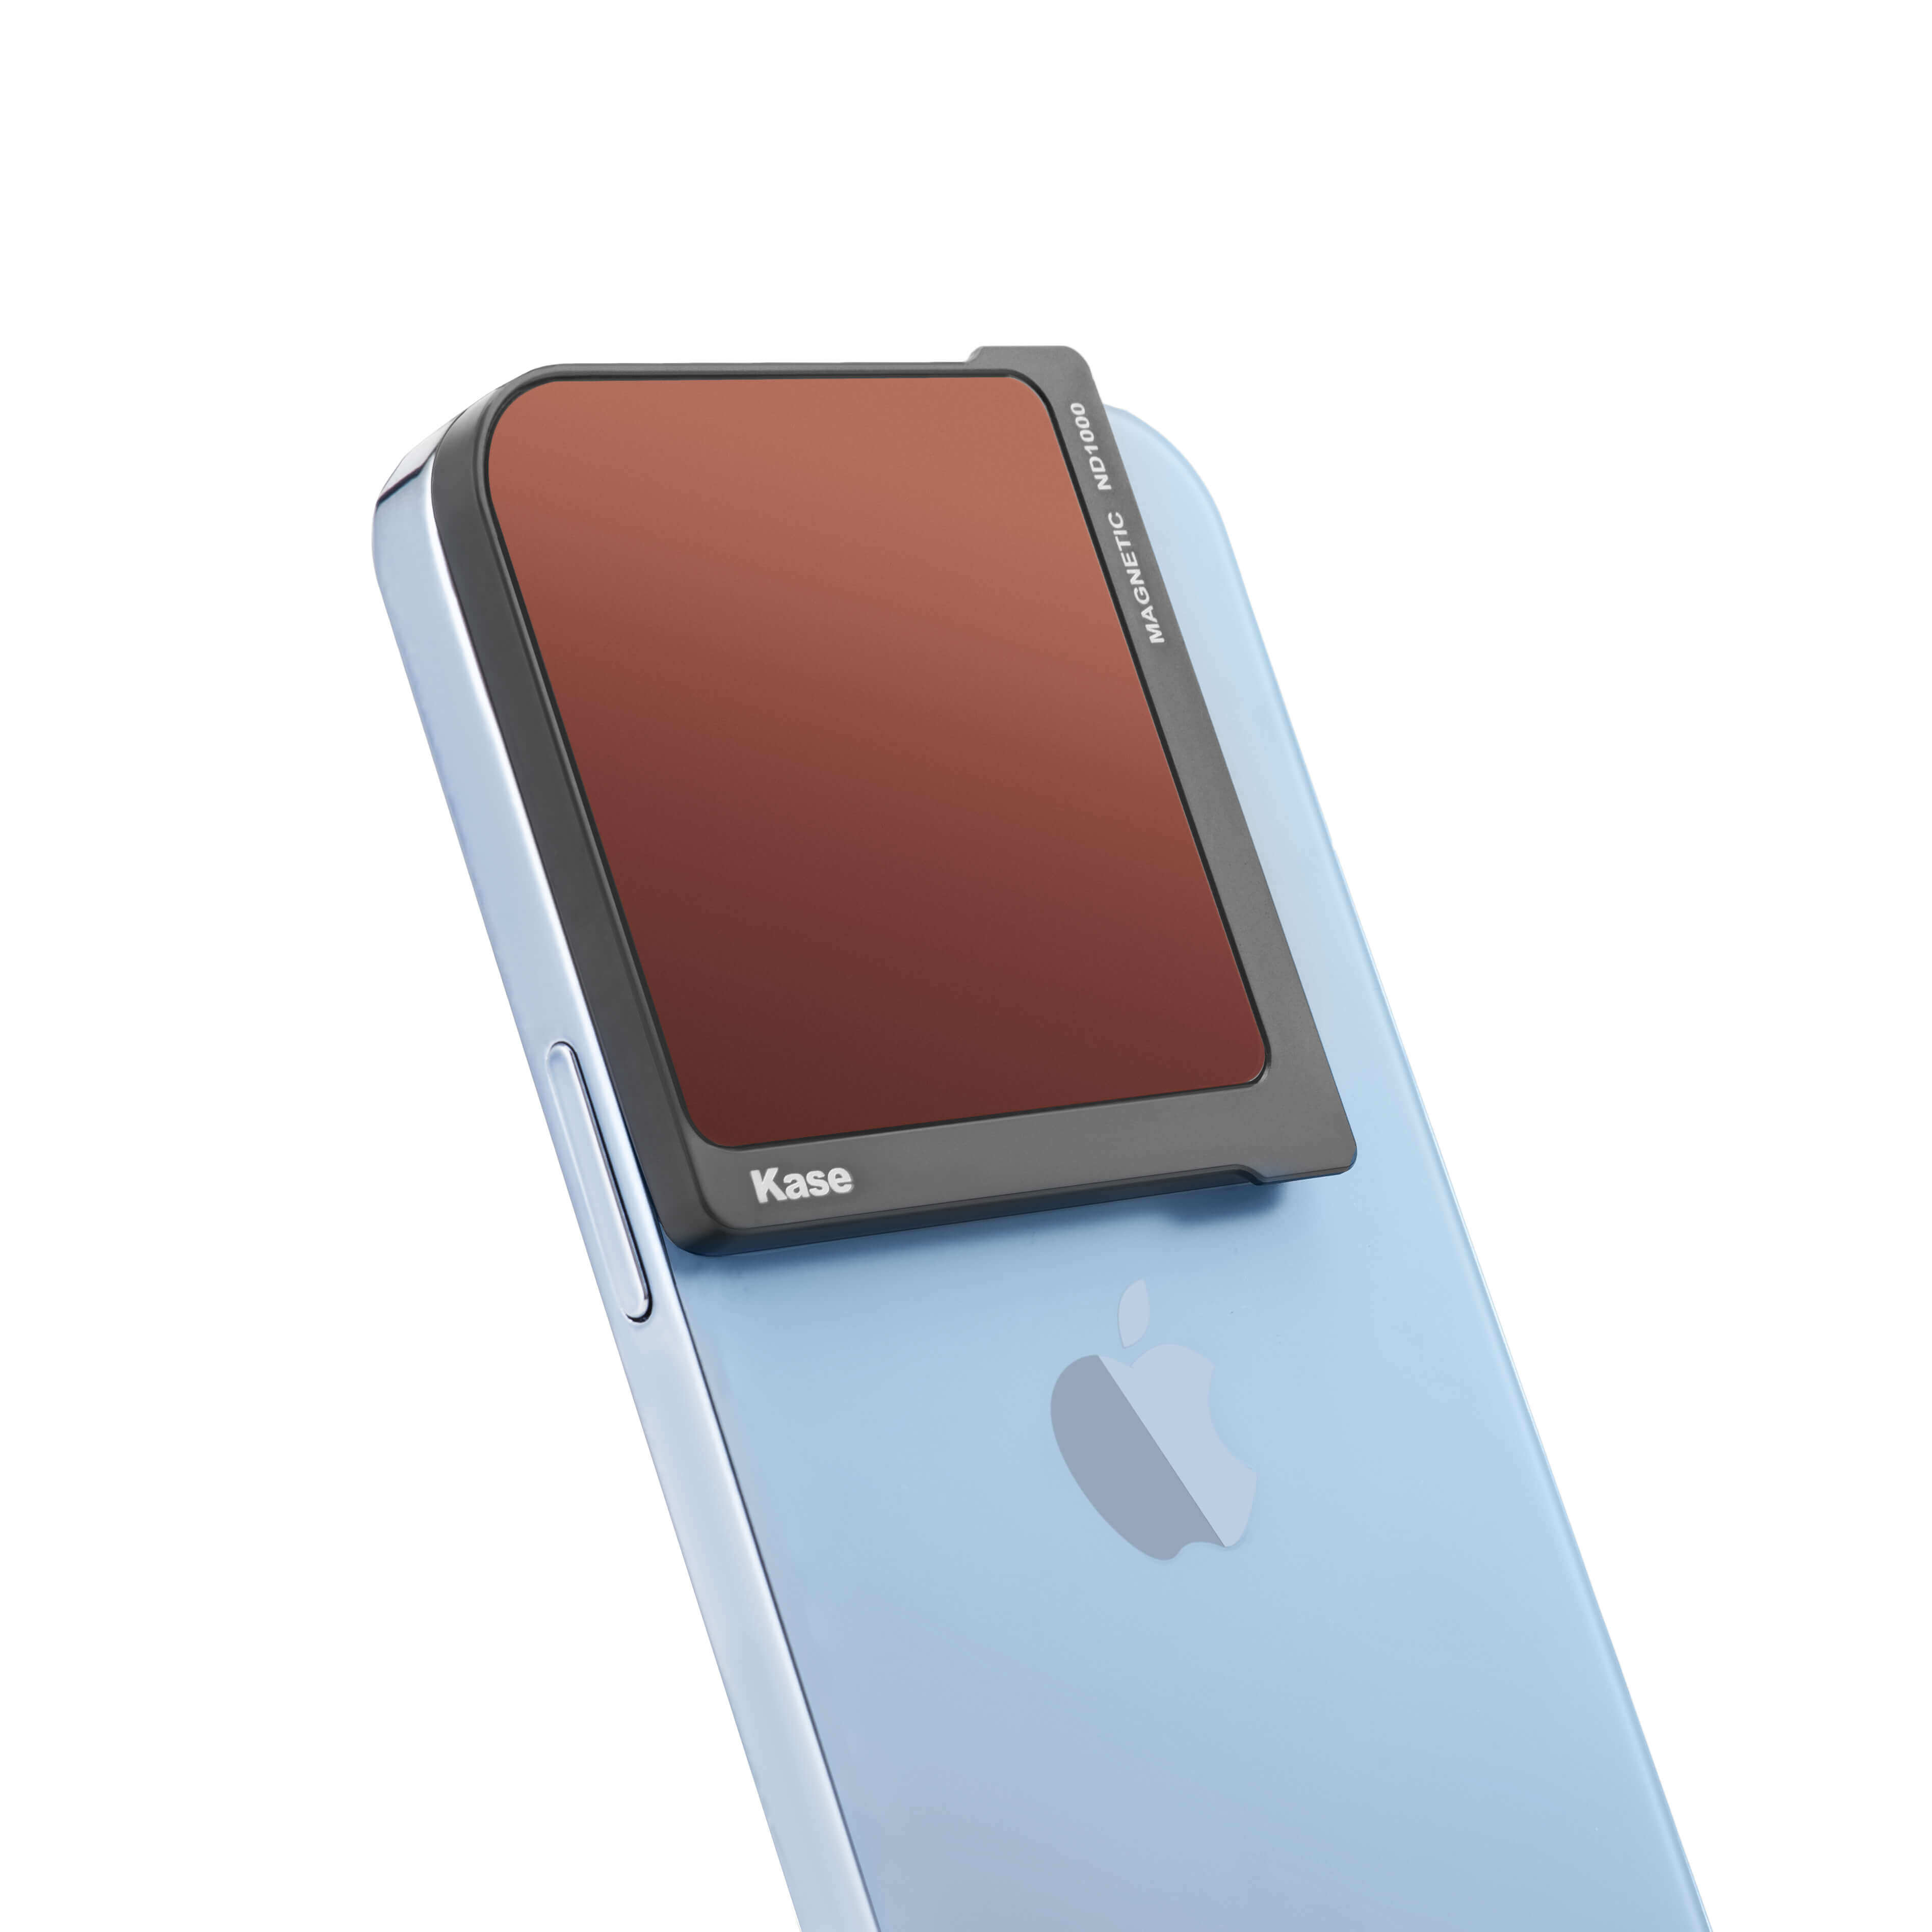
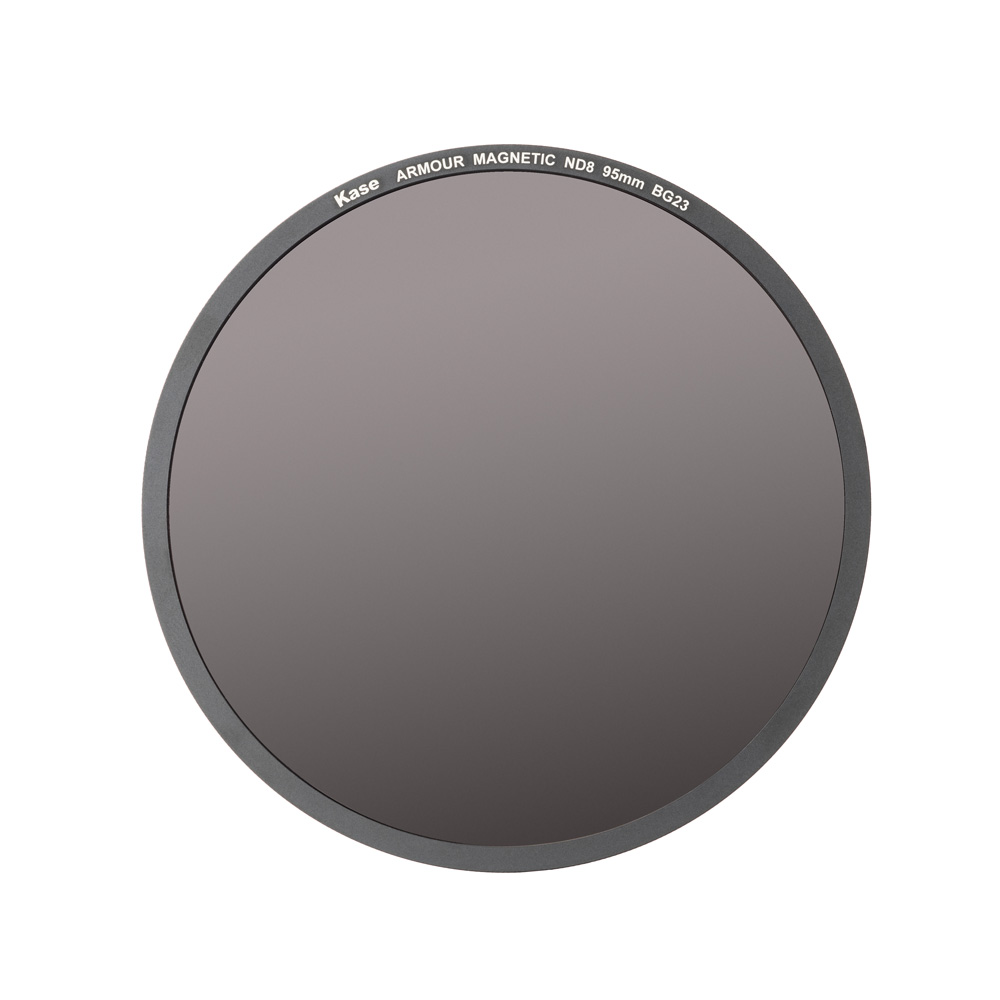
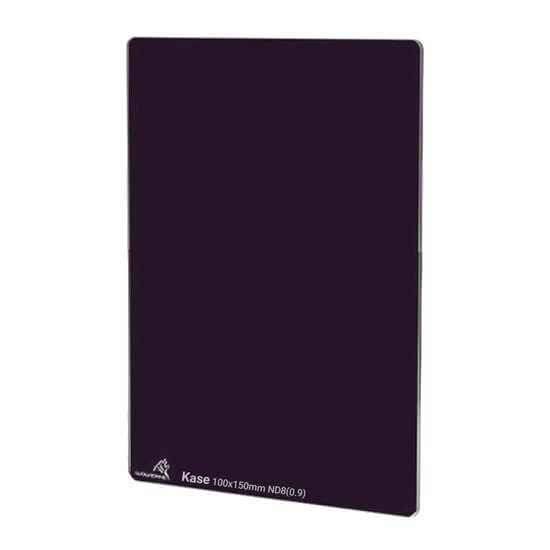
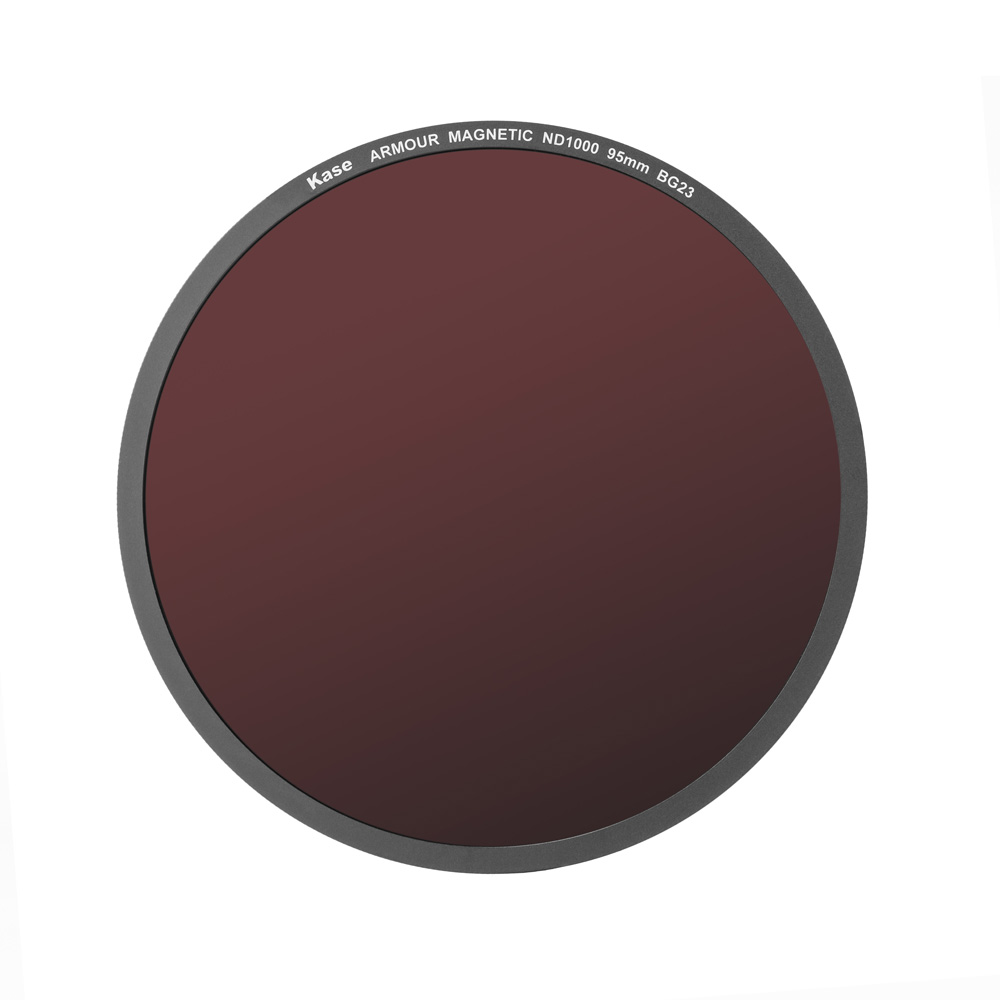
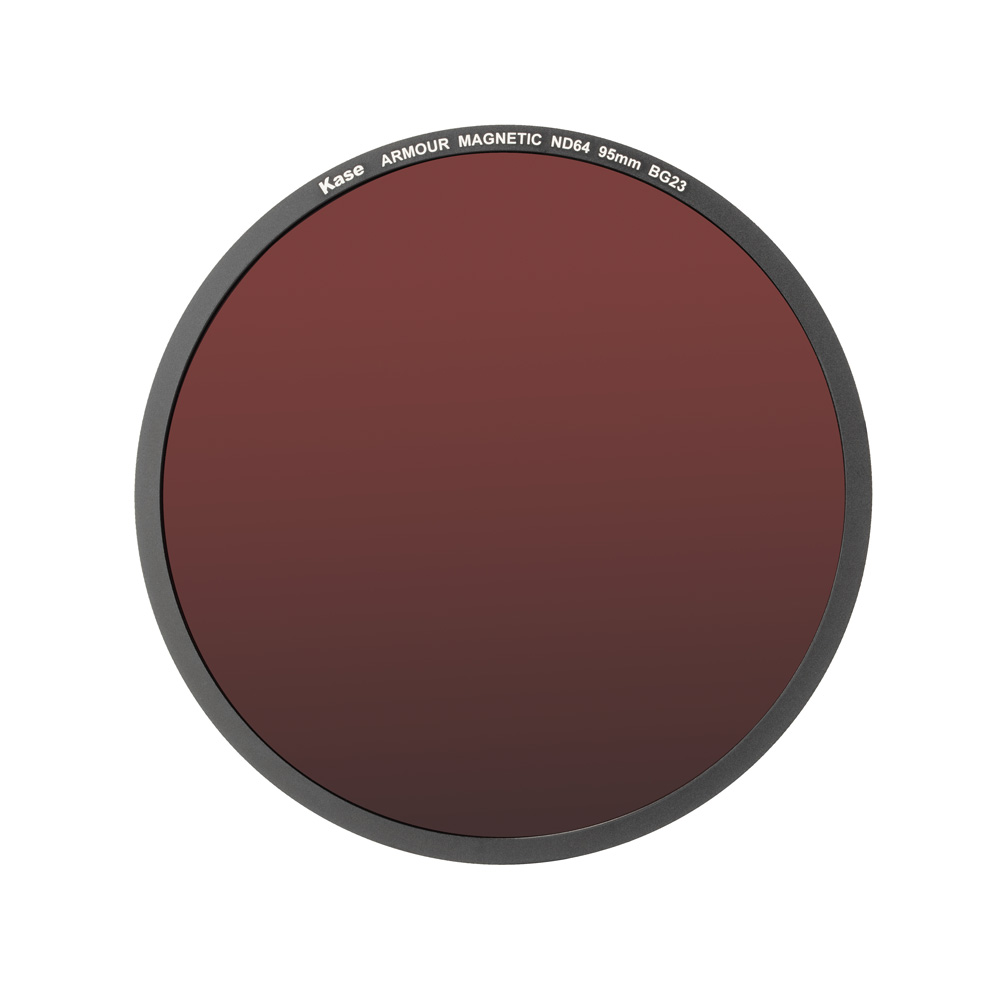
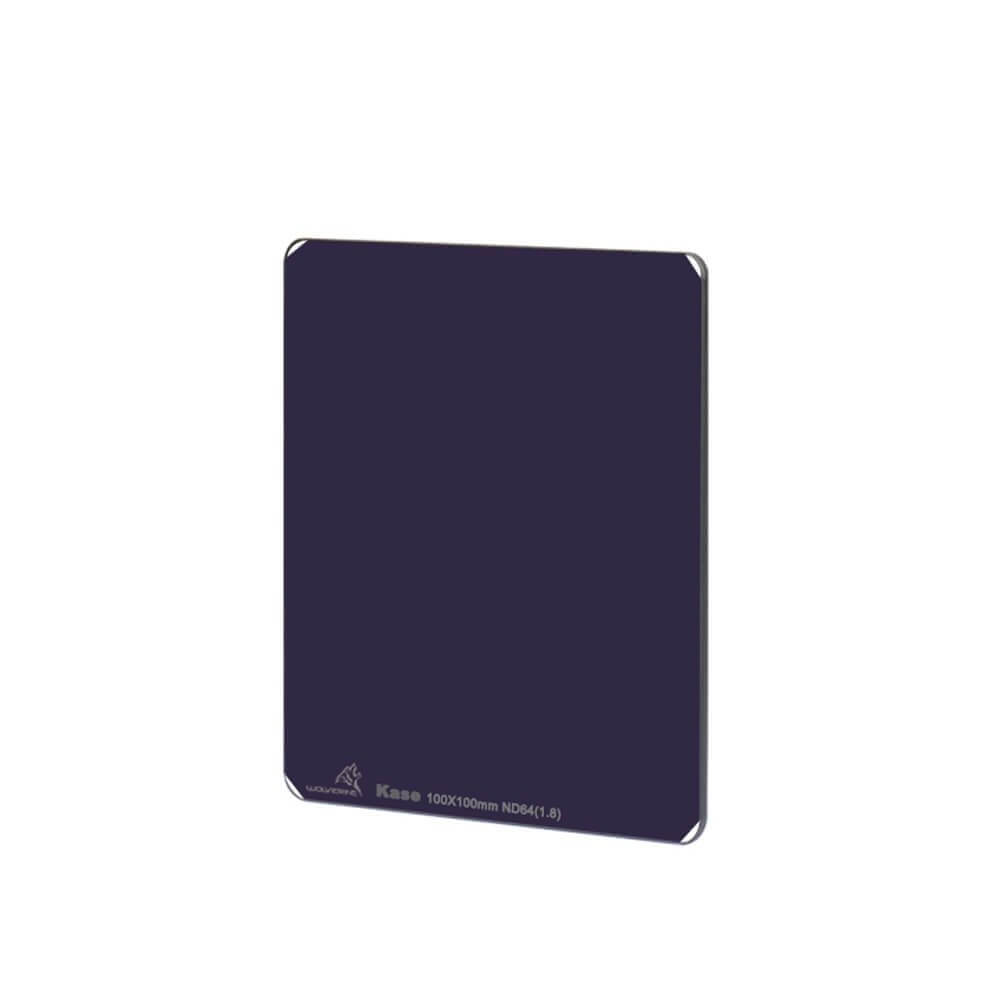
In principle, a gray filter is comparable to sunglasses only for cameras and reduces the light entering the lens and the sensor. This reduces the amount of incident light and the resulting exposure time is increased by a fixed factor. Gray filters are available in different strengths and shapes, with which a wide variety of exposure times can be realized. The reduction in light incidence ranges from 2 f-stops with bright ND4 filters to 15 f-stops with the darkest ND64000 filters. On the one hand, we offer you round filters that can be screwed on or attached magnetically, or plug-in filter systems including filter holders.
Even if the neutral density filters usually appear gray or almost black, depending on their strength, the colors and sharpness of the image are not affected by the filters we offer. This is why they are also called neutral density filters. The effect of an ND filter, like that of a polarizing filter, cannot be reproduced digitally!
Types of Kase ND Filters:
Why do you need a gray filter anyway?
As already mentioned, a neutral density filter reduces the amount of light entering the lens without affecting the colors and contrast, thereby enabling you to achieve a longer exposure time or use a larger aperture opening.
The possible areas of application of a gray filter are, for example, the following:
- Motion blur - With a neutral density filter, clouds in the sky can be blurred or flowing water can be drawn velvety softly.
- Disappearing moving people/vehicles – This can come in handy, especially on vacation when a popular attraction is once again completely overrun with tourists.
- Avoid overexposure - In some situations, such as on the beach, it can happen that the light is simply too bright and the photo would be overexposed despite the smallest aperture and shortest shutter speed. To avoid this, ND filters with a small filter factor are well suited.
What is the procedure for exposure with a gray filter?
- First you should mount your camera on a tripod
- The image stabilizer should definitely be switched off (otherwise it could lead to blurring)
- The lowest possible ISO value should be set (often ISO 50 or ISO 100)
- Select the desired image section
- Focus on the subject and turn off autofocus
- Set the program dial on the camera to manual
- Then a small aperture should be chosen, e.g. f/22
- Shoot in RAW format. Because despite corrections, very strong gray filters have a very slight red cast, which can be easily corrected on the computer thanks to the RAW format. If this is not possible, you should check the white balance by taking a test image and then setting it manually.
- The shutter speed is then determined and the value with a gray filter is determined from the table below and set on the camera
- Screw the gray filter onto the lens
- Exposure with a remote shutter release or the camera's self-timer
- You should then get a correctly exposed image and an image that is focused on the subject
Do you need a tripod when using a gray filter?
The answer to this question is generally yes. Unless you use the filter, as already mentioned above, to photograph a portrait with an aperture setting of 1.4 and the blazing midday sun. In most cases, ND filters are used to achieve longer exposure times. The rule of thumb is that a maximum of 1/focal length can still be photographed by hand. When using ND filters for long-term exposures, one usually speaks of times between one and thirty seconds. You definitely need a tripod for this, otherwise the picture will be blurred.
Which filter size do you need?
For this you should know on which lens the filters are to be used. To do this, you look at the lens, because there it is noted which filter diameter fits on the lens. If you often take pictures with a wide-angle lens, which has a filter diameter of 77 mm, for example, you should use filters with a diameter of 77 mm. However, if you plan to deal more intensively with long-term exposures, we would recommend buying a 77 mm filter or, depending on the lens, an 82 mm filter and attaching it to the respective lens using the step-up ring we offer.
Why do we recommend going straight for the bigger one? Because otherwise you first buy a gray filter with a diameter of 67mm for the smaller lenses, only to then find out that you have to spend more money on a later purchased wide-angle lens or a faster standard zoom because you need a larger filter diameter for the lenses. If you get 77mm or 82mm from the start, you avoid this problem.
Do you need specific gray filters for Canon, Nikon or Sony cameras?
No, because it doesn't matter which camera manufacturer is used. All ND filters available from us can be used on all cameras, as long as the filter diameter matches the lens diameter used.
Does it matter whether the ND filter is used on a SLR camera or a system camera?
ND filters can be used independently of the camera used. Here, too, the only thing that matters is the filter diameter of the lens on which the filter is to be used. This is how the filters on SLR cameras, system cameras and bridge cameras work.
Should you buy plastic or glass camera filters?
Plastic filters are usually a bit cheaper but have some disadvantages. Glass has the advantage that it is not easily scratched. However, there is a higher probability that it will break if it falls. However, the filters we offer are made of very shock-resistant glass, so they should survive one or the other fall. Plastic ND filters need to be replaced every few years as they tend to scratch the surface over time no matter how careful you are when shooting.
Read more about advantages and disadvatages of plastic and glass filters.
Can several filters be combined?
Yes, of course it is possible. It is sometimes even common practice to screw together the right filter yourself, depending on the lighting conditions. Apart from a slight vignetting, there are no other negative effects to be feared from the combination of several gray filters. It should only be noted that with combined filters, the neutral densities must be added or the filter factors must be multiplied.
Can long exposures also be realized without an ND filter?
This is of course possible, so you can simply take pictures late in the hour or at night. During the day, however, it is clearly too bright to get higher and sufficient exposure times without a neutral density filter. This is exactly where the advantage of gray filters lies, because you can not only realize long-term exposures at certain times of the day, but also without problems during the day when using gray filters.
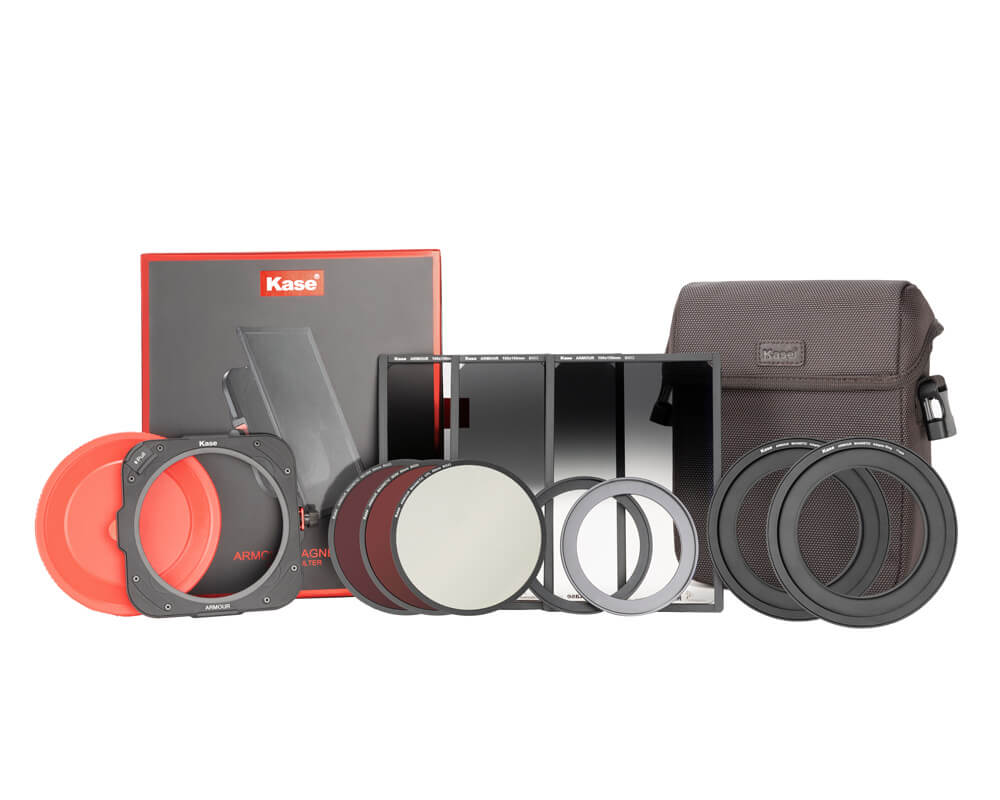
See a few Kase sets with different filters included
What tools do you need for long exposures?
Especially in building and landscape photography, the perfect image is the ideal. In order to present the selected motif perfectly in the photo, at least the following equipment is mandatory:
- tripod
- remote trigger
- correction table for the exposure time or a suitable calculator
Even with the use of the best tripod, the image can become blurred. This is usually less due to an insufficiently stable stand, but rather to the mirror lock-up. In order to take the perfect picture, it is therefore necessary to completely avoid even the slightest vibration. For this purpose, the mirror lock-up can be switched on on a reflex camera. When the mirror preset is activated, the mirror of the camera is already folded up before the actual picture is taken, where it remains until the picture is taken. If you now press the trigger, the shock from the mirror has already happened. Only the "curtain" of the camera is opened to take the picture, which means that folding the mirror can no longer have a negative effect on the picture.
What mistakes can happen when recording with gray filters?
- Dirty ND filter (smudges, dust, etc.),
- Blurry or shaky picture (poor stand of the tripod, mirror lock-up not active),
- Incorrect exposure time (wrong calculation, gray filter table not observed),
- Incorrectly set polarizing filter (dark spots in the picture, because if the polarizing filter is set too strong, the blue in the sky will quickly appear spotty)
- Wrong or cheap filters (cheap filters made of simple plastic and not optical glass often exhibit extreme color shifts or tend to vignette)
- The most common mistake, however, is that photographers use an unsuitable tripod. So you should reach for a very stable model, preferably a carbon tripod that is also light enough to take with you on a longer tour. The tripod head is also a factor in holding the mounted camera in the intended position.
How to adjust the sharpness when the filter is already mounted?
More modern cameras can also focus on the sensor using autofocus when there is relatively little light. If there is not enough light, you can use an LED lamp as an aid, for example. This illuminates the desired autofocus point and in most cases the camera can still focus.
If all else fails, you simply remove the filter holder and focus without it. Then set the lens or camera to manual focus and reinstall the filter holder. Of course, the focus must not be changed anymore.


