General

Why are ND Filters useful for portrait photography and how to use them
ND filters, or neutral density filters, are a type of camera filter that can help photographers achieve more creative and professional-looking portrait photos. These filters work by reducing the amount of light that enters the camera lens without changing the color or tone of the image. By doing so, ND filters allow photographers to use wider apertures or longer shutter speeds, which can result in more striking and artistic portraits. Whether you're a professional portrait photographer or simply someone who enjoys taking pictures of friends and family, understanding how to use ND filters can take your portrait photography to the next level.
Which ND Filters are recommended for Portrait photography?
The most common ND filters for portrait photography are 3-stop and 6-stop filters, which can provide a good balance between light reduction and versatility.
3-stop ND filters for portrait photography
A 3-stop ND filter can be useful in slightly reducing the amount of light entering the camera, allowing you to use wider apertures or slower shutter speeds without overexposing the image. This can help achieve a shallower depth of field and create a more visually appealing portrait.

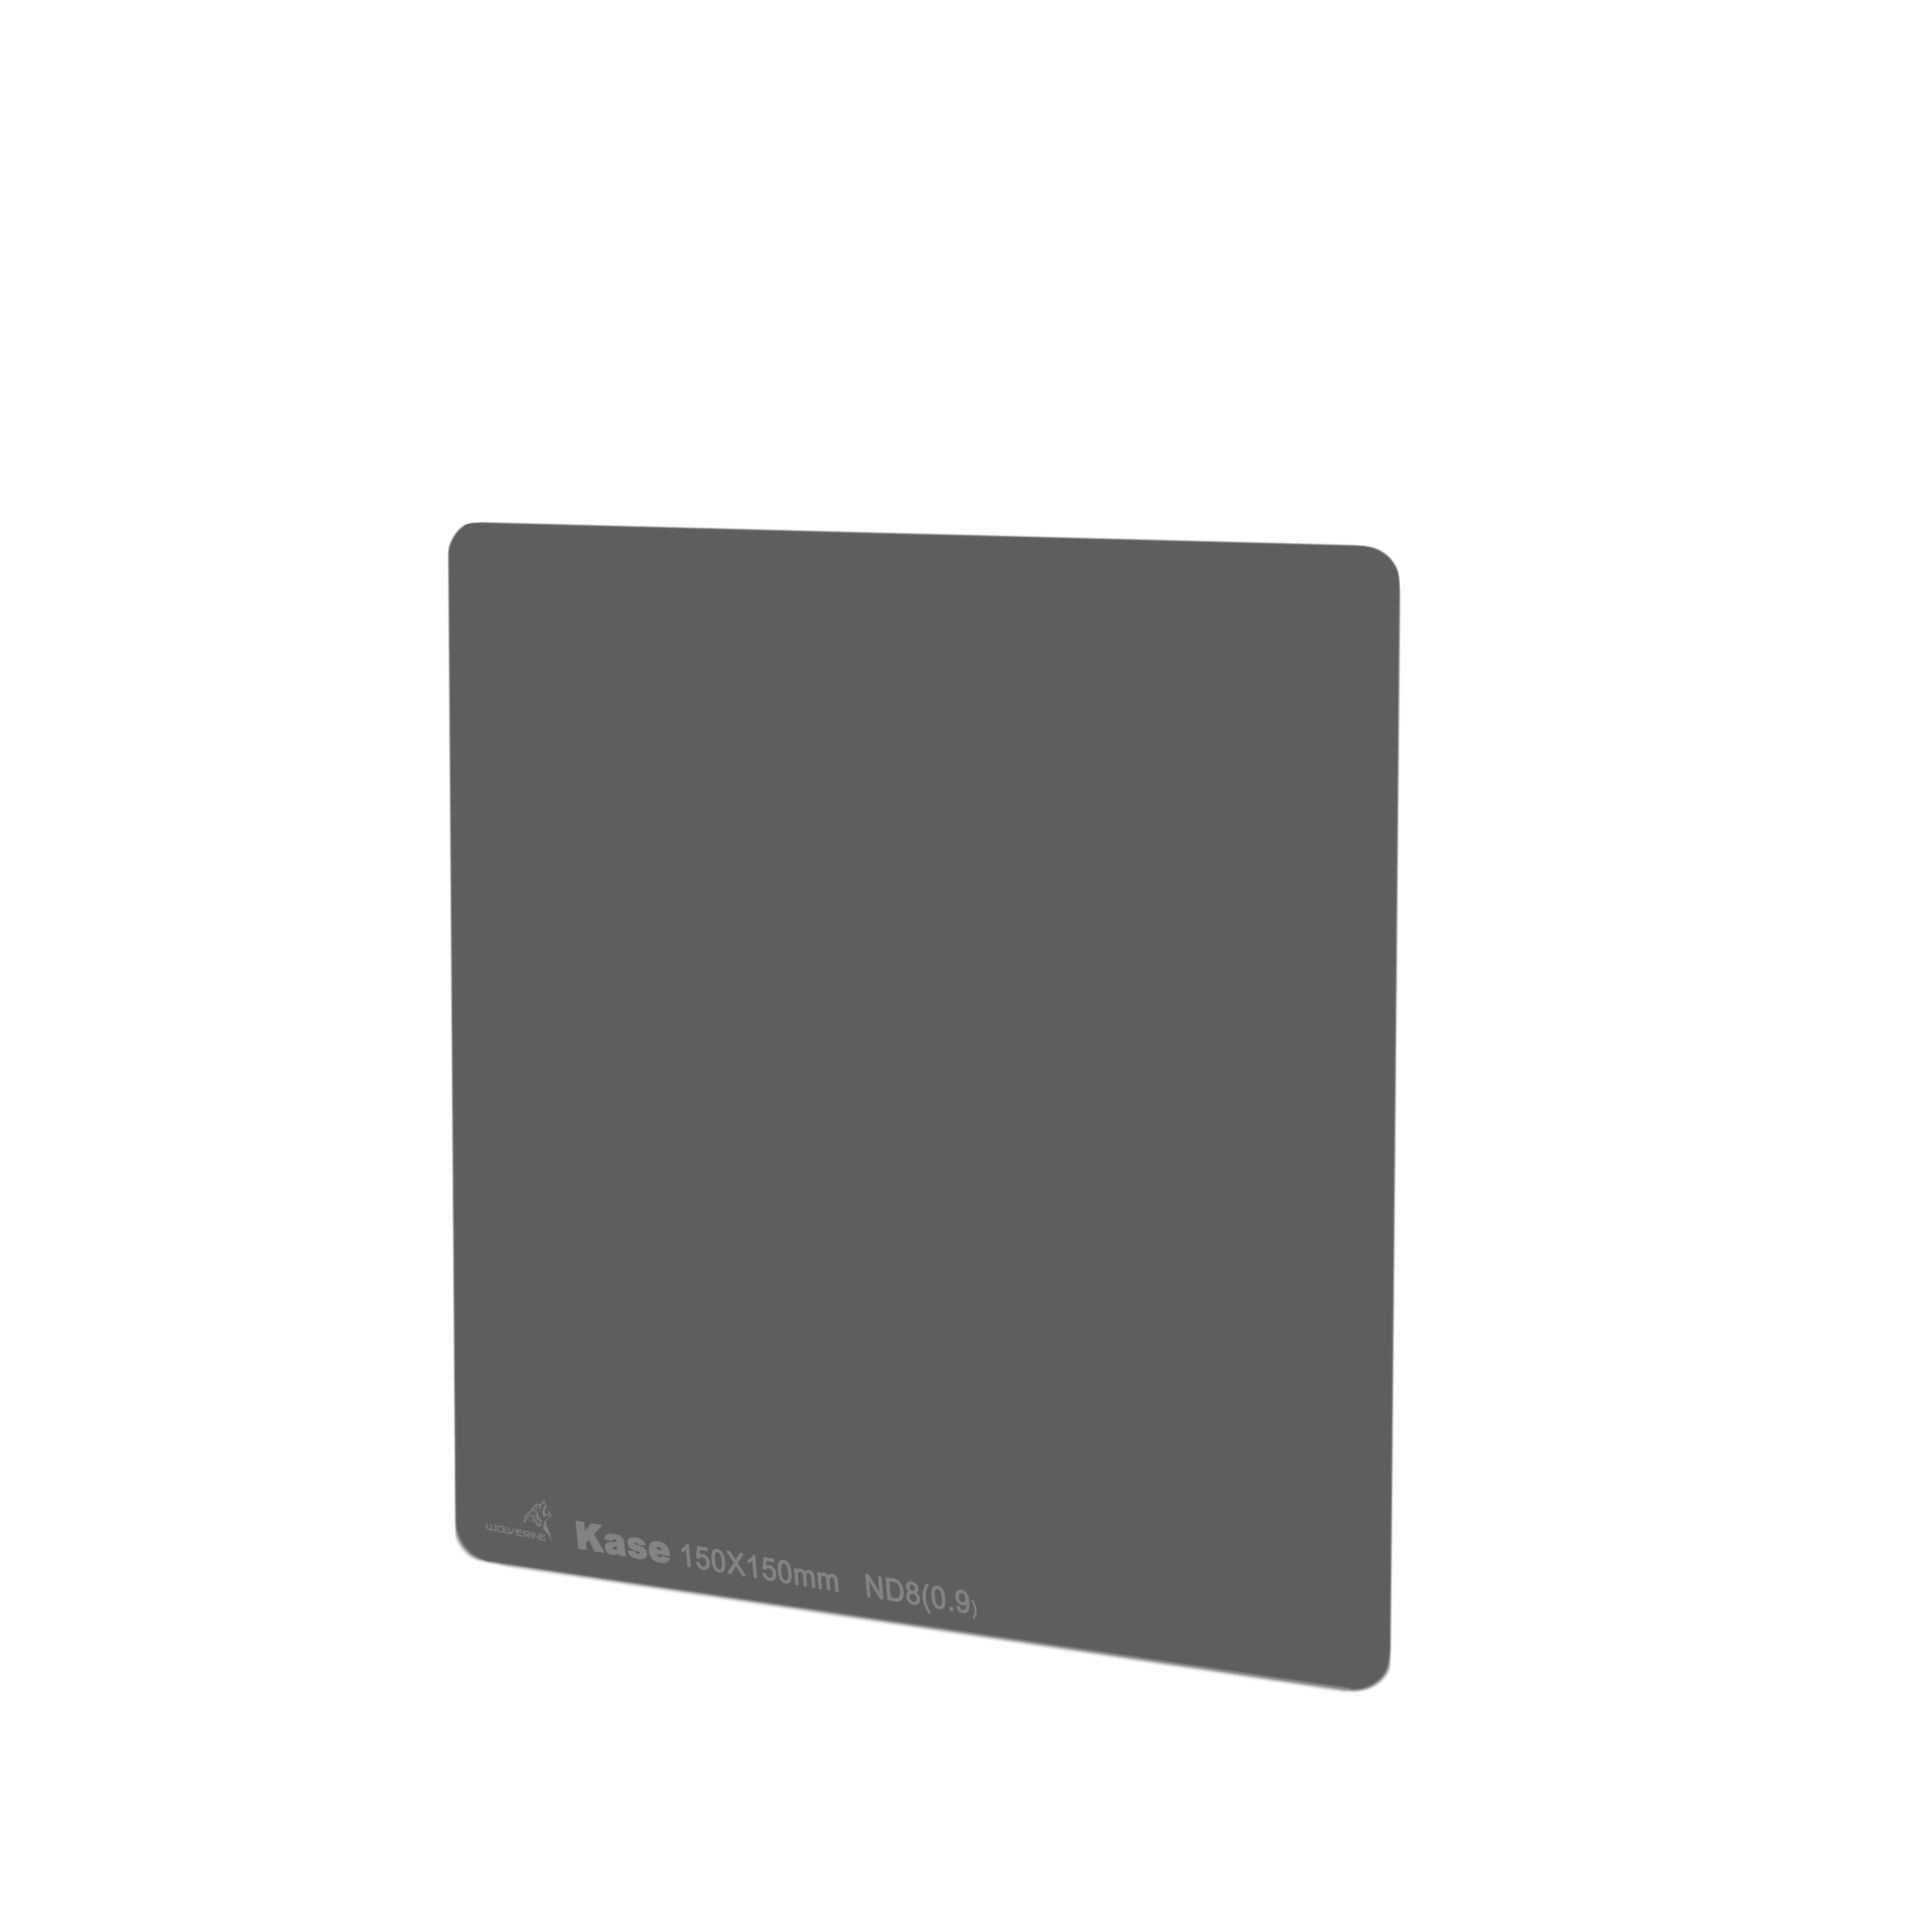
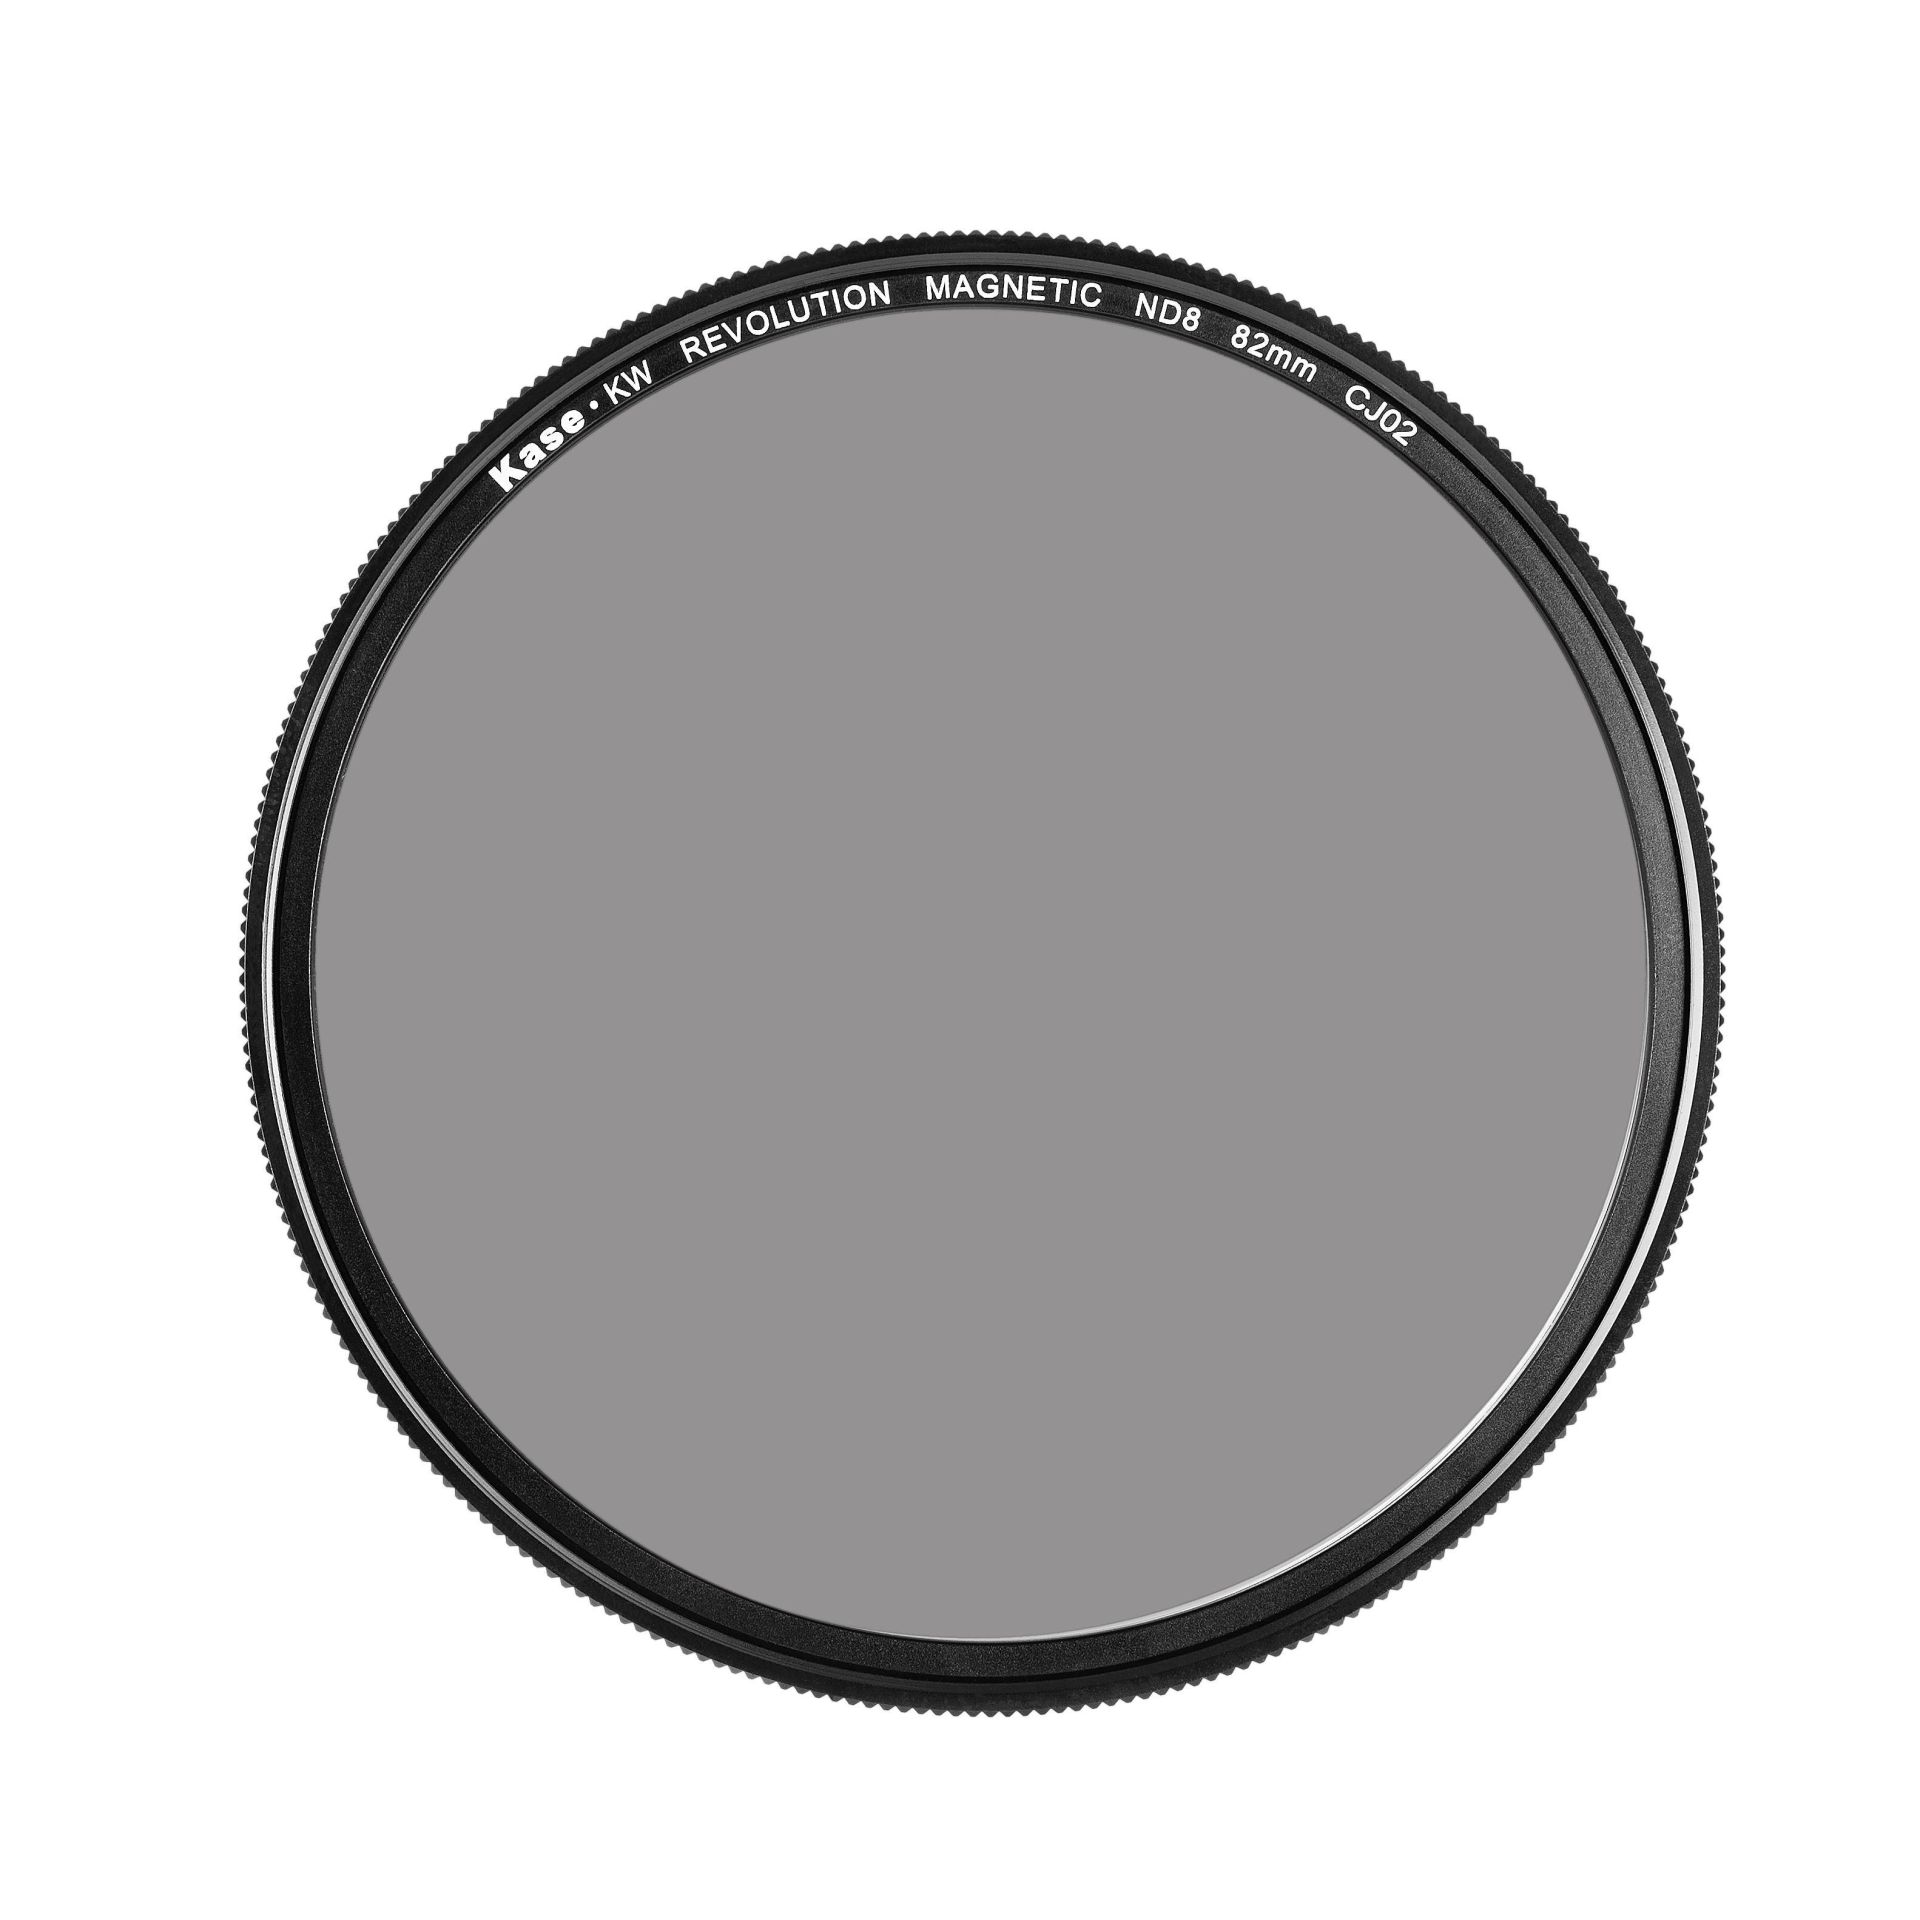
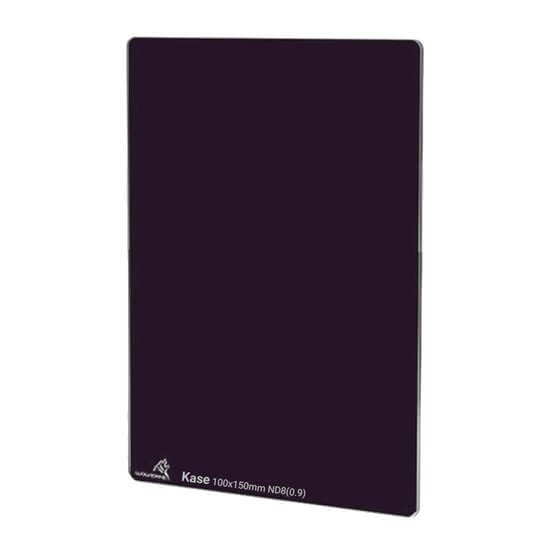
Kase ND8 Filters

6-stop ND filters for portrait photography
A 6-stop ND filter can be helpful when shooting in bright sunlight, as it can reduce the amount of light entering the camera enough to allow you to use slower shutter speeds or wider apertures without overexposing the image. This can help create more creative effects, such as motion blur or a shallow depth of field.

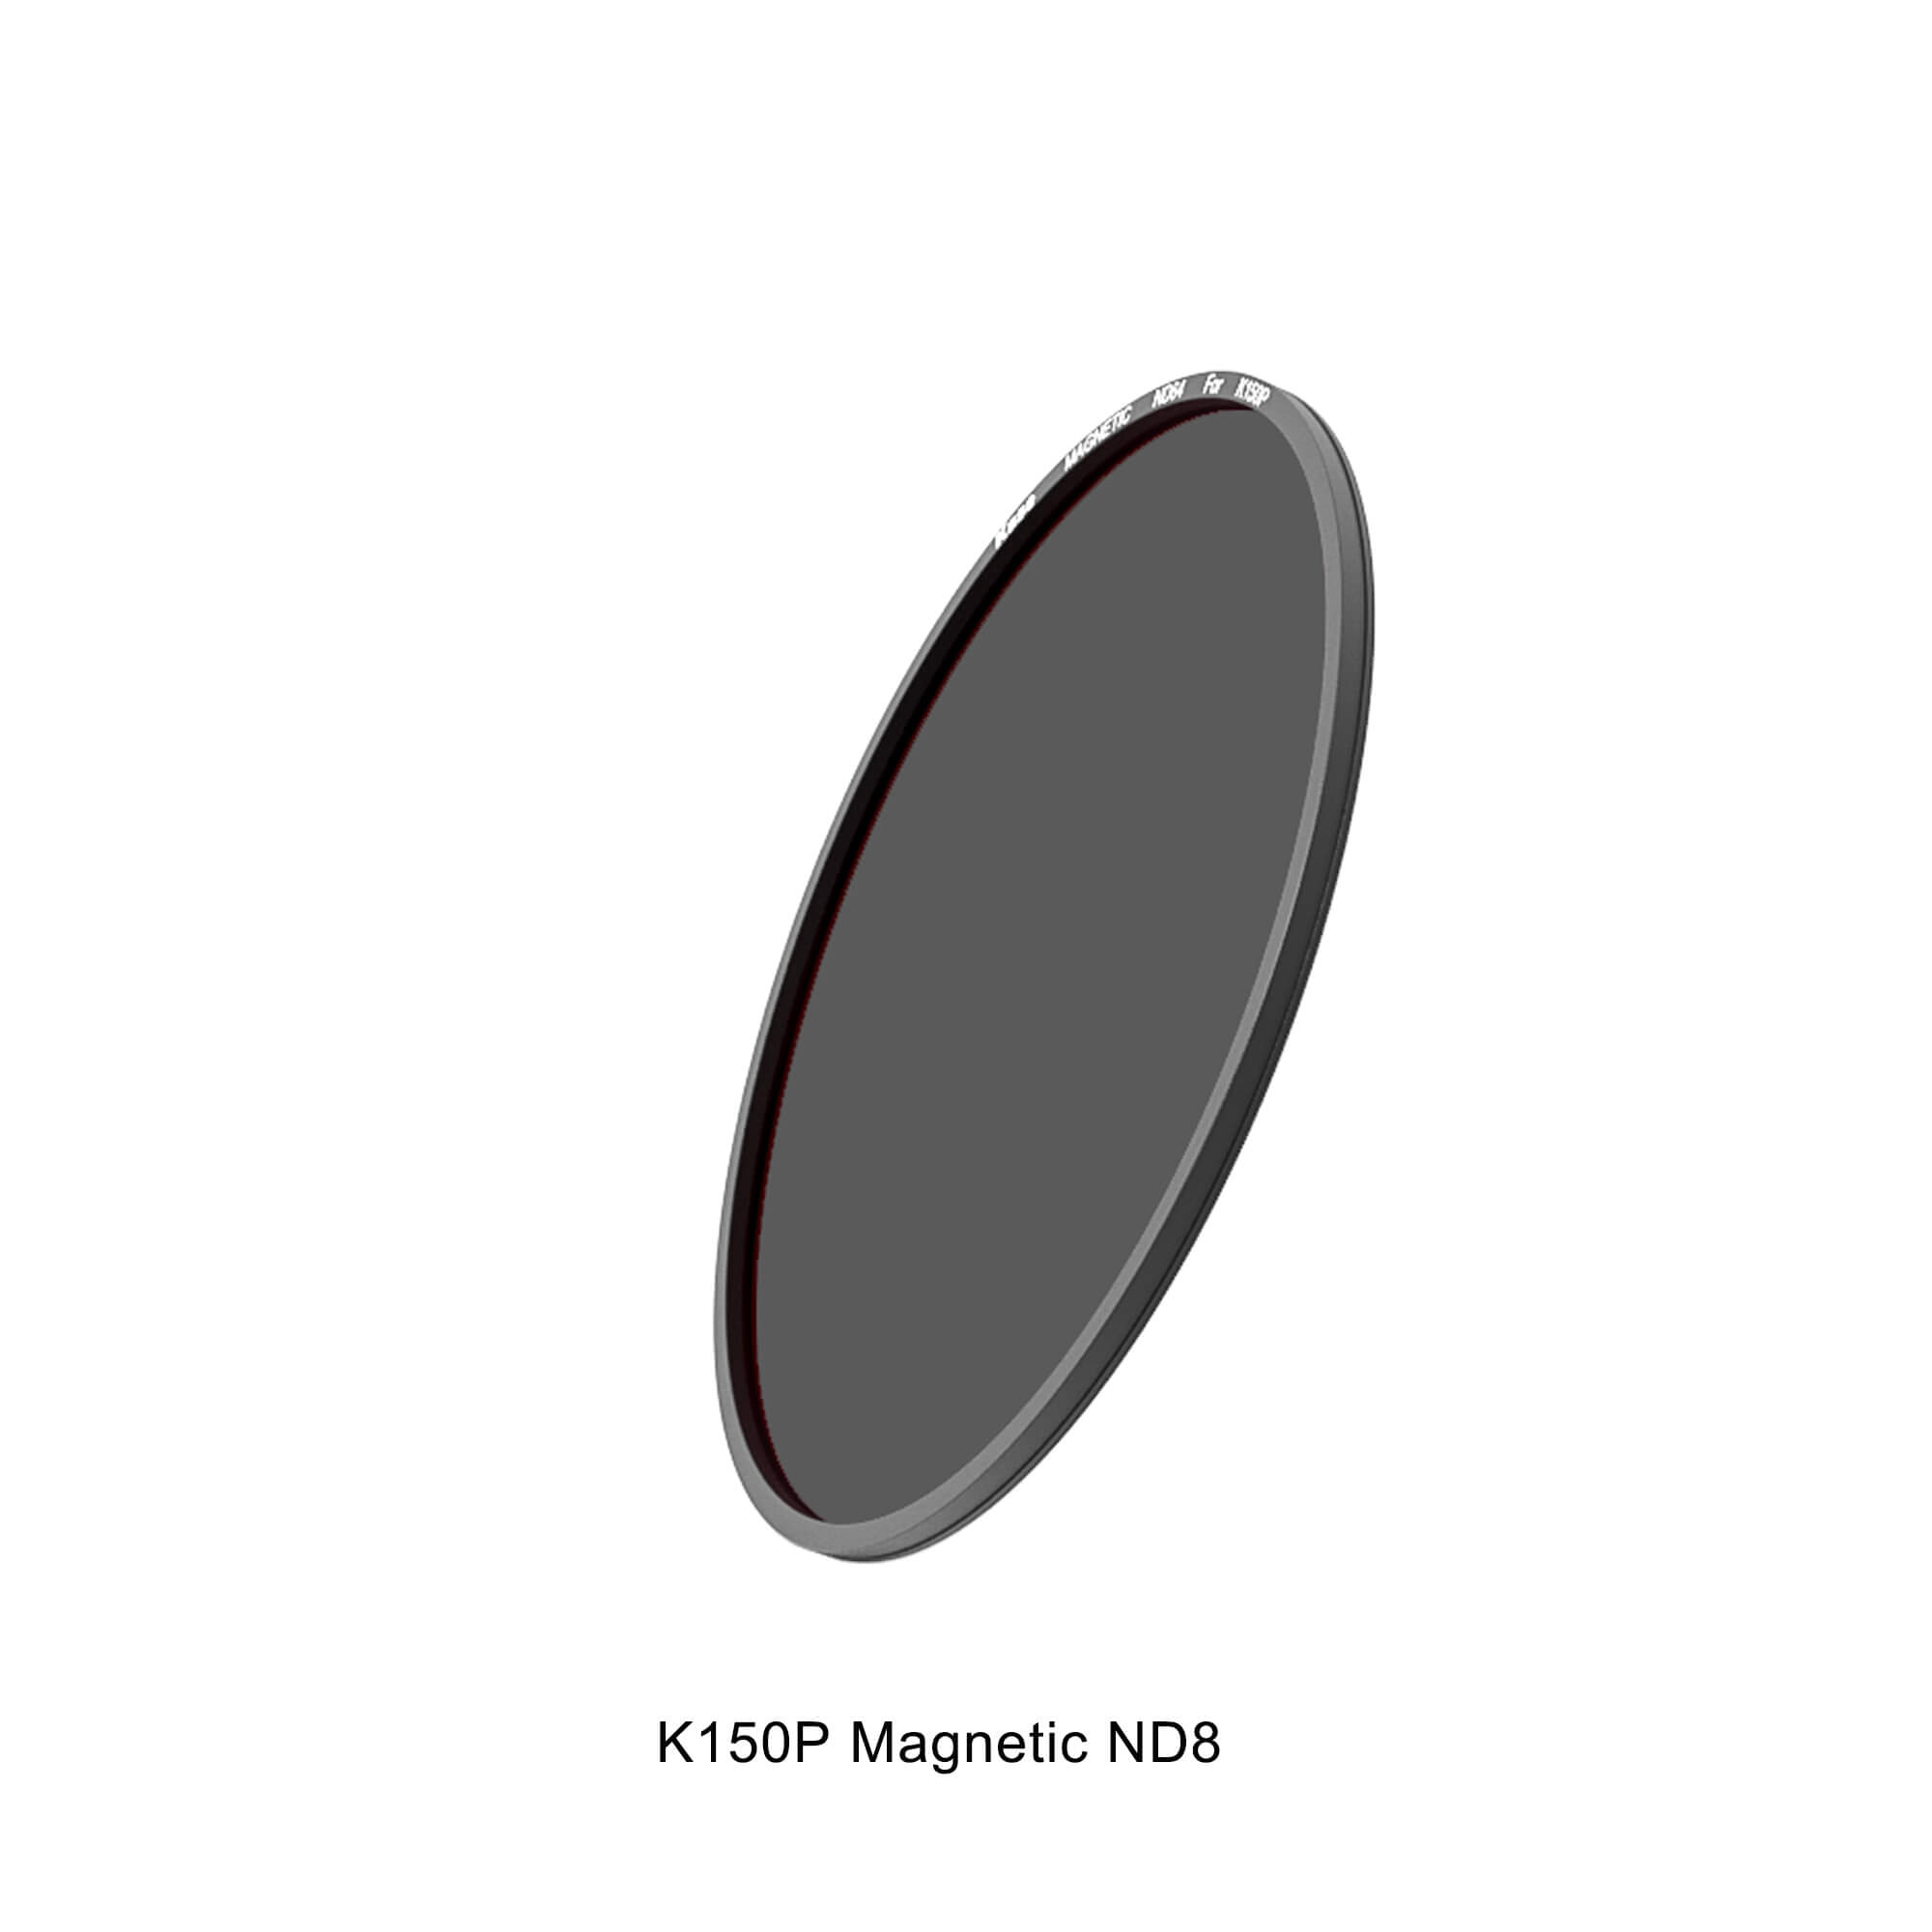
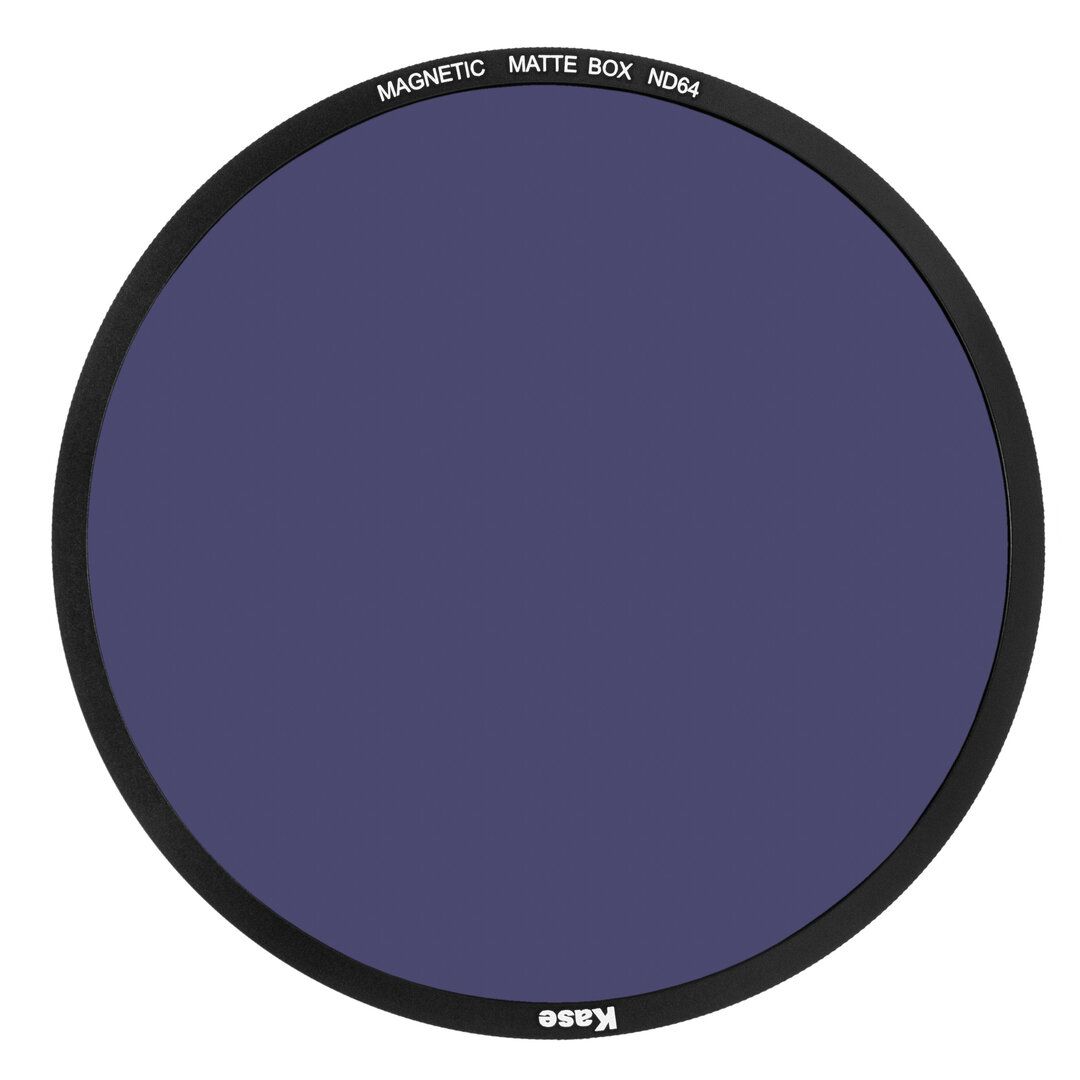
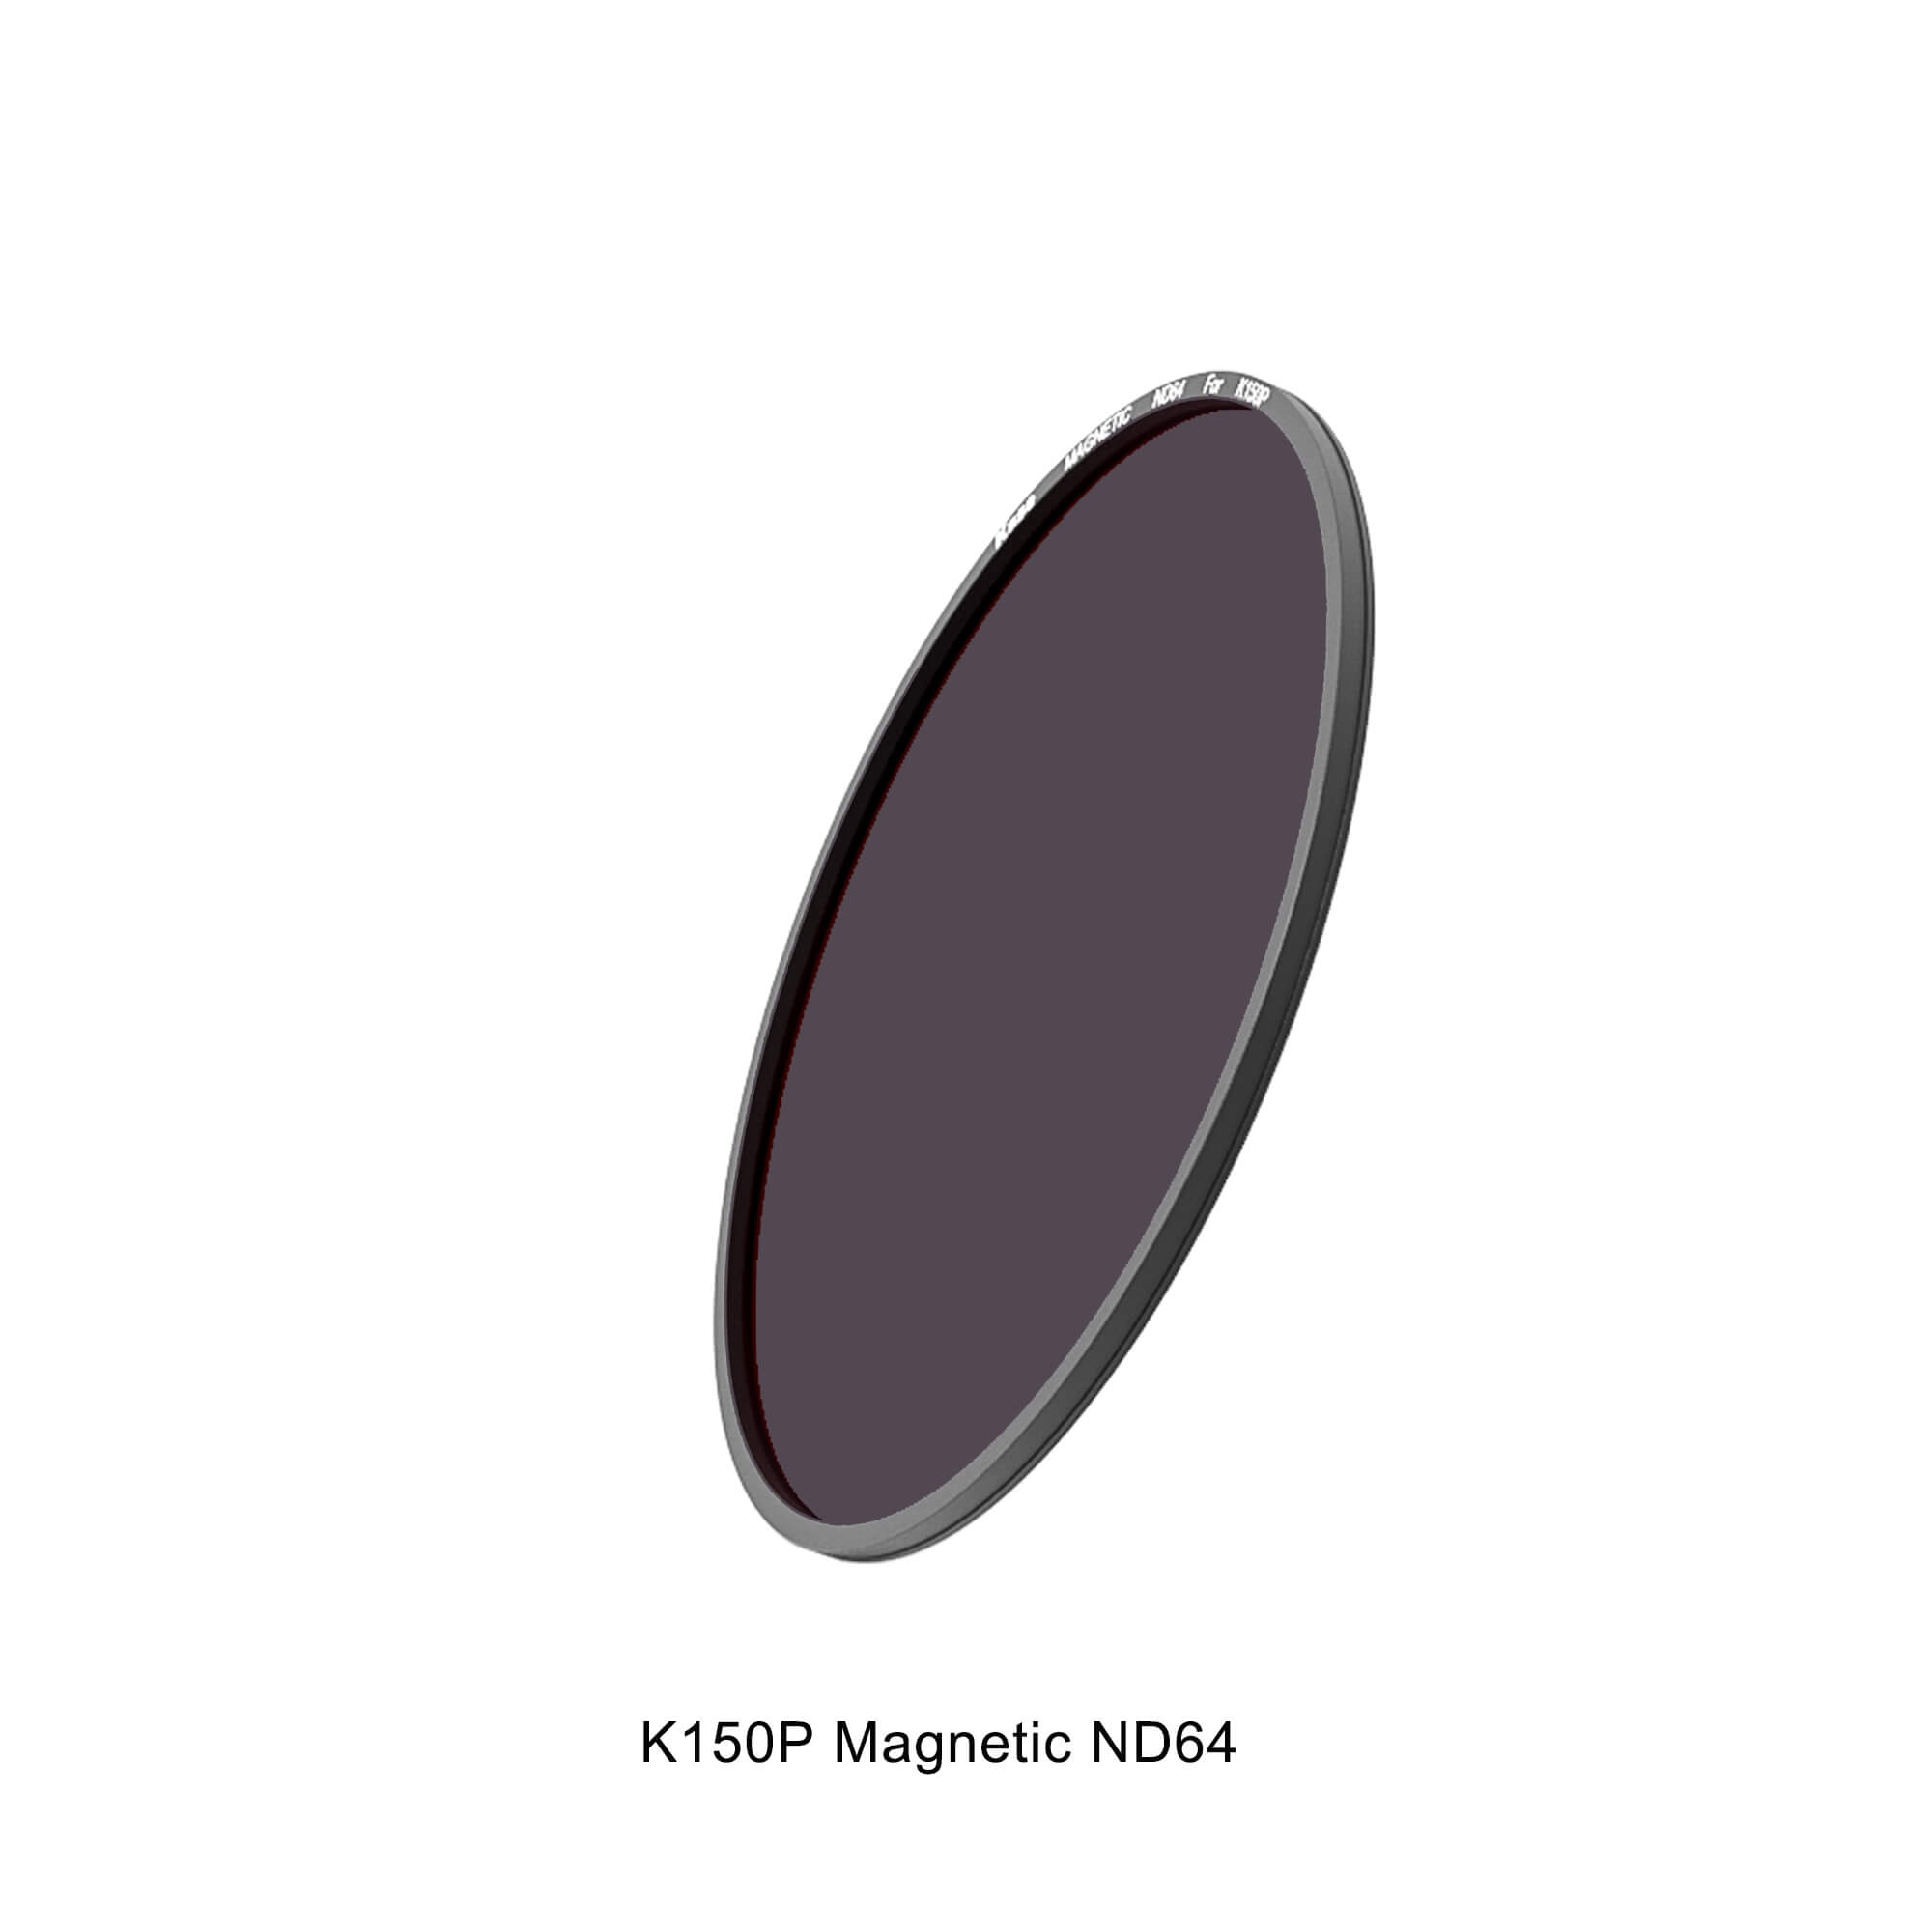
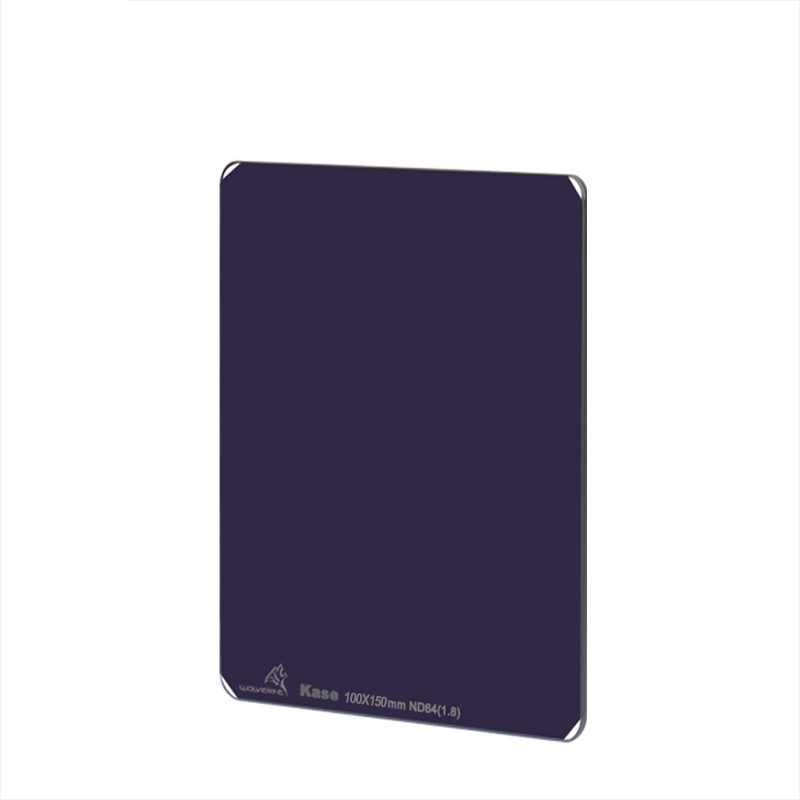
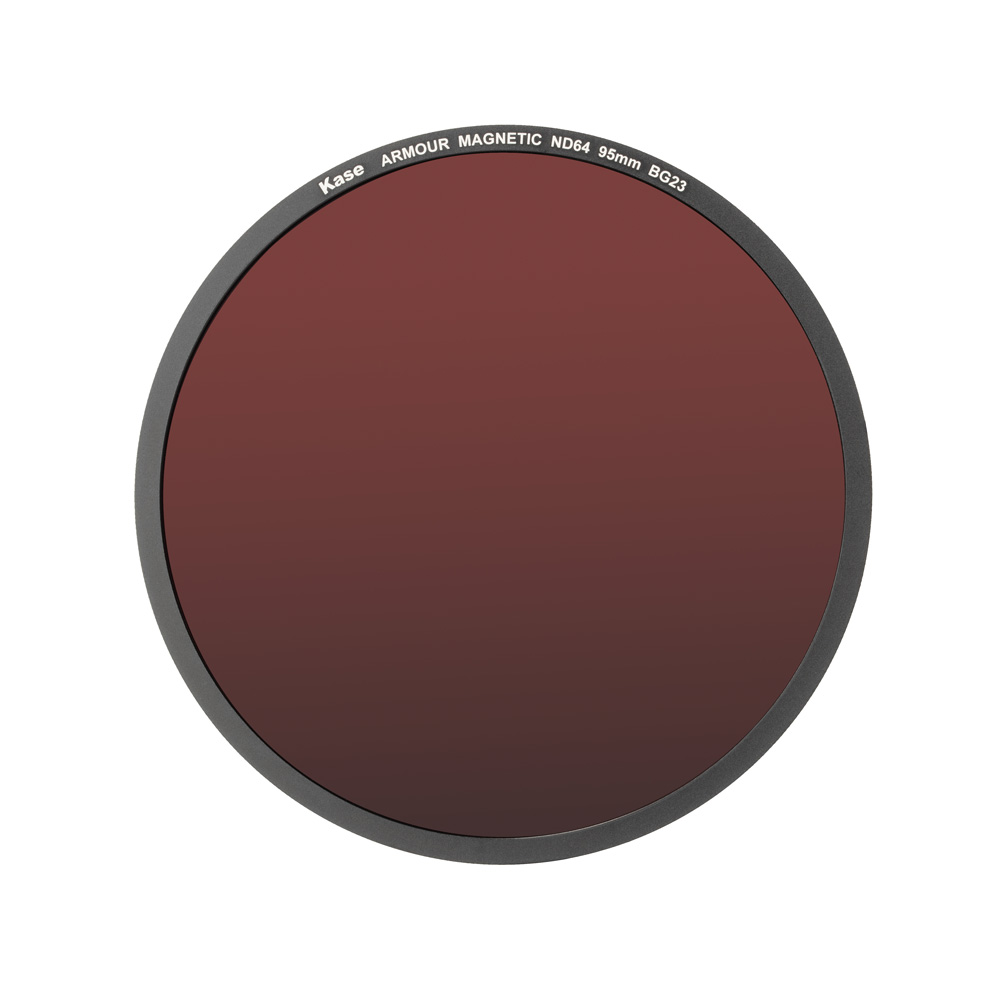
Kase ND64 Filters
Ultimately, the choice of ND filter will depend on the specific shooting conditions and creative goals of the photographer. It's a good idea to experiment with different filters and settings to find the best combination for each situation.
4 Creative effects you get when using ND filters for portrait pictures
ND filters can enable a range of creative effects when taking portrait pictures. Here are a few examples:
- Shallow depth of field: By reducing the amount of light entering the camera, ND filters allow photographers to use wider apertures, resulting in a shallower depth of field. This effect can help make the subject stand out more from the background, creating a more visually appealing portrait.
- Motion blur: ND filters can also allow photographers to use slower shutter speeds, which can create motion blur effects. This can be particularly useful for capturing movement in portraits, such as hair blowing in the wind or a model walking.
- Silky water and clouds: When used in outdoor settings, ND filters can create a silky effect in water and clouds. By using a slower shutter speed with an ND filter, photographers can create a smooth and silky look in these elements, adding a dreamy and ethereal quality to the portrait.
- Balancing exposure: ND filters can also help balance the exposure when shooting in bright conditions, preventing overexposure and enabling photographers to shoot at wider apertures or slower shutter speeds without overexposing the image. This can create a more balanced and visually pleasing portrait.
Overall, ND filters offer a lot of creative potential for portrait photographers, and experimenting with different filters and settings can lead to some stunning and unique results.
Are you not sure which filter is best for you?
Indoor vs Outdoor Portrait Photography with ND filters
The appropriate ND filter will depend on the lighting conditions of the scene and the effect you want to achieve in your portrait photos.
ND Filters for indoor portrait photography
For indoor portrait photography, lighting conditions are often controlled, and the ambient light levels are lower than in outdoor settings. Therefore, you may not need an ND filter at all. Instead, you can use lighting equipment to create the desired lighting effect and control the exposure settings of your camera to achieve the desired result.
ND Filters for outdoor portrait photography
When taking outdoor portrait photographies, the lighting conditions can be more challenging to control. Bright sunlight can cause overexposure and create harsh shadows, making it difficult to achieve the desired look. In this case, ND filters can be useful to help reduce the amount of light entering the camera and enable the use of wider apertures or slower shutter speeds without overexposing the image.
So, while you may not need an ND filter for indoor portrait photography, it can be a useful tool for outdoor portrait photography. In either case, it's important to experiment with different filters and settings to find the best combination for each situation.
Guide to Use ND Filters for Portrait Photography
How to use ND filters for portrait photography: Step by step
- Choose the Right ND Filter: The first step is to select the appropriate ND filter for your shoot. ND filters come in varying levels of density, measured in stops, which determine how much light is blocked from entering the camera. The most common ND filters for portrait photography are 3-stop and 6-stop filters. A 3-stop filter is suitable for slightly reducing the light, while a 6-stop filter is ideal for shooting in bright sunlight.
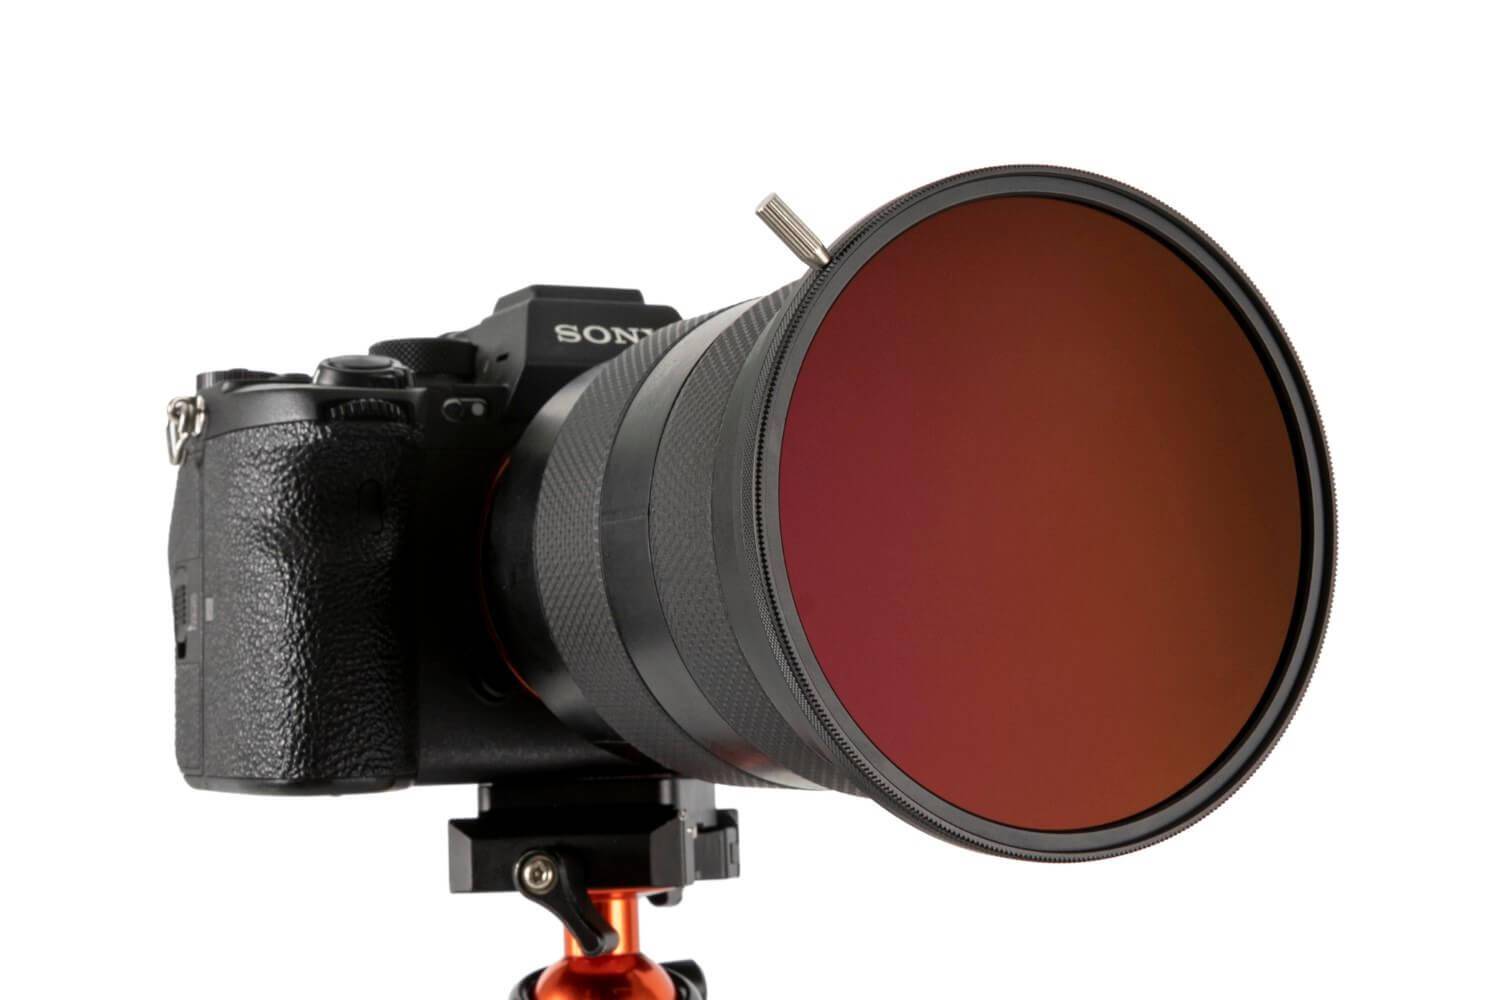
- Set Up Your Camera: Once you've selected your ND filter, it's time to set up your camera. Mount the filter onto your lens, making sure it's secure and centered. Then, set your camera to manual mode to have full control over your camera settings.
- Adjust Your Shutter Speed and Aperture: With the ND filter in place, you'll need to adjust your camera settings. Since the ND filter blocks some of the light from entering the camera, you'll need to compensate by using a slower shutter speed and/or wider aperture. Start by setting your ISO to the lowest possible value, then adjust your shutter speed and aperture until you achieve the desired exposure. Keep in mind that using a slower shutter speed can result in motion blur, so you may need to use a tripod or ask your subject to stay still.
- Check Your Depth of Field: With a wider aperture, your depth of field will become shallower, which can be beneficial for creating a soft, blurry background. However, it's important to make sure that your subject's face is in focus. Use your camera's autofocus system to ensure sharp focus on their eyes.
- Take Test Shots and Make Adjustments: Finally, take some test shots to see how your settings are working. Check your camera's histogram to make sure your exposure is correct, and adjust your settings as necessary. Be sure to experiment with different shutter speeds and apertures to find the best settings for your particular situation.
By following these steps, you'll be able to use ND filters to create stunning portrait photos with unique and creative effects. Be sure to experiment with different shutter speeds and apertures to find the best settings for your particular situation.
Are you ready to start taking stunning portrait pictures with Kase ND Filters?
Type what you need on our search bar and see all the available products or contact us and one of our experts will help decide what's best for your needs.
Get expert advice for your photography needs