Navigation
The correct exposure time with ND filter
ND filters (also known as neutral density filters or neutral density filters) have the property of absorbing part of the incident light and thereby adjusting the exposure time in order to realize a picture with the desired exposure time. It is precisely this property that makes the gray filter so unique and at the same time irreplaceable, since this effect can hardly be achieved in digital post-processing. The merging of different recordings, i.e. the attempt to artificially simulate a long exposure, almost always shows the problem of possible artefacts. These problems do not occur when using an ND filter. In addition, with a neutral density filter, you only have to take one shot to get the desired result immediately.
How do you calculate the correct exposure times with an ND filter?
Don't worry, you don't need to be a math pro! For example, you can simply use our conversion table or one of the various apps. But if you prefer to use a clear table when taking pictures, or if you prefer to learn how to calculate the shutter speed with ND filters, this guide is just the right thing! Below we have shown a conversion table of recording times with ND filters for you. If you would like to learn more about neutral density filters in general, we recommend our FAQ article. If you only want to work with one table, you can simply skip the next paragraph.
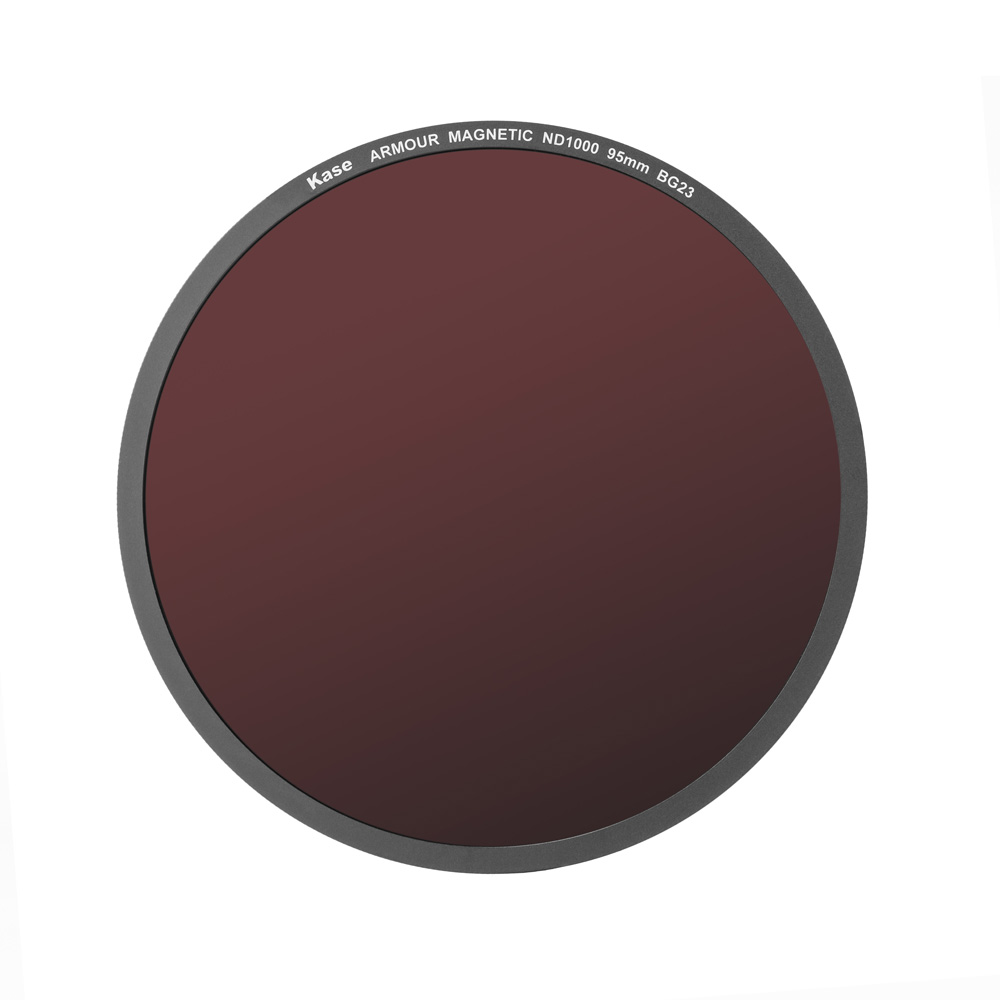
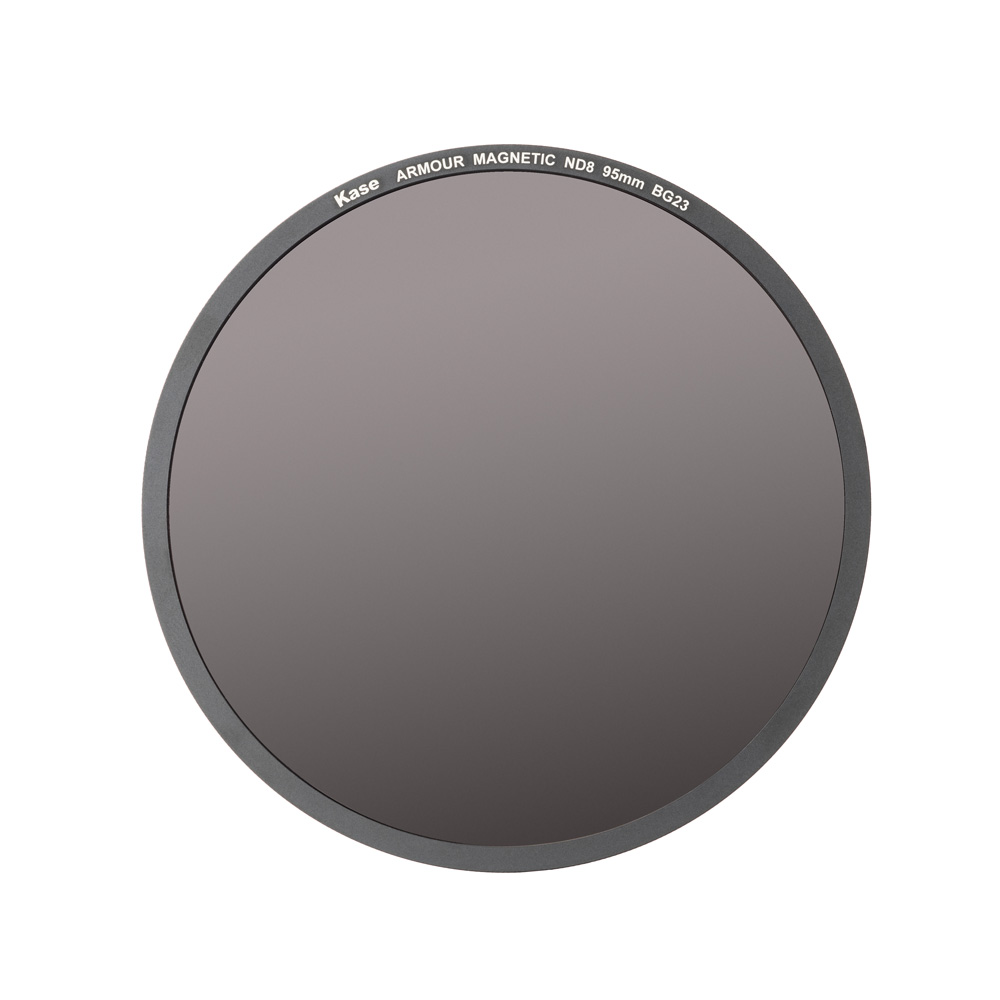
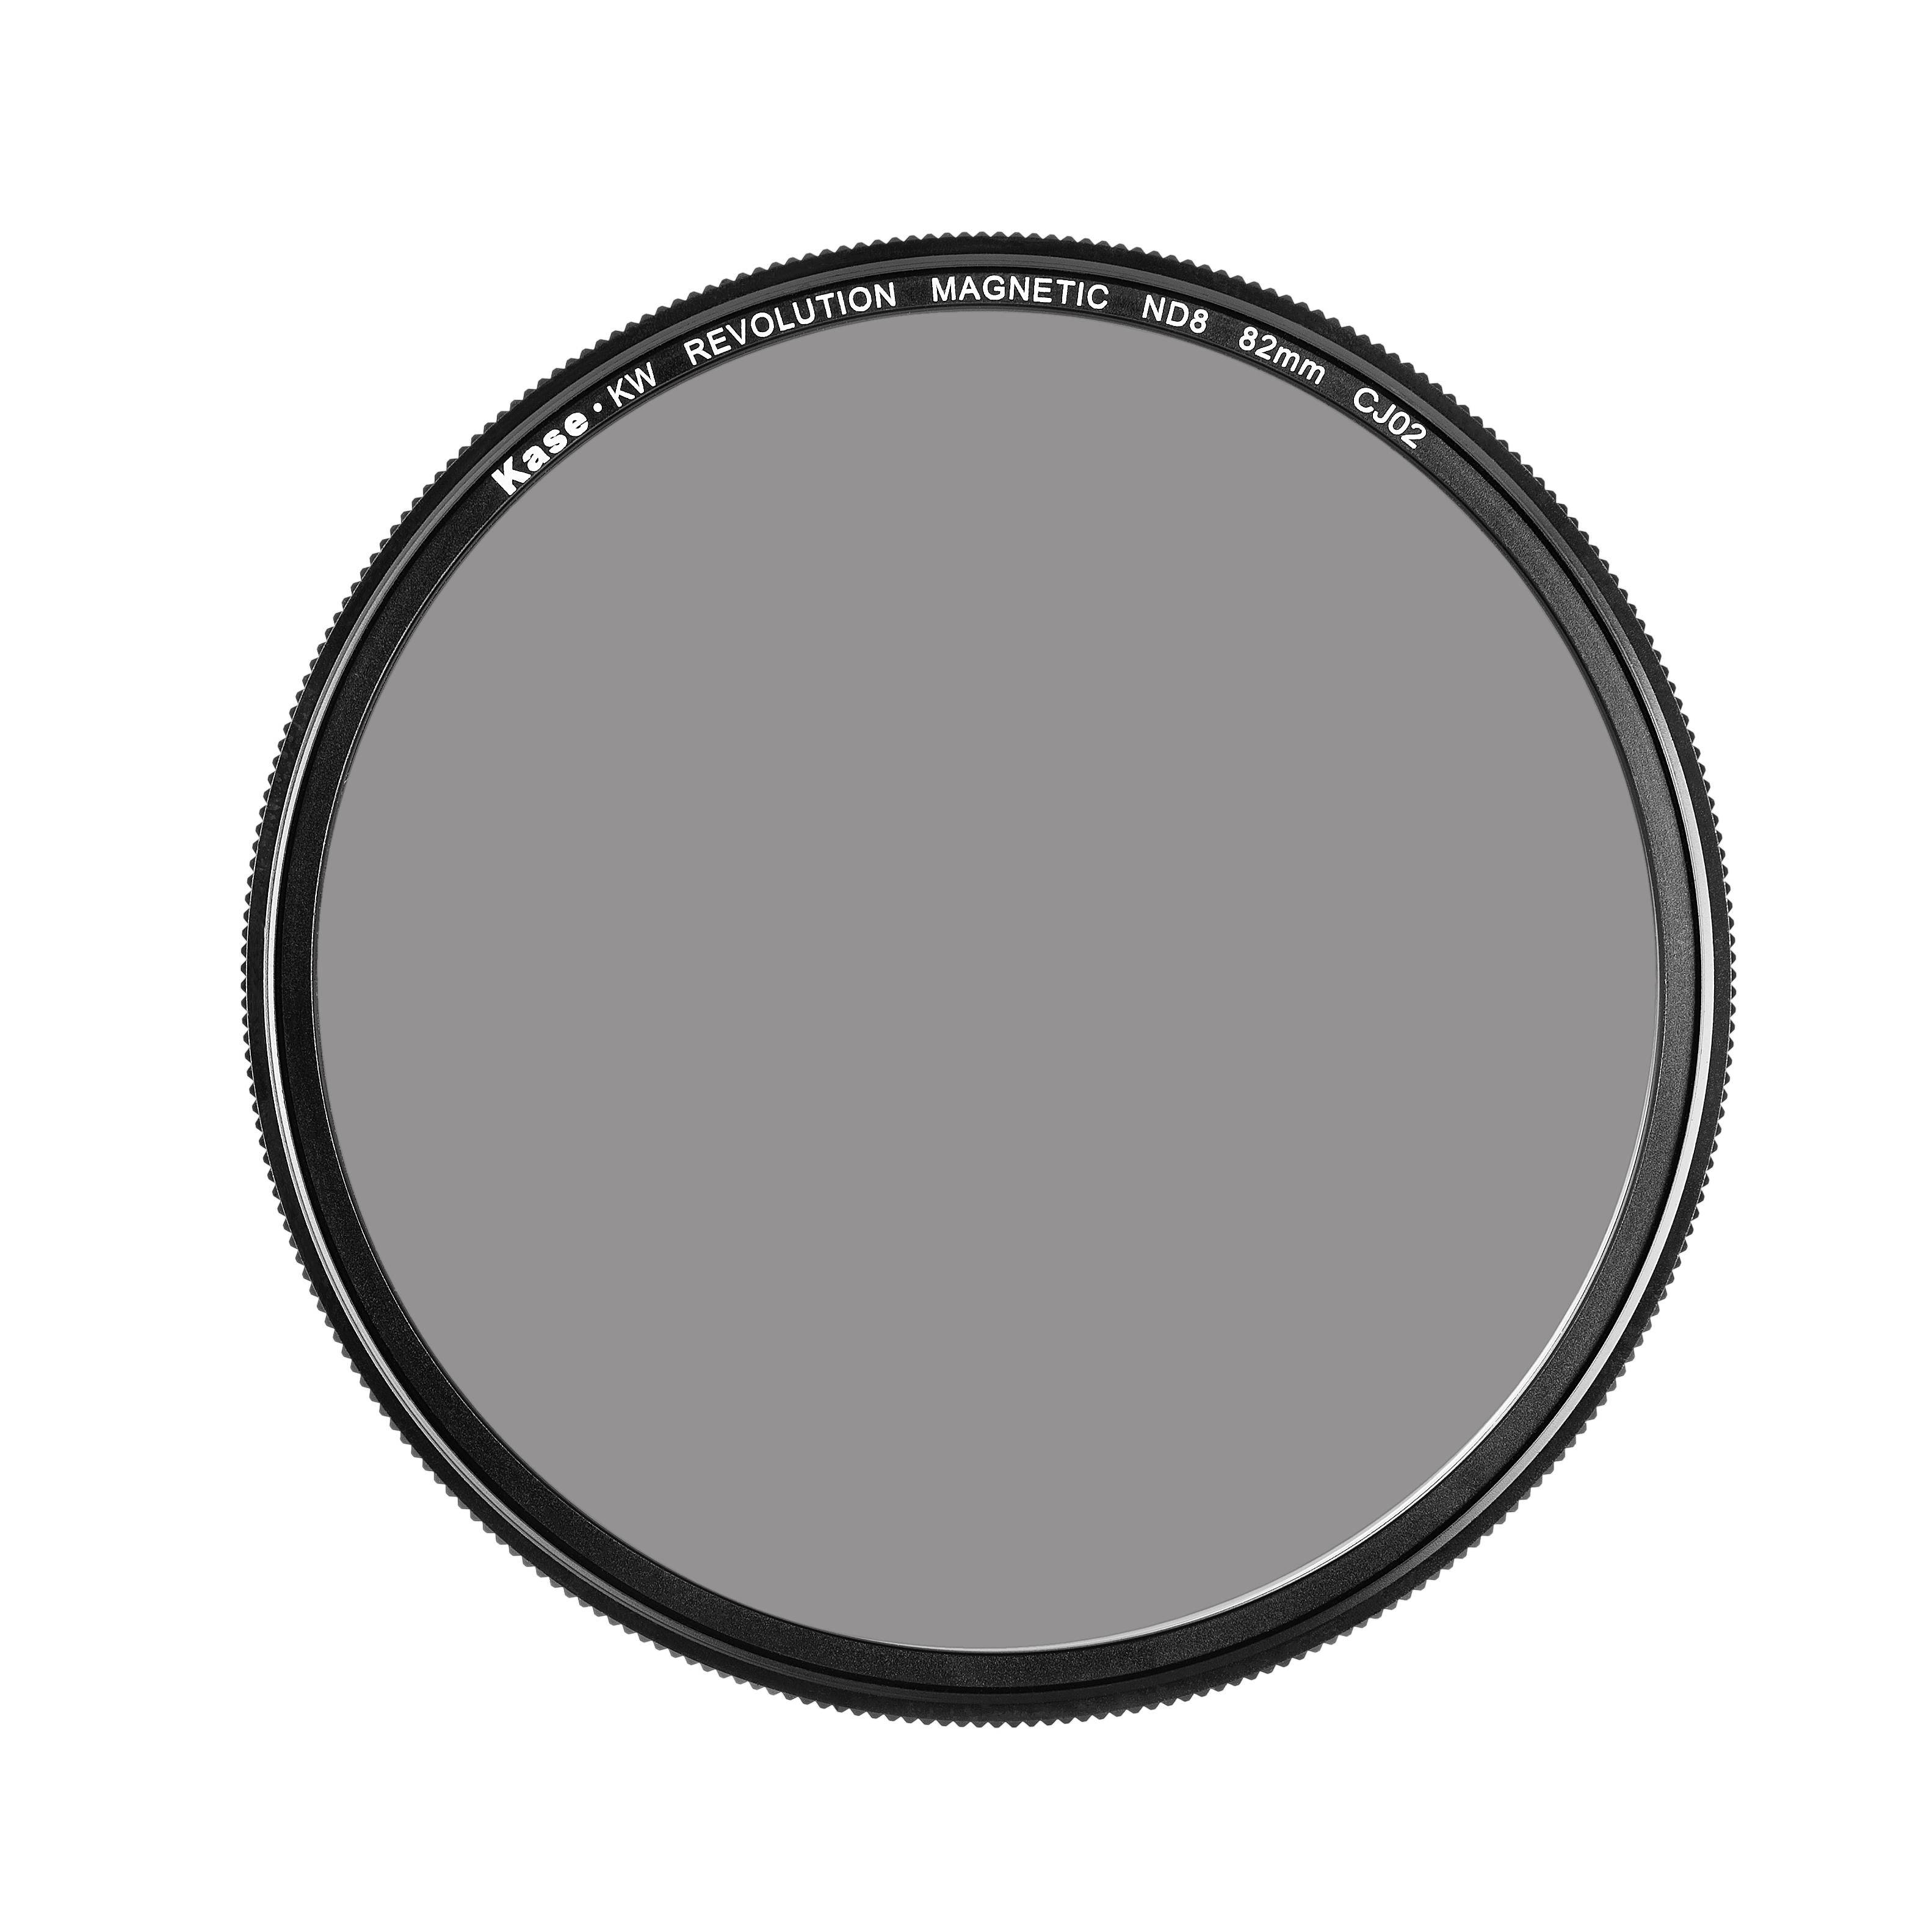
In order to gain a general understanding, it is important to know by how many stops an ND filter darkens. The different strengths of the filters indicate by how many apertures they reduce the light. For example, an ND8 filter darkens by 3 f-stops, an ND1000 filter by 10. With this knowledge, you as a photographer should be able to understand the following calculation more easily.
Calculation of shutter speeds with ND filter
Calculating shutter speeds with ND filters is a simple process that requires just a few steps and should be easy for any photographer. A pocket calculator is an advantage for the procedure, but you always have it with you in the form of your cell phone. You can see the necessary steps here:
- First you install all the filters, with the exception of the gray filter, in your filter holder or screw them directly onto the lens. Then you take a correctly exposed test shot and note the length of the exposure time. In our example 1/125 seconds.
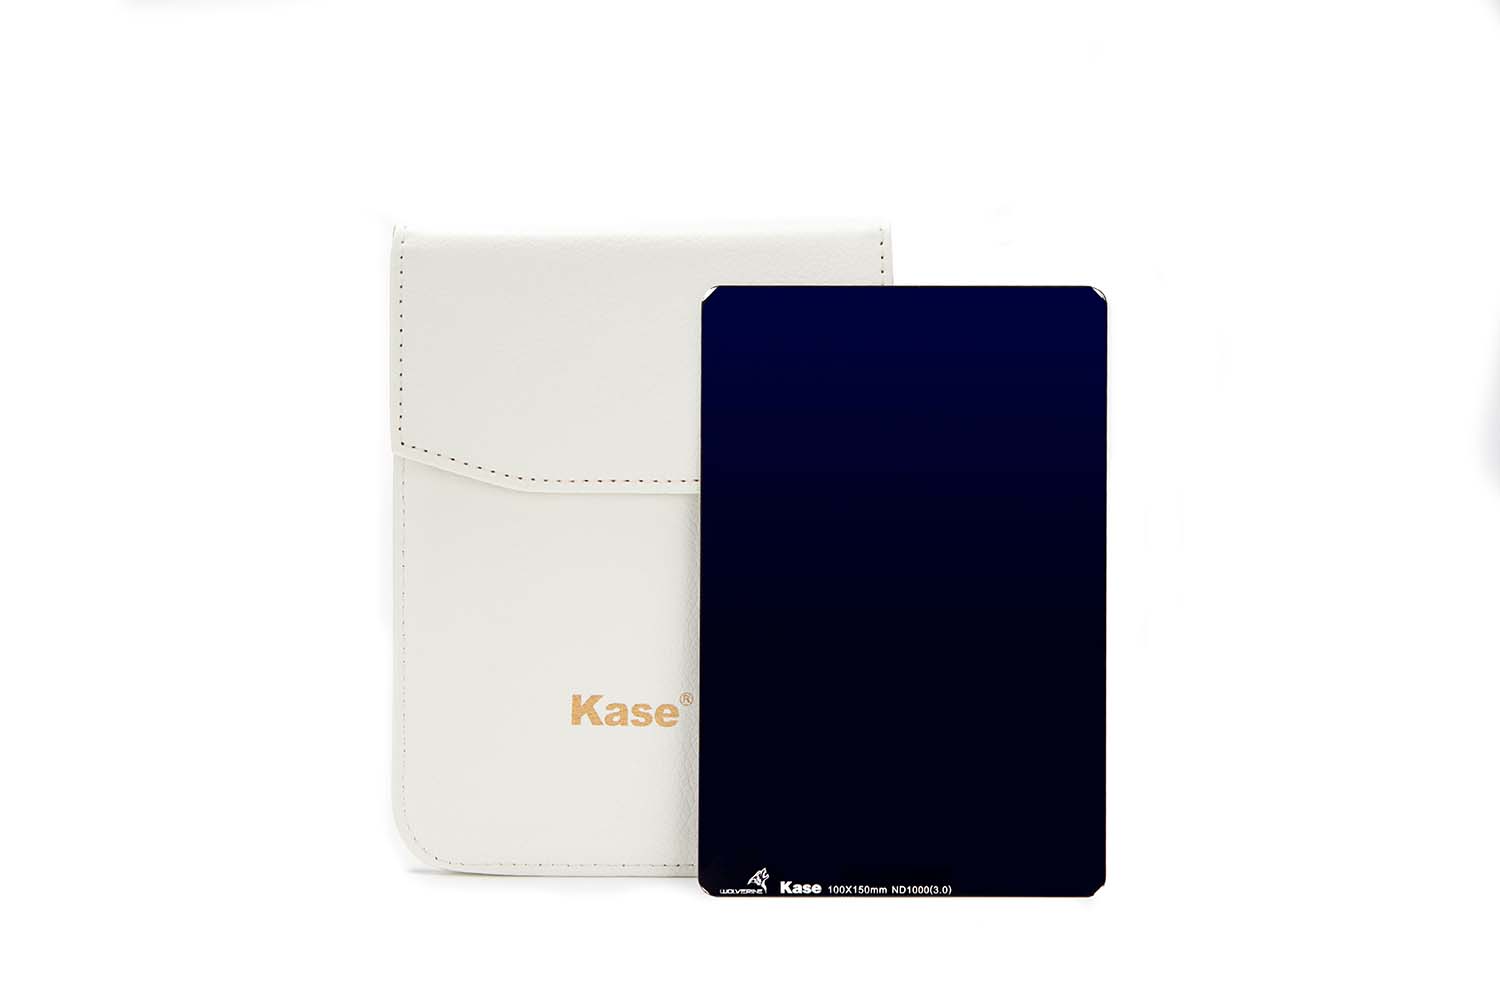
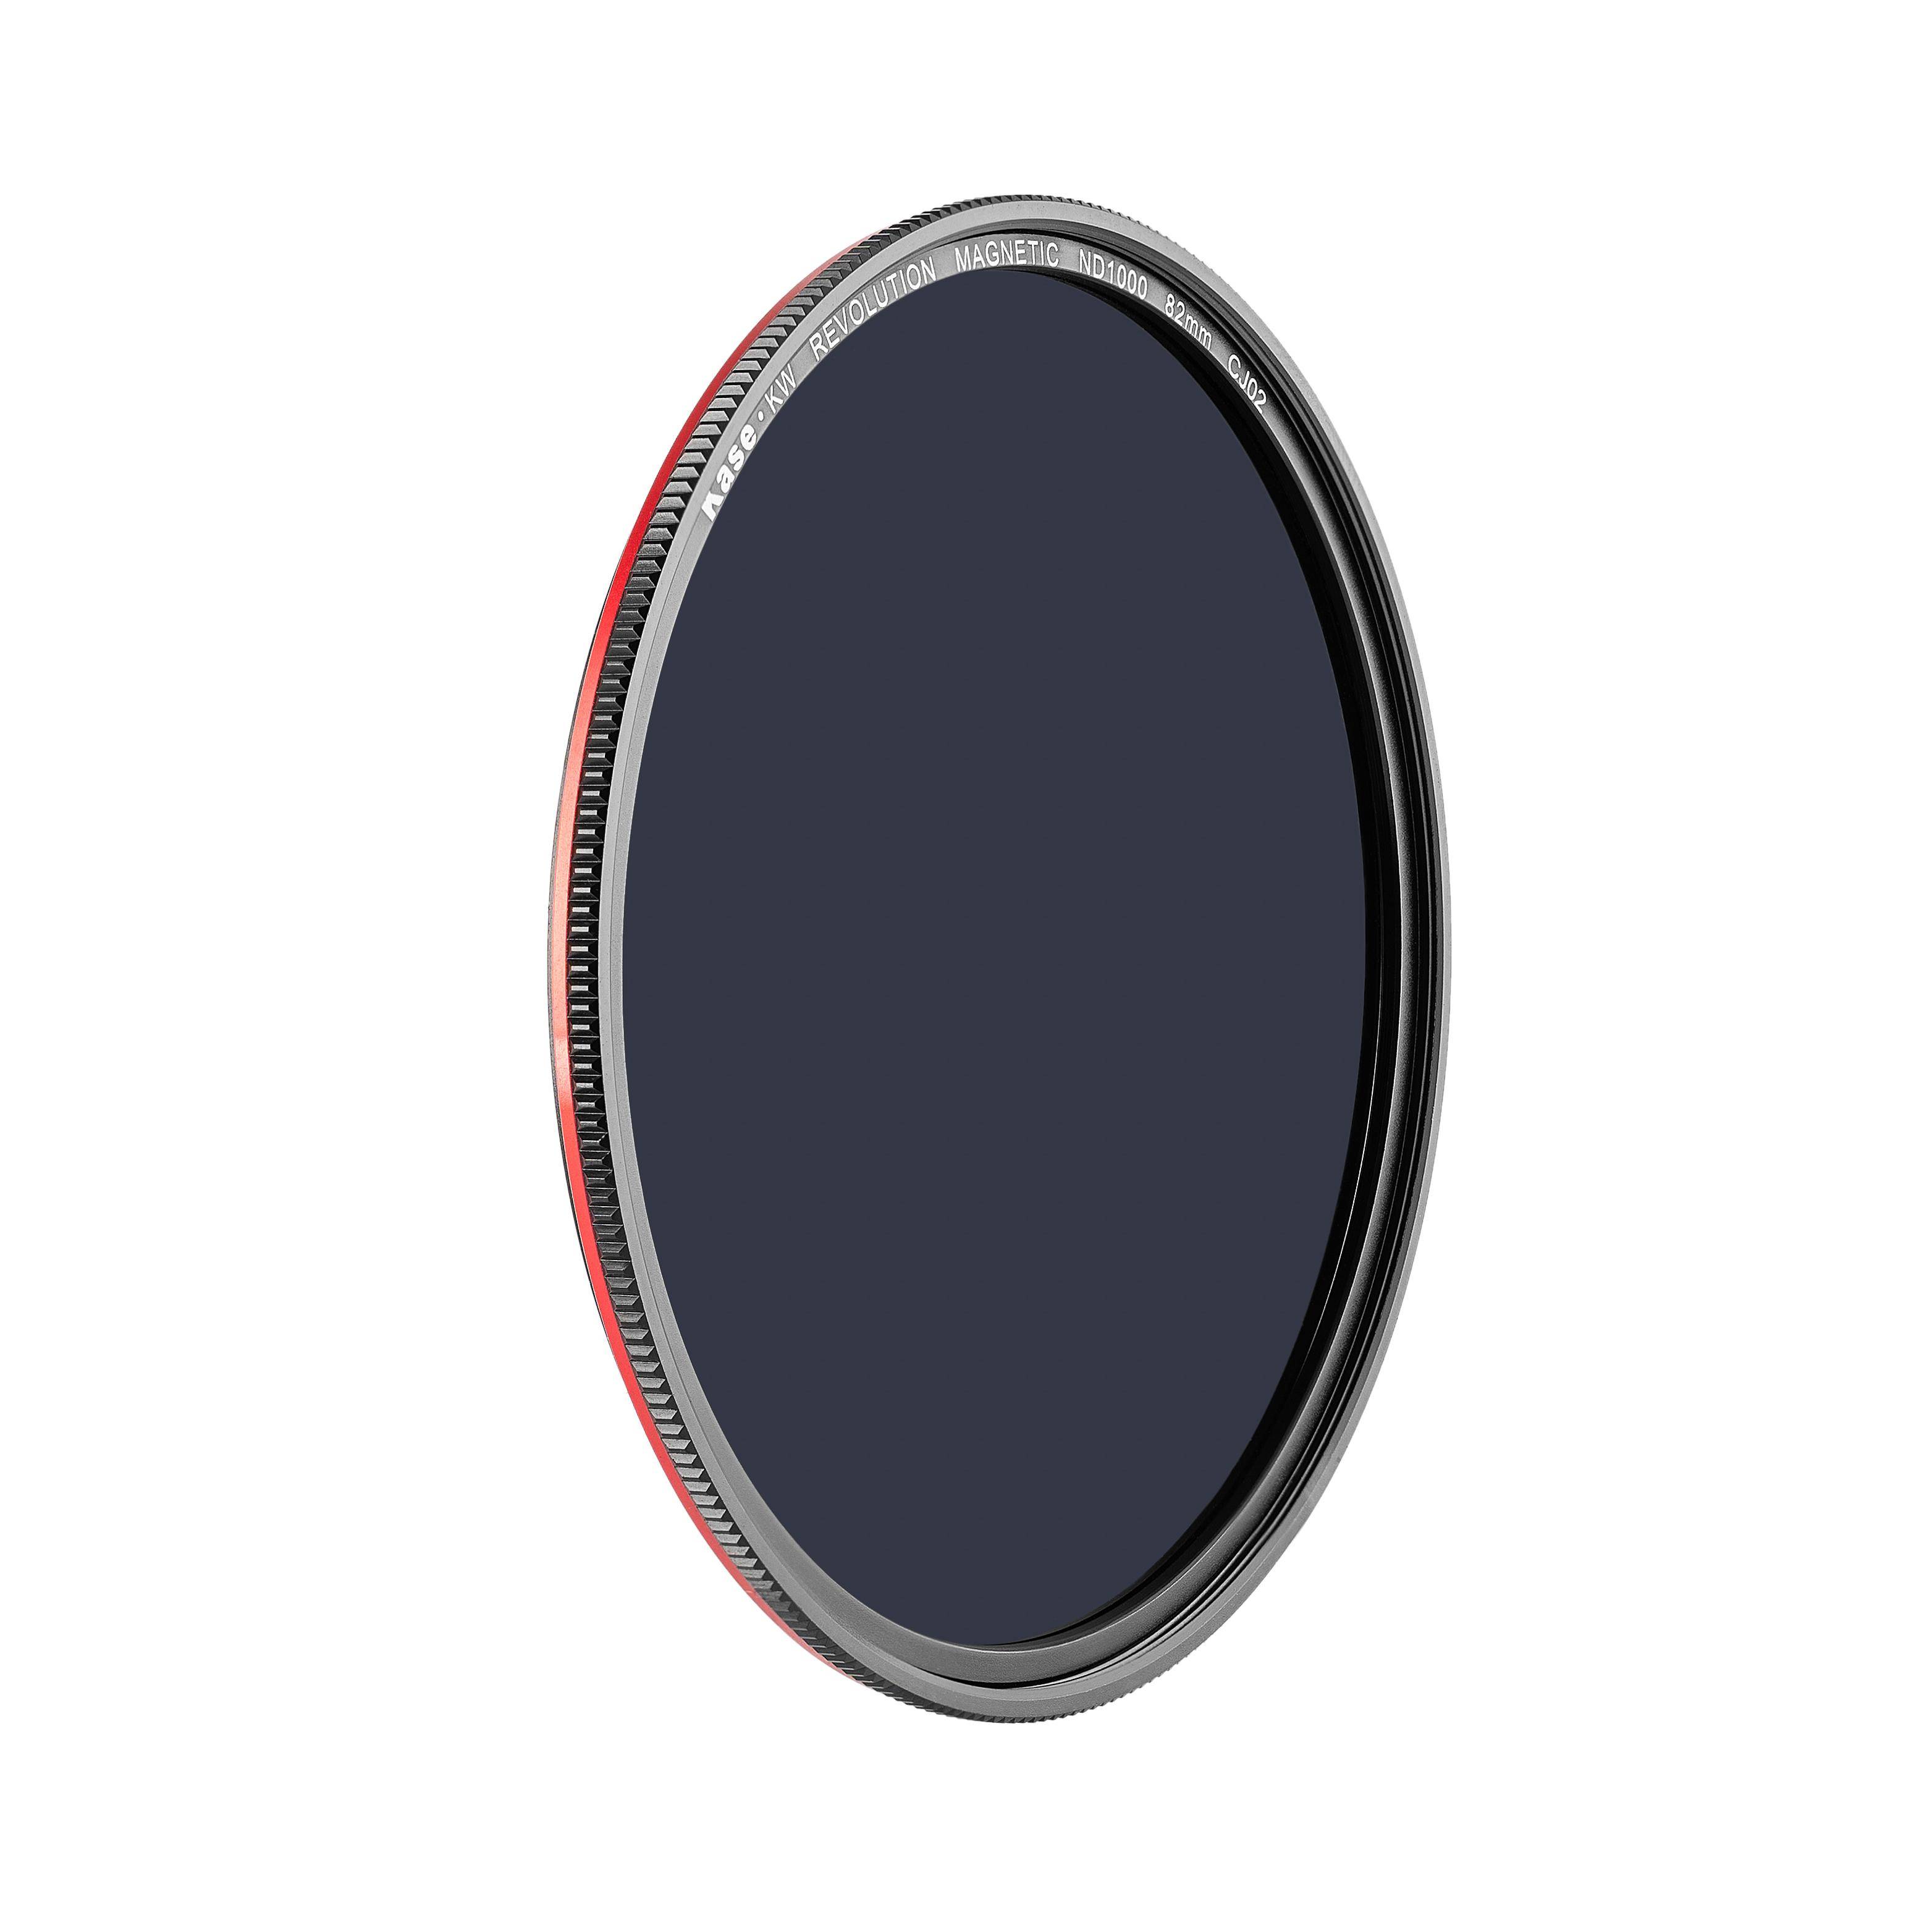
- Now we mount the gray filter, for example the Kase ND1000 100x150 mm, and notice that the designation is ND1000. The 1000 indicates the value by which the shutter speed must be multiplied when the filter has been mounted. Because with the filter installed, 1000 times less light hits the sensor. Therefore, the exposure time has to be increased by a factor of 1000.
- If a shutter speed of a fraction of a second was output from the camera (here 1/125s), the value should be converted to seconds. So 1/125s = 0.008 seconds, i.e. 1 divided by 125.
- This value is multiplied by 1000, which means 0.008s x 1000 = 8 seconds. So this is the exposure time needed to get a shot with the same exposure after attaching the ND1000 ND filter. The camera default mode will then be set to 15 seconds as that is the closest value that can be set. It would also be possible to set the exposure time to an exact exposure of 16 seconds with a timer remote control.
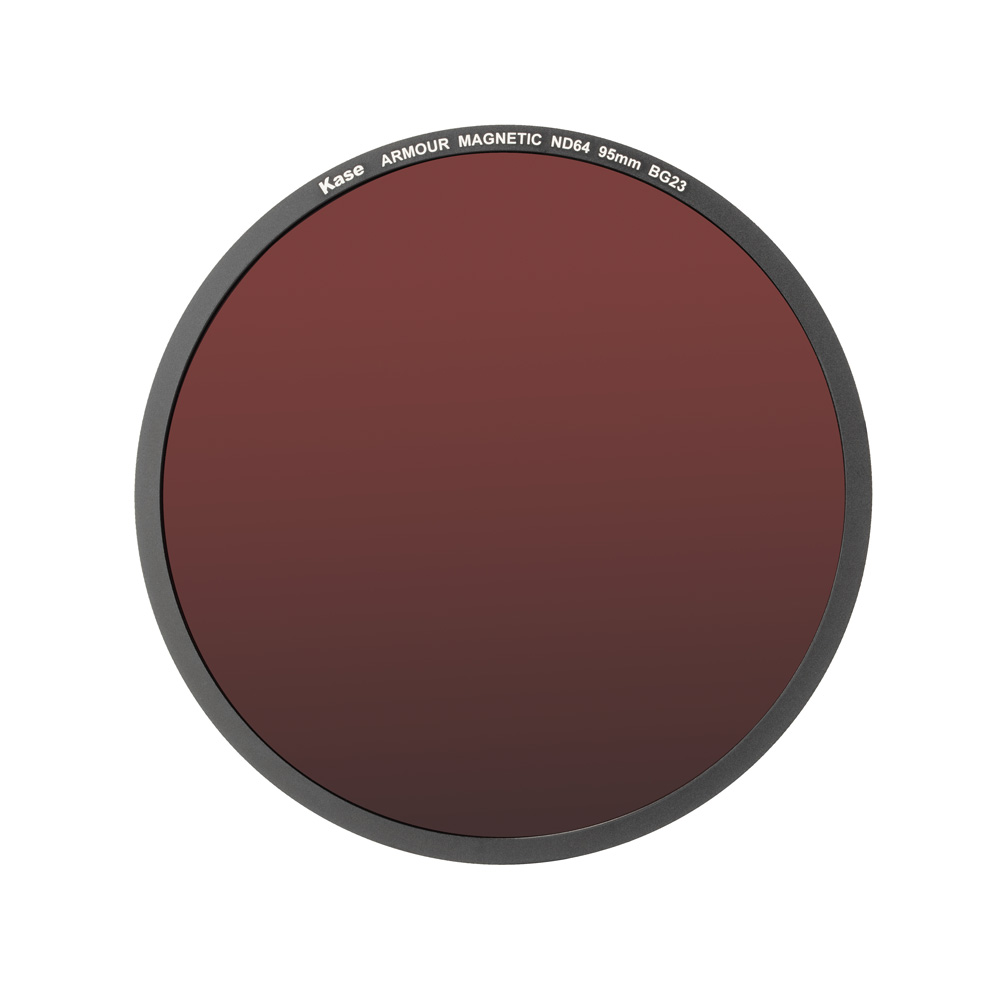
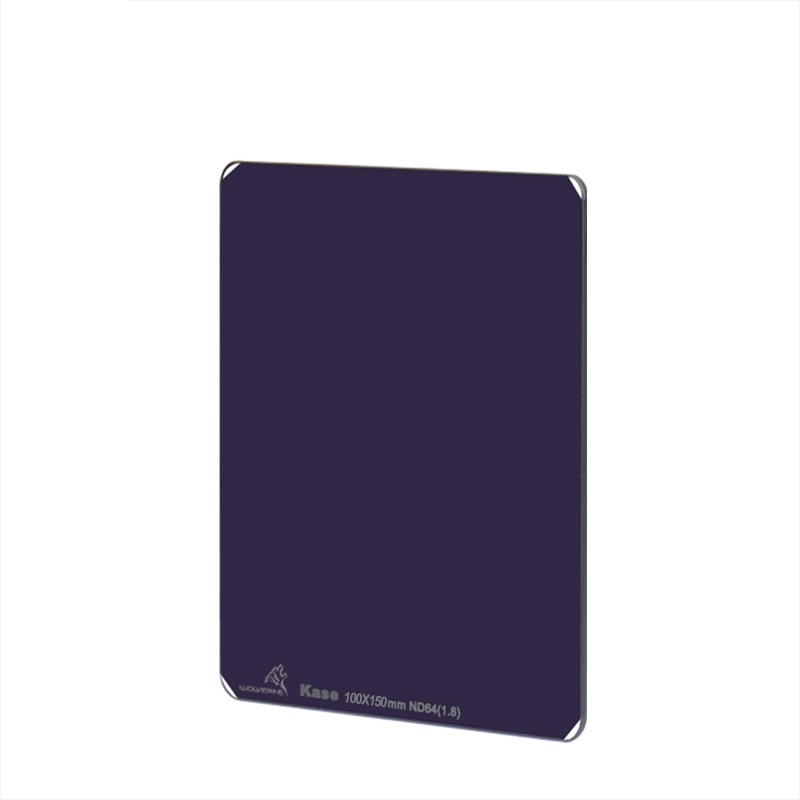
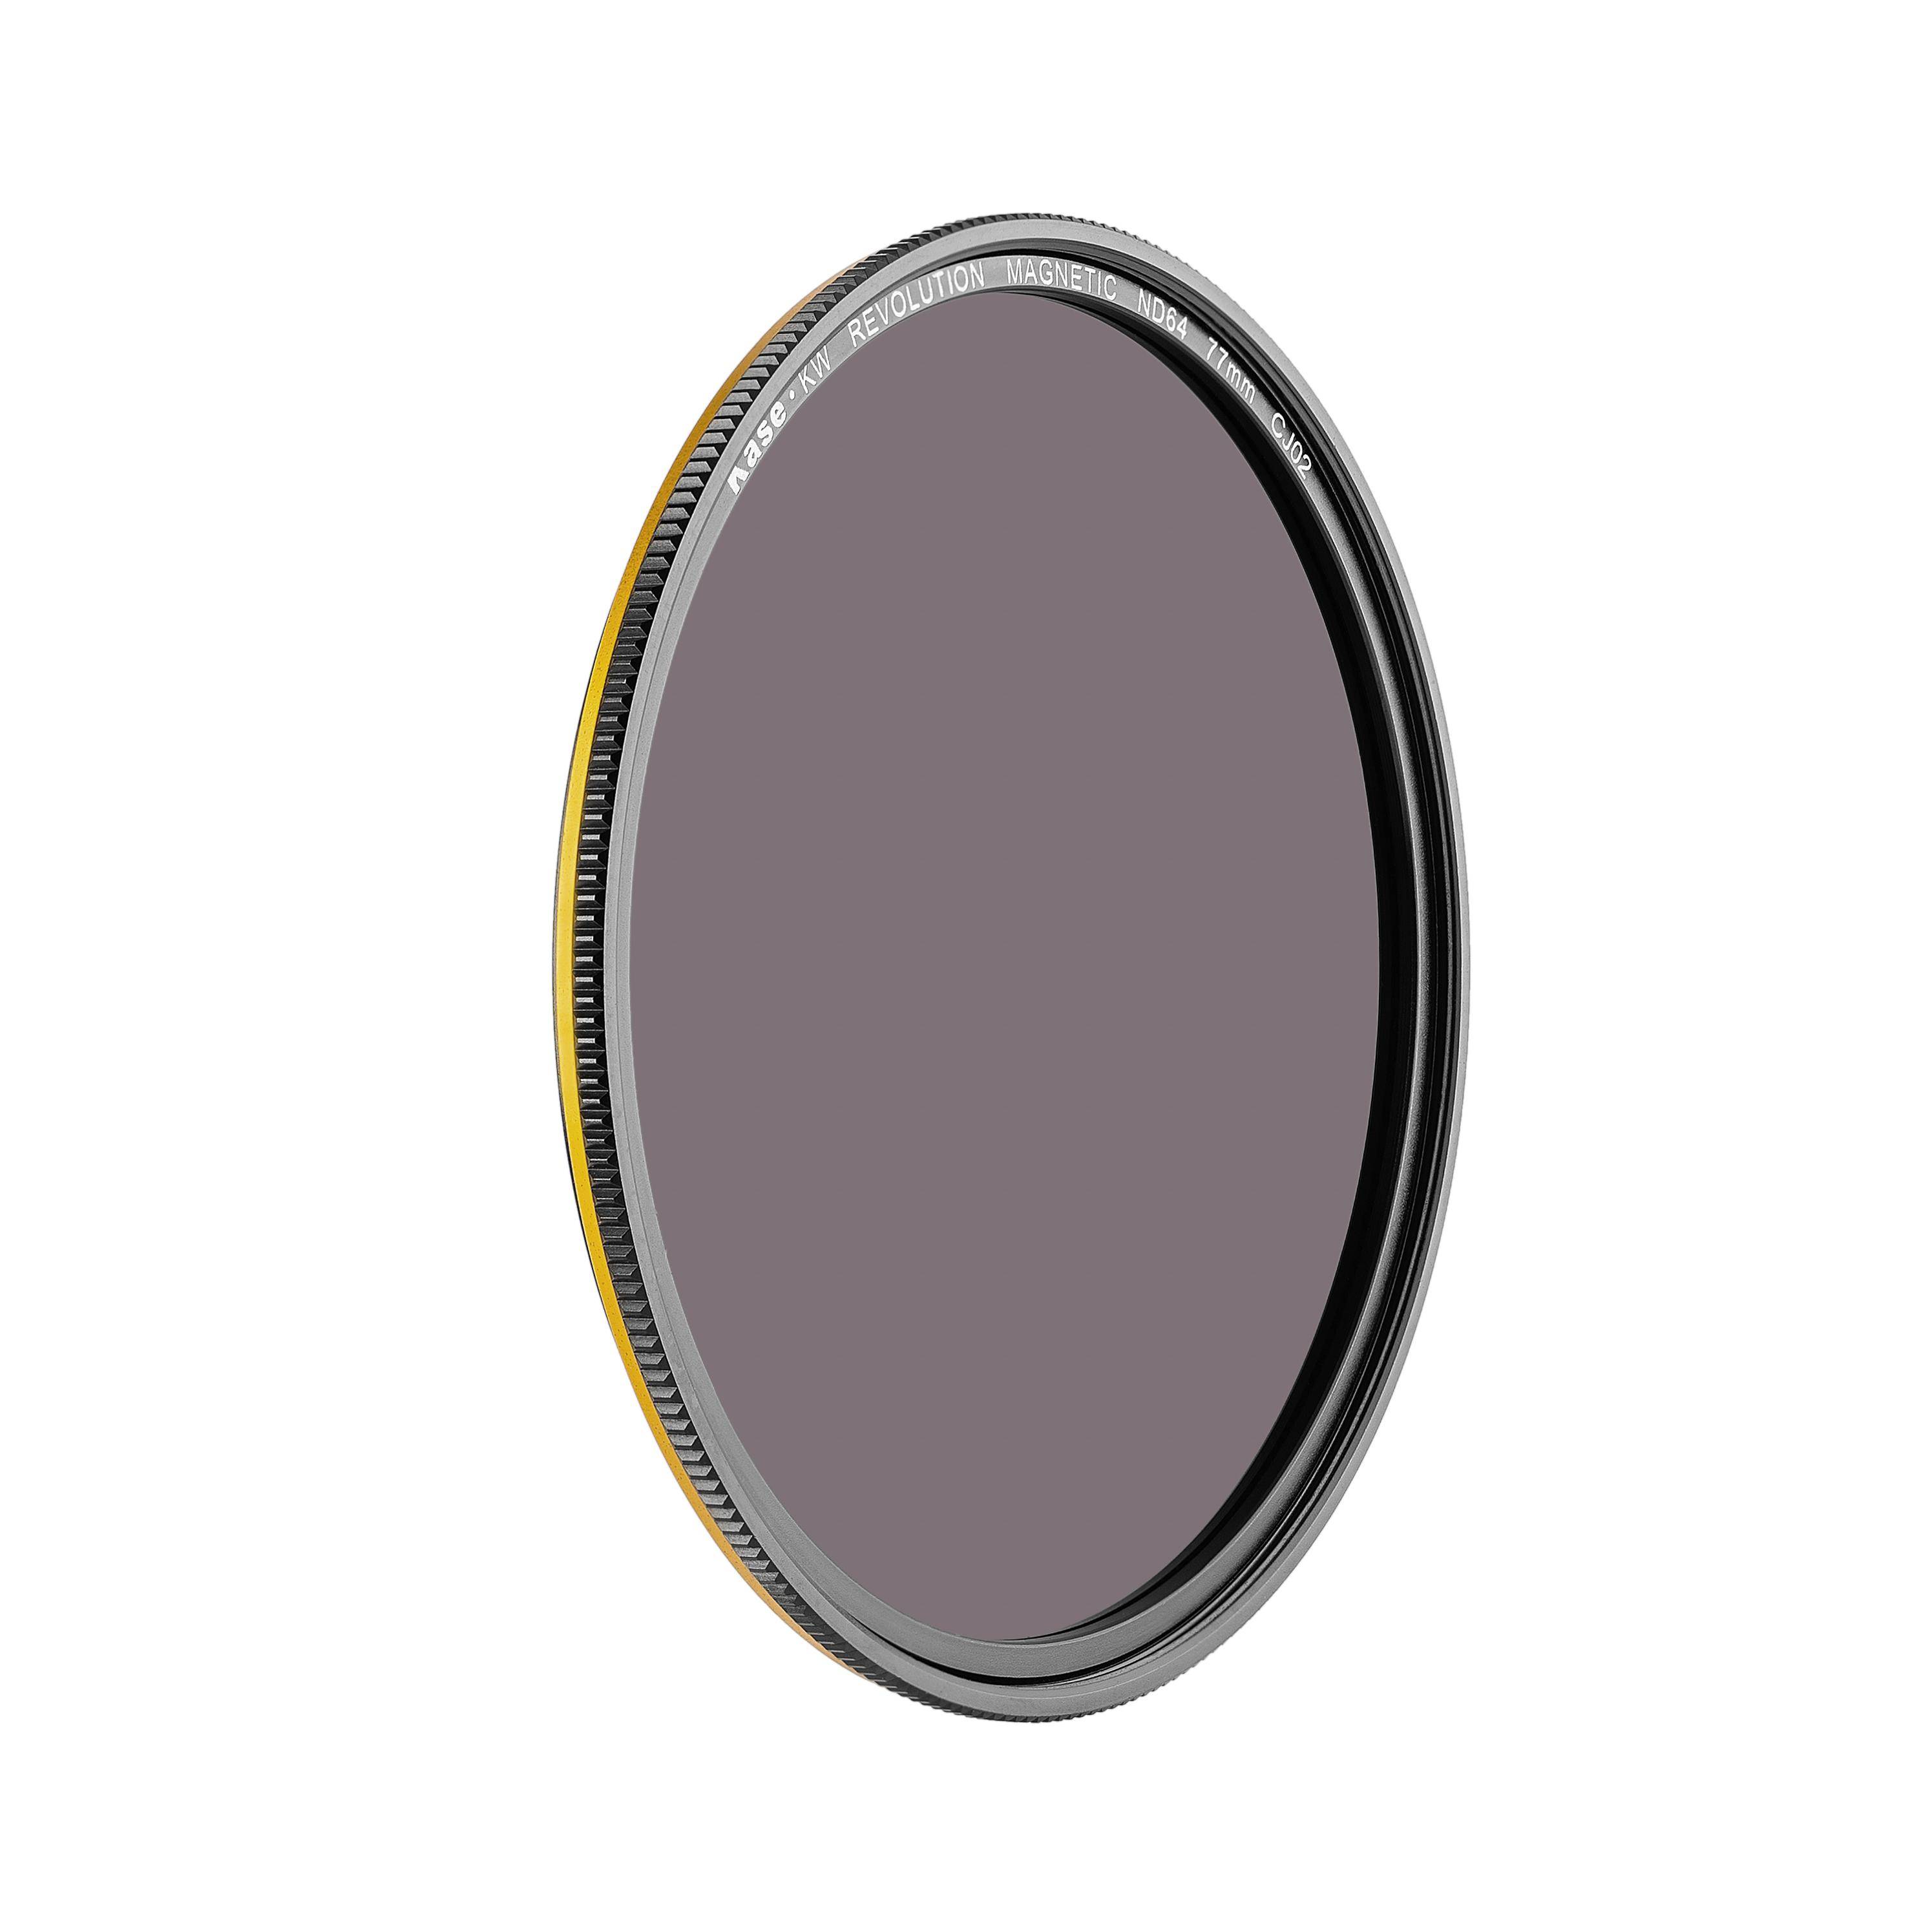
- Now if we use an ND64 100x150mm, for example, the calculation would be 0.008s x 64 = 0.512 seconds. This gives a shutter speed of about 1/2 second.
- However, these calculations can sometimes be impractical for landscape photography in nature. Our simple table can help you avoid the calculations.
ND filter table
Below is the simpler method using a conversion table. Reading it off is very simple: First, find out which ND filter you want to use. In the left column you will then find the time that you set on the camera for the test recording. In the right columns you will find the appropriate exposure time after you have installed the ND filter in front of the lens. The table can also be used the other way around, i.e. if you want to achieve a certain exposure time and you want to know which ND filter you should use for this.
ND Filter Exposure Table
Exposure times chart with different filter strengths
| Exposure time without ND filter | 3 Stops 0.9 ND8 | 4 Stops 1.2 ND16 | 5 Stops 1.5 ND32 | 6 Stops 1.8 ND64 | 7 Stops 2.1 ND128 | 8 Stops 2.4 ND256 | 9 Stops 2.7 ND512 | 10 Stops 3.0 ND1000 | 11 Stops 3.3 ND2000 | 15 Stops 4.5 ND32000 |
|---|---|---|---|---|---|---|---|---|---|---|
| 1/8000s | 1/1000s | 1/500s | 1/250s | 1/125s | 1/60s | 1/30s | 1/15s | 1/8s | 1/4s | 4s |
| 1/4000s | 1/500s | 1/250s | 1/125s | 1/60s | 1/30s | 1/15s | 1/8s | 1/4s | 1/2s | 8s |
| 1/2000s | 1/250s | 1/125s | 1/60s | 1/30s | 1/15s | 1/8s | 1/4s | 1/2s | 1s | 16s |
| 1/1000s | 1/125s | 1/60s | 1/30s | 1/15s | 1/8s | 1/4s | 1/2s | 1s | 2s | 32s |
| 1/500s | 1/60s | 1/30s | 1/15s | 1/8s | 1/4s | 1/2s | 1s | 2s | 4s | 1m 4s |
| 1/250s | 1/30s | 1/15s | 1/8s | 1/4s | 1/2s | 1s | 2s | 4s | 8s | 2m 8s |
| 1/125s | 1/15s | 1/8s | 1/4s | 1/2s | 1s | 2s | 4s | 8s | 16s | 4m 16s |
| 1/60s | 1/8s | 1/4s | 1/2s | 1s | 2s | 4s | 8s | 16s | 32s | 8m 52s |
| 1/30s | 1/4s | 1/2s | 1s | 2s | 4s | 8s | 16s | 32s | 1m 6s | 17m 6s |
| 1/15s | 1/2s | 1s | 2s | 4s | 8s | 16s | 32s | 1m 6s | 2m 13s | 33m 20s |
| 1/8s | 1s | 2s | 4s | 8s | 16s | 32s | 1m 4s | 2m 5s | 4m 10s | 1h 6m 40s |
| 1/4s | 2s | 4s | 8s | 16s | 32s | 1m 4s | 2m 8s | 4m 10s | 8m 20s | 2h 13m 20s |
| 1/2s | 4s | 8s | 16s | 32s | 1m 4s | 2m 8s | 4m 16s | 8m 20s | 16m 40s | 4h 26m 40s |
| 1s | 8s | 16s | 32s | 1m 4s | 2m 8s | 4m 16s | 8m 32s | 16m 40s | 33m 20s | 8h 46m 40s |
| 2s | 16s | 32s | 1m 4s | 2m 8s | 4m 16s | 8m 32s | 17m 4s | 33m 20s | 1h 6m 40s | 17h 23m 20s |
| 4s | 32s | 1m 4s | 2m 8s | 4m 16s | 8m 32s | 17m 4s | 34m 8s | 1h 6m 40s | 2h 13m 20s | 1d 12h 24m 32s |
| 8s | 1m 4s | 2m 8s | 4m 16s | 8m 32s | 17m 4s | 34m 8s | 1h 4m 18s | 2h 13m 20s | 4h 26m 40s | 3d 0h 49m 4s |
| 15s | 2m | 4m | 8m | 16m | 32m | 1h 4m 18s | 2h 13m | 4h 26m | 8h 53m | 5d 16h 32m |
| 30s | 4m | 8m | 16m | 32m | 1h 4m | 2h 8m 36s | 4h 26m | 8h 53m | 17h 6m | 11d 9h 4m |
Which effects can be achieved with a gray filter?
The gray filter is not only used to take photos in bright sunshine. A gray filter can be used to create a wide variety of effects, such as making people disappear from busy squares. As a rule of thumb, you can remember that the darker the gray filter, the stronger the effect that is achieved. The following effects are the most common and most requested by most photographers:
- When shooting architecture, you can make people disappear
- Wiping effects on water or clouds
- Solid light trails can be generated by moving cars
What tools do you need for long exposures with a gray filter?
Especially when photographing landscapes and buildings, an image that is not blurred is essential. The following equipment is almost mandatory so that the selected motif is represented perfectly in the photo.
- Stable and not too heavy tripod
- remote trigger
- Correction table or a calculator for setting the exposure times
By activating the mirror preset, the mirror of the camera is already folded up before the actual picture is taken. The mirror then remains in this position. If you then press the shutter button on the camera, the shock caused by the folding up of the mirror has already happened. Then only the "curtain" of the camera is opened to carry out the exposure, which means that the folding of the mirror can no longer have a negative effect on the image.
Top seller
In Stock
In Stock
Average rating of 5 out of 5 stars
In Stock
In Stock
In Stock
In Stock
Preorder possible
Preorder possible
Average rating of 4 out of 5 stars
Preorder possible


