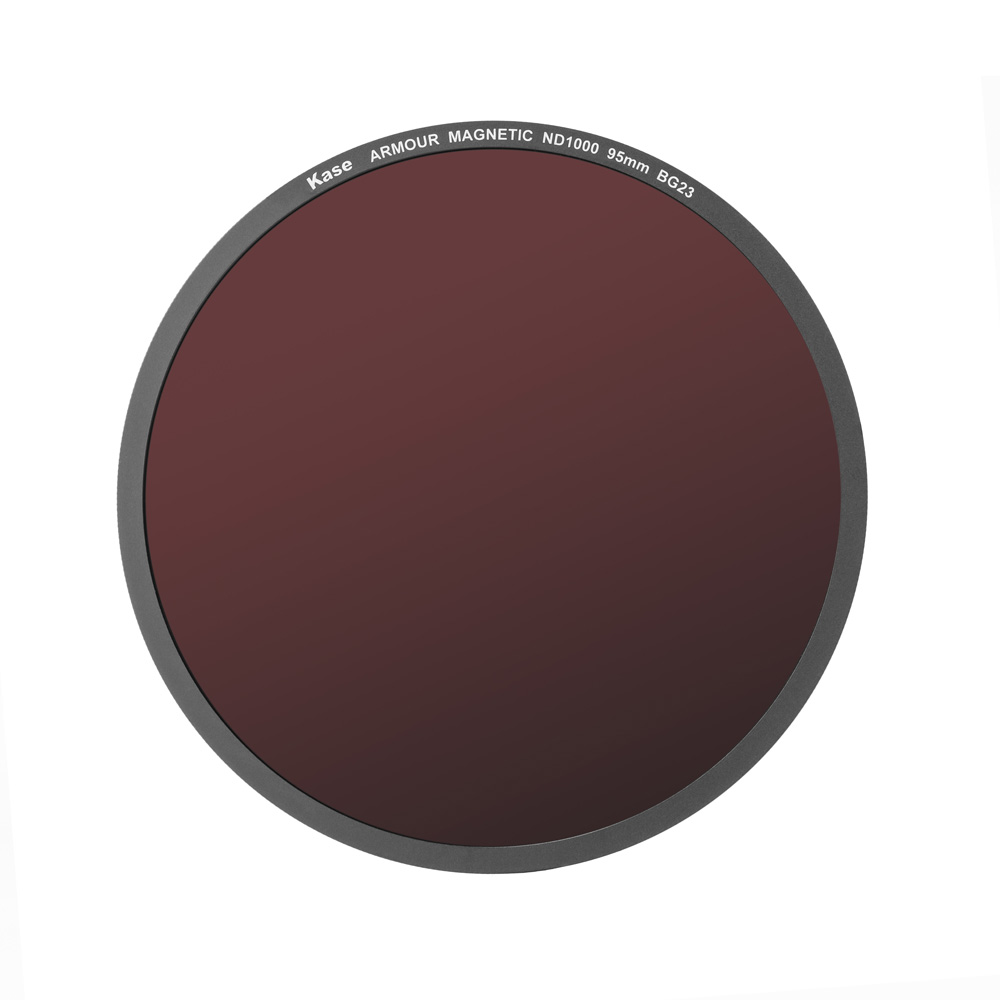
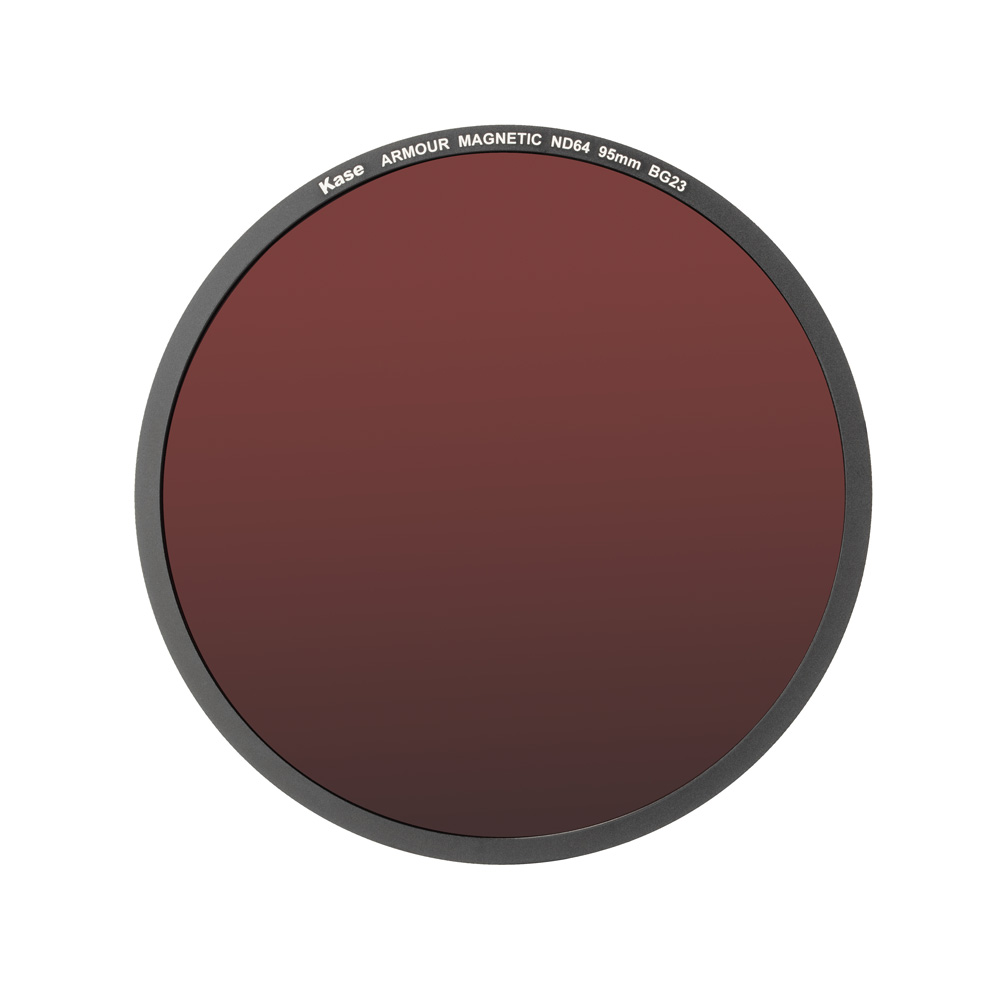
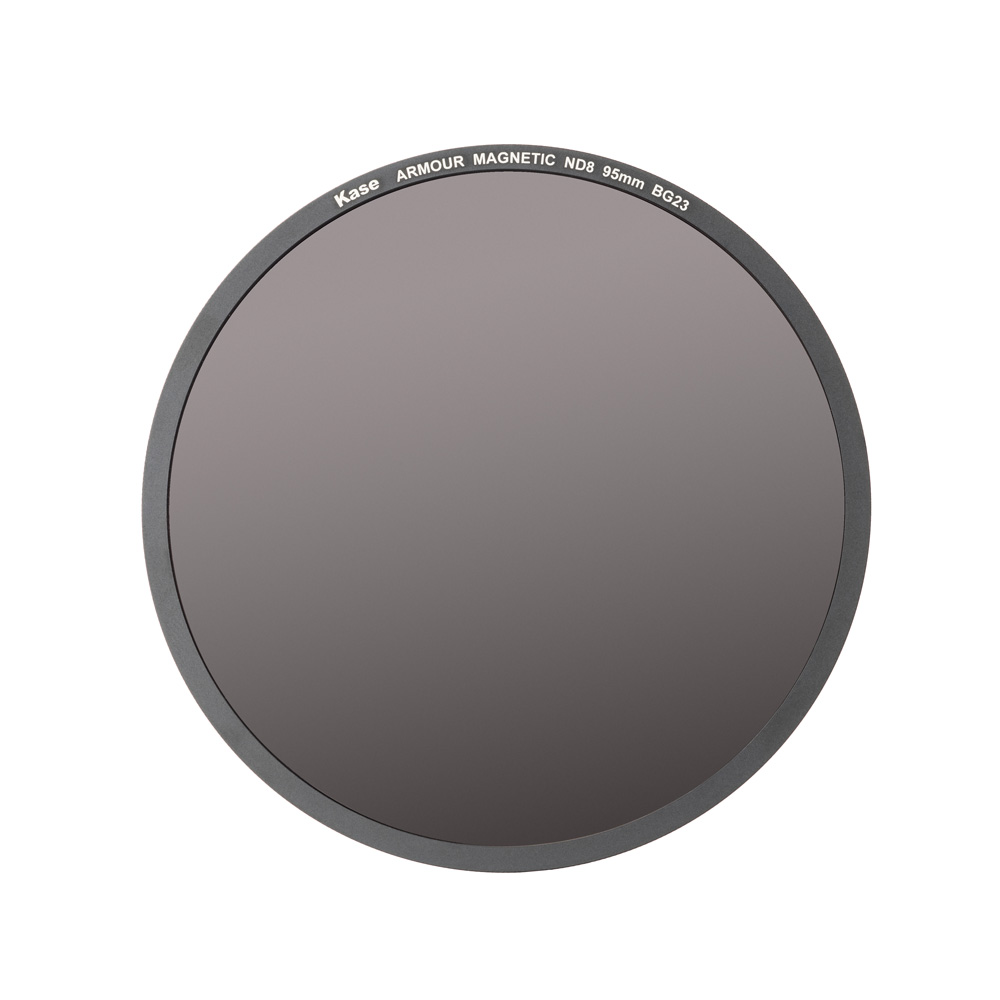
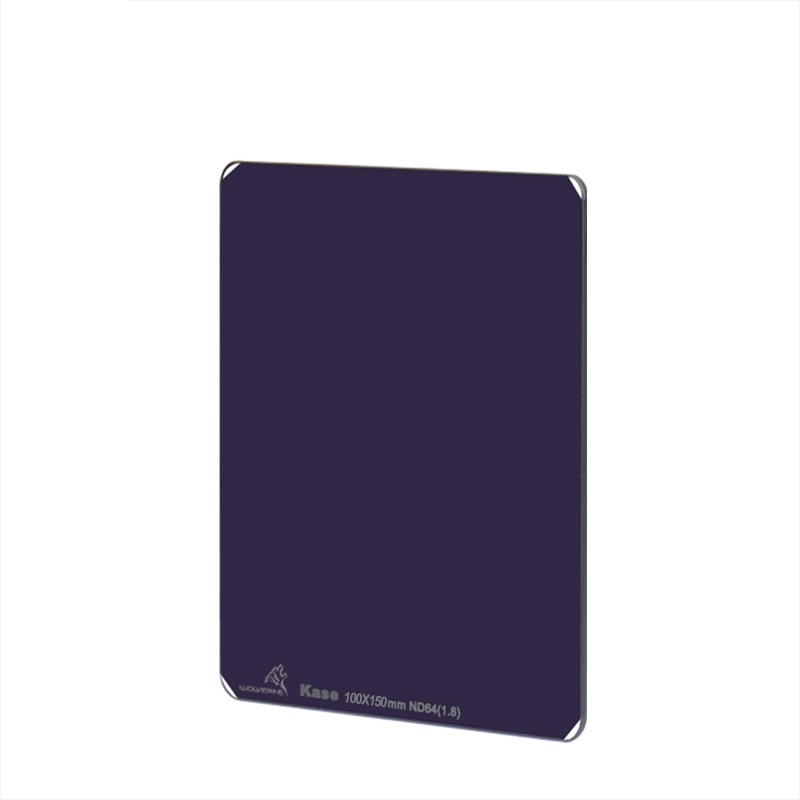
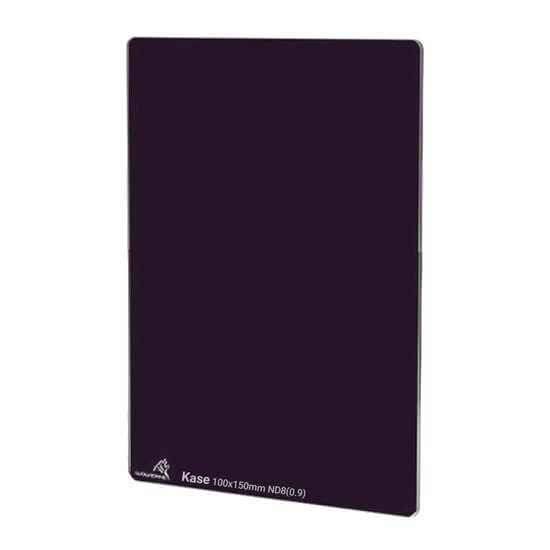
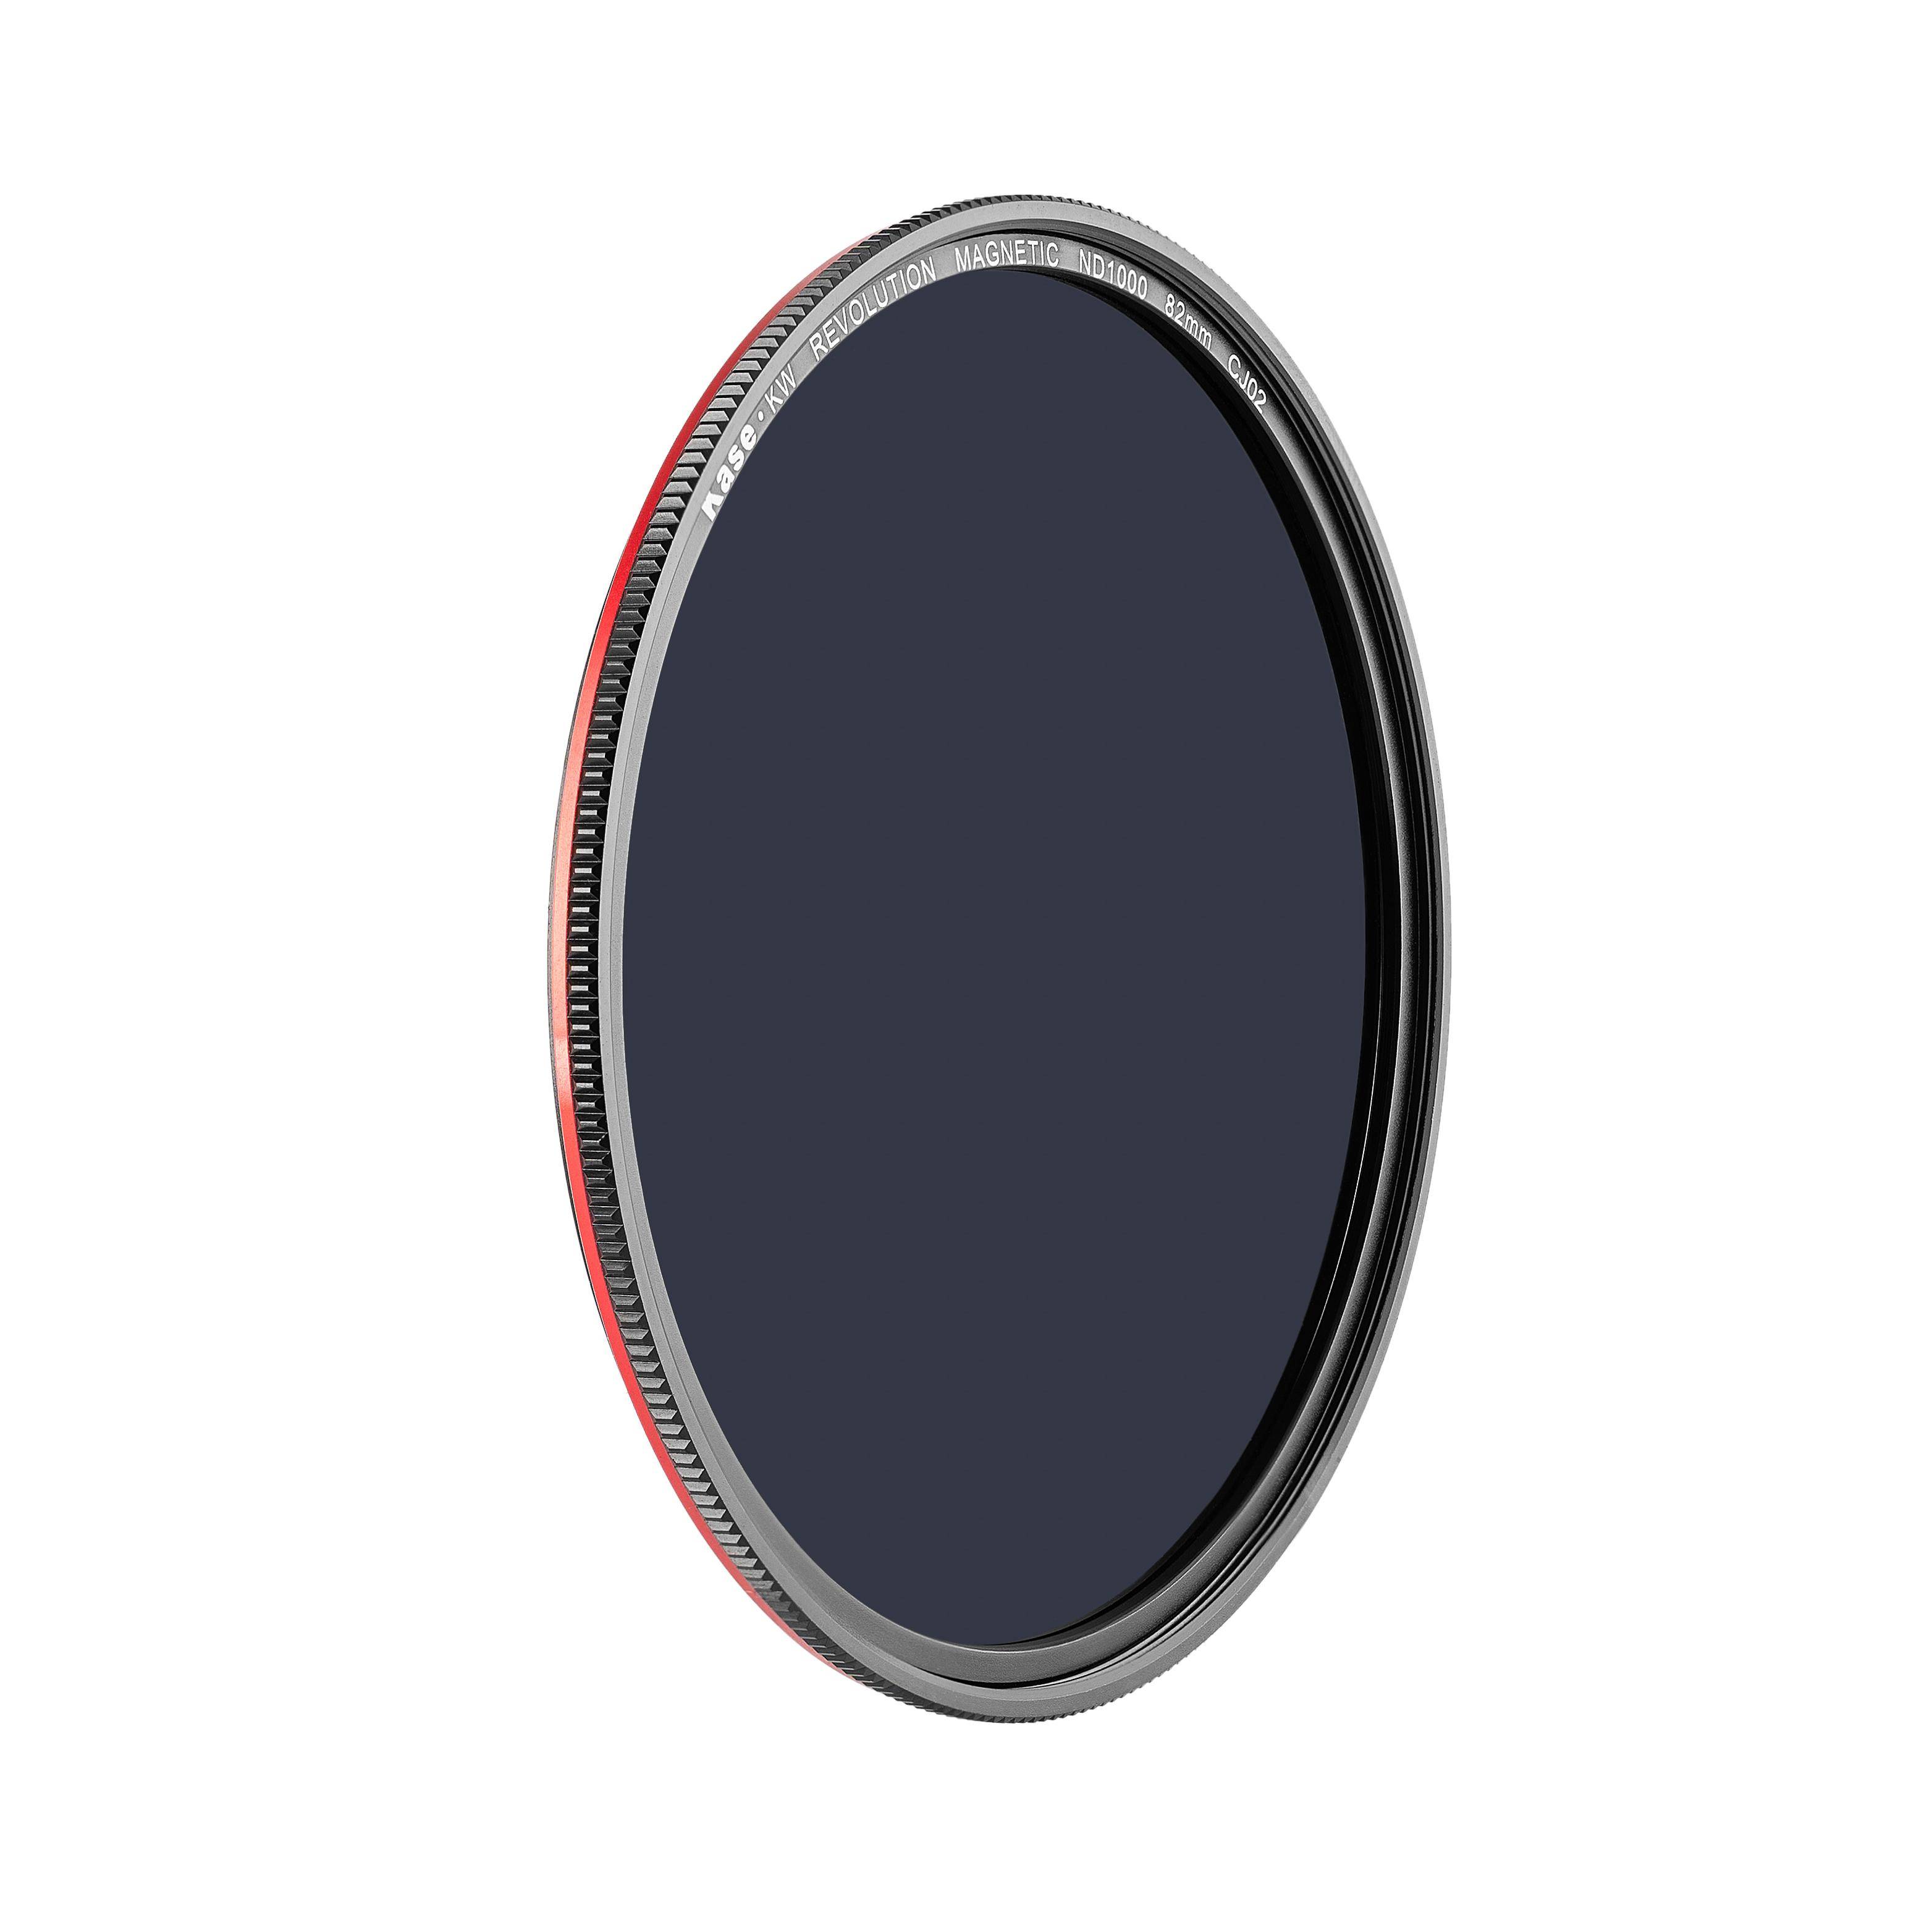
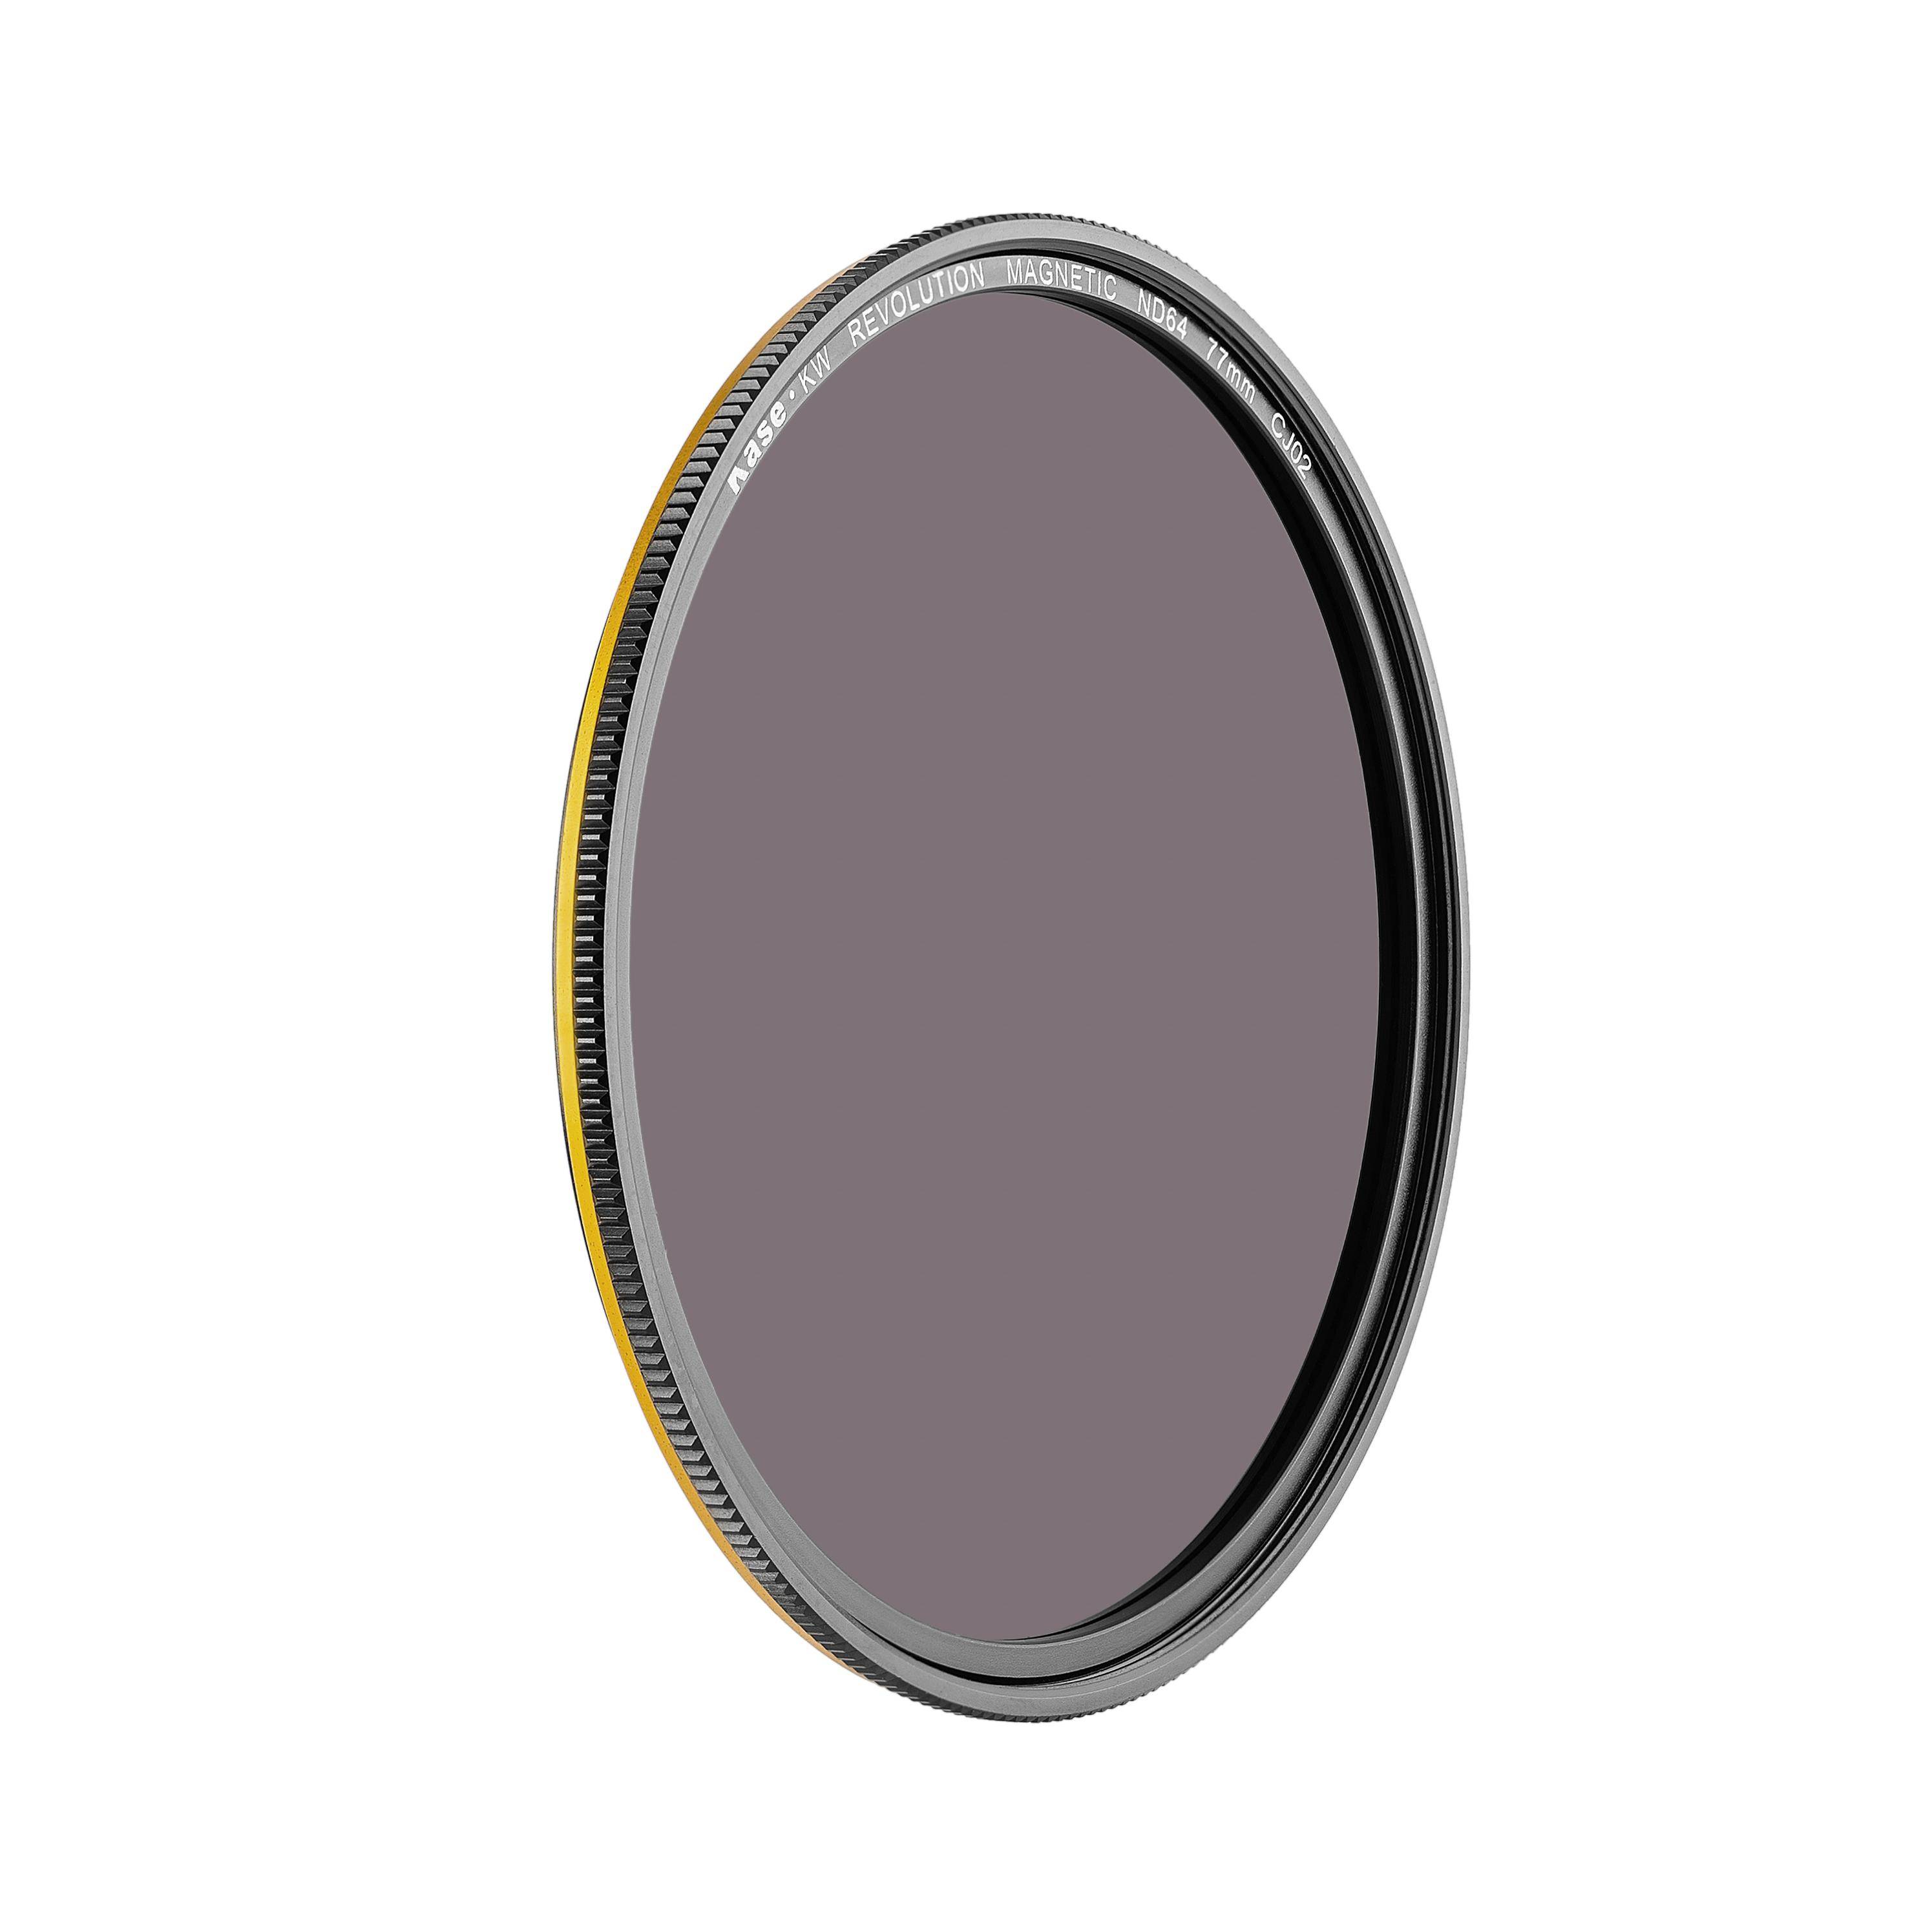
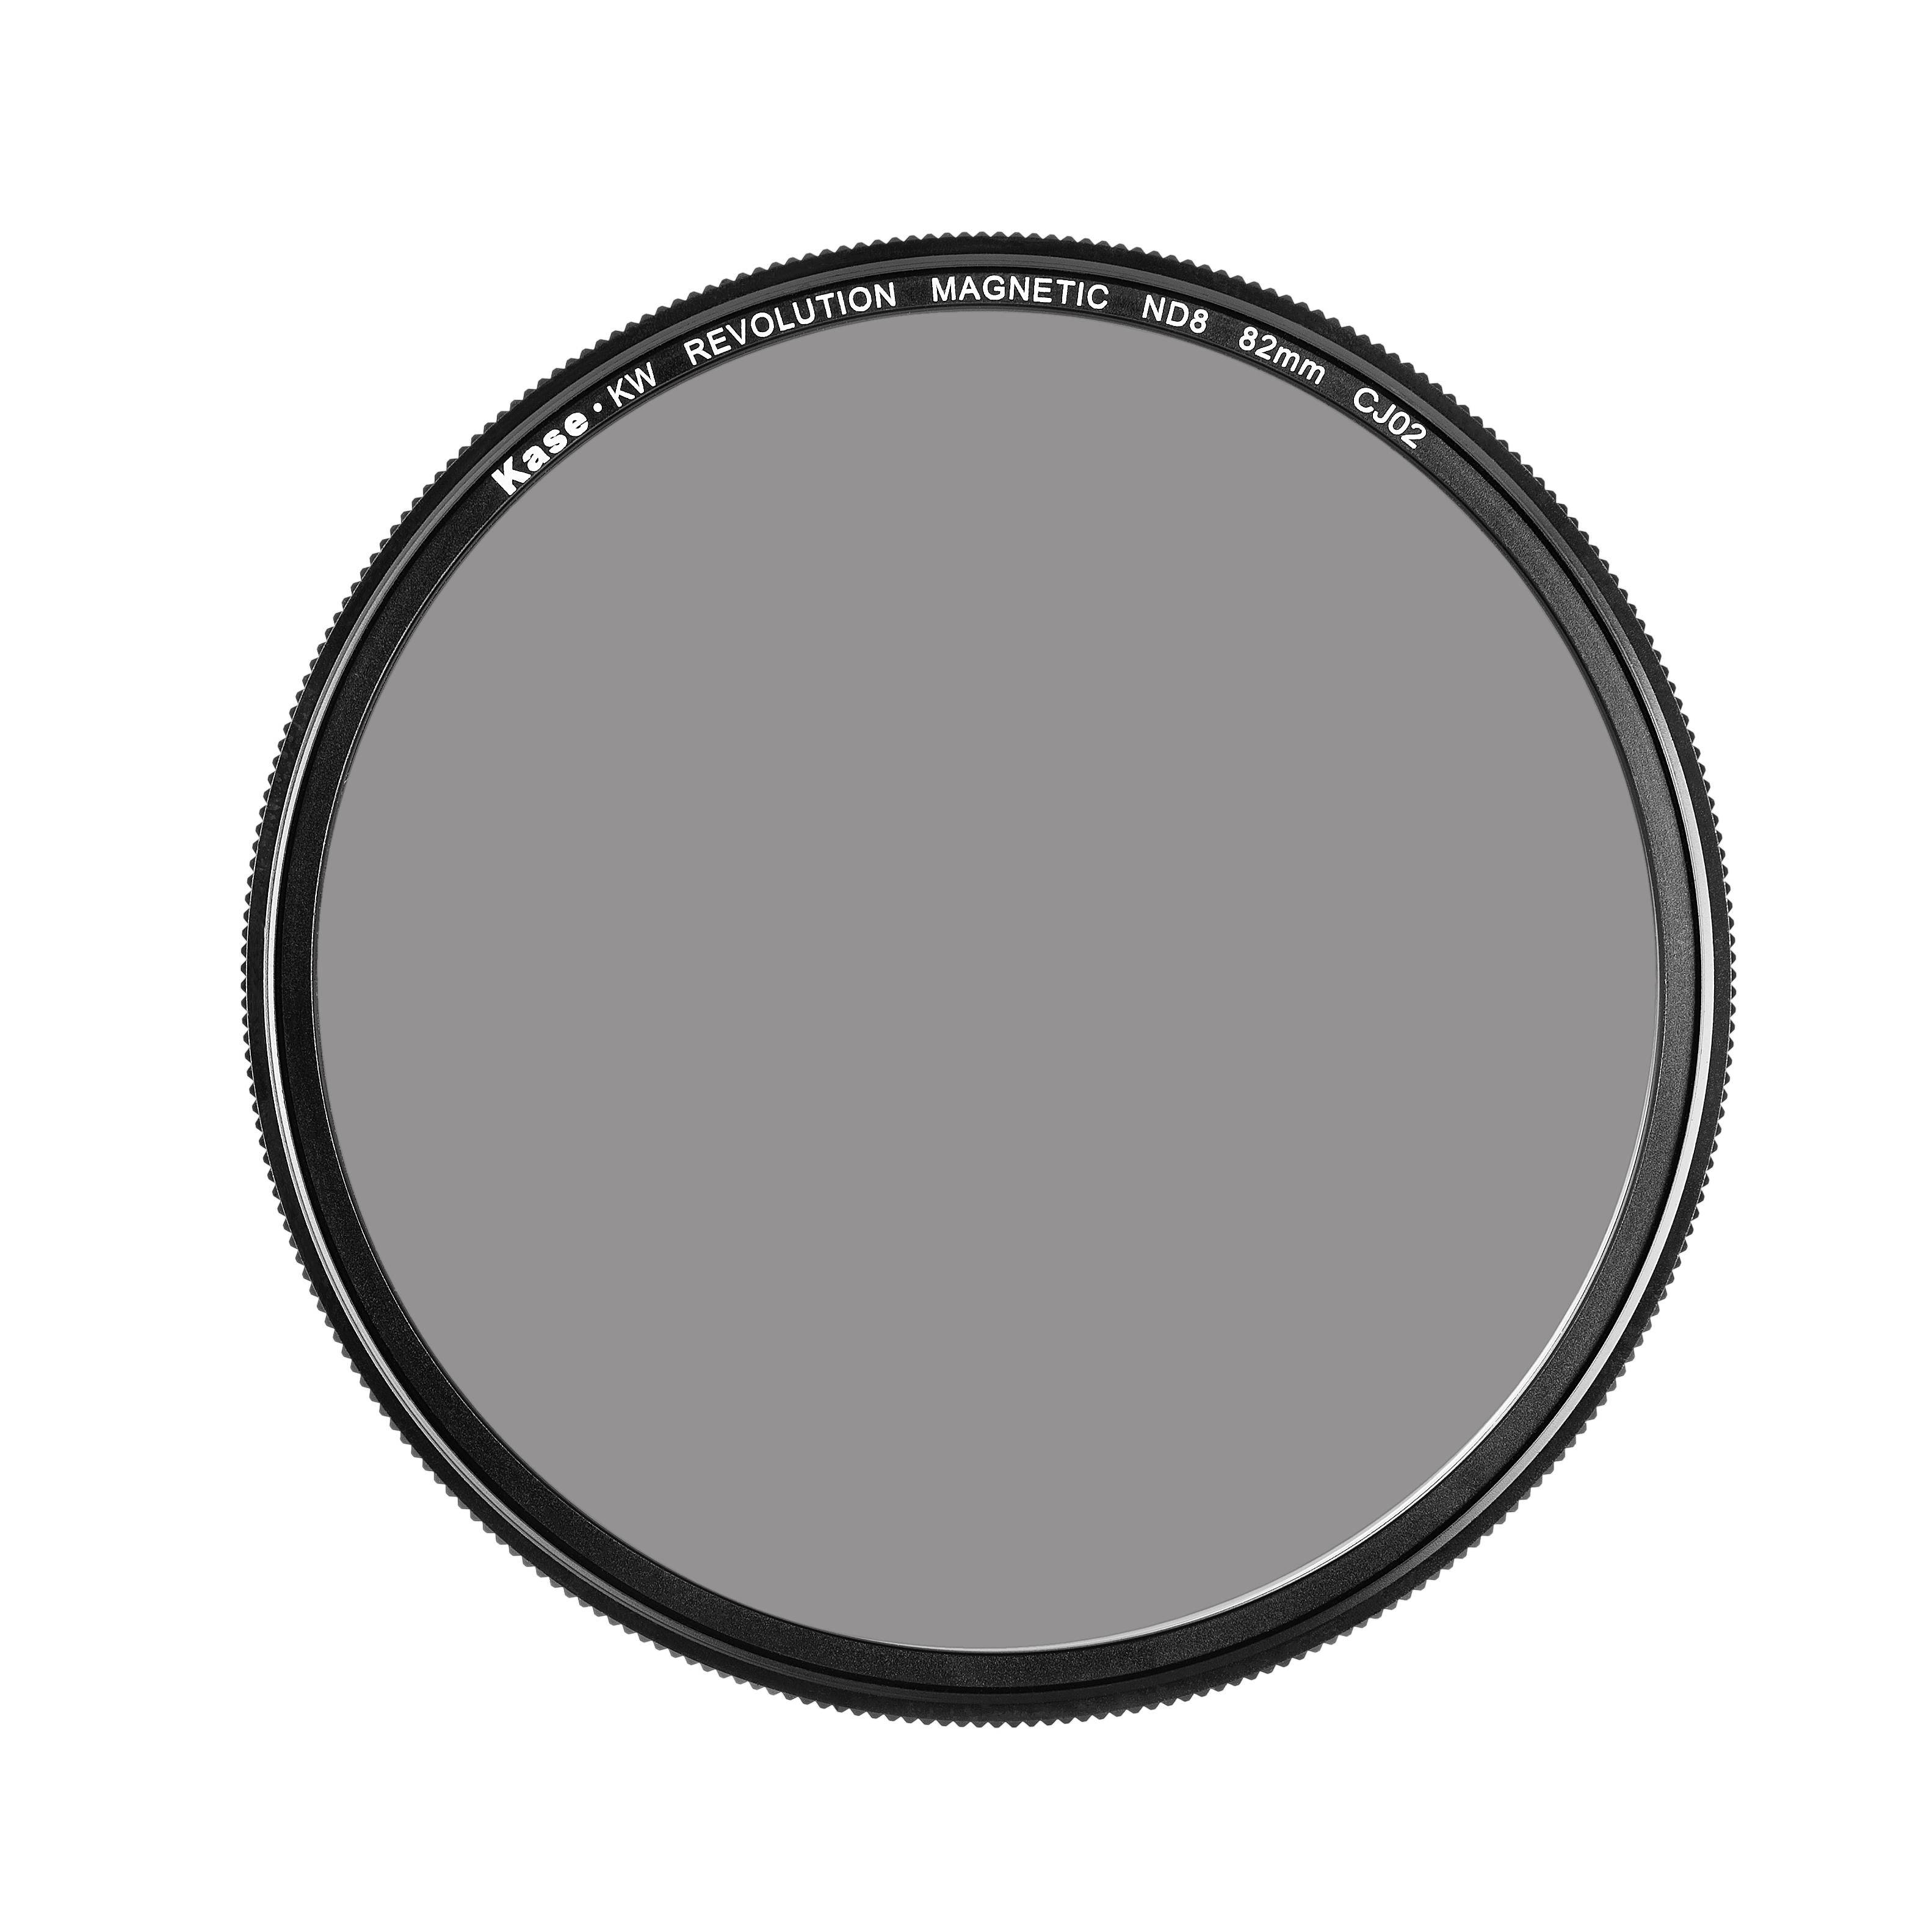
Um das Verständnis generell erst einmal herzustellen, ist es wichtig zu wissen um wie viele Blenden ein ND Filter verdunkelt. Die unterschiedlichen Stärken der Filter geben an, um wie viele Blenden dieser das Licht vermindert. So verdunkelt ein ND8 Filter beispielsweise um 3 Blendenstufen, ein ND1000 Filter um 10. Mit diesem Wissen sollten Sie als Fotograf die nachfolgende Berechnung einfacher verstehen können.
Berechnung der Verschlusszeiten mit ND Filter
Die Berechnung der Verschlusszeiten mit Graufilter ist ein einfacher Vorgang, der nur wenige Schritte erfordert und für jeden Fotografen problemlos möglich sein sollte. Ein Taschenrechner ist bei dem Vorgehen von Vorteil, diesen hat man aber in Form seines Handys eigentlich immer bei sich. Die notwendigen Schritte sehen Sie hier:
- Zuerst installiert man alle Filter mit Ausnahme des Graufilters in seinem Filterhalter oder schraubt diese direkt auf das Objektiv. Dann macht man eine korrekt belichtete Probeaufnahme, und merkt sich die Länge der Belichtungszeit. In unserem Beispiel 1/125 Sekunden.
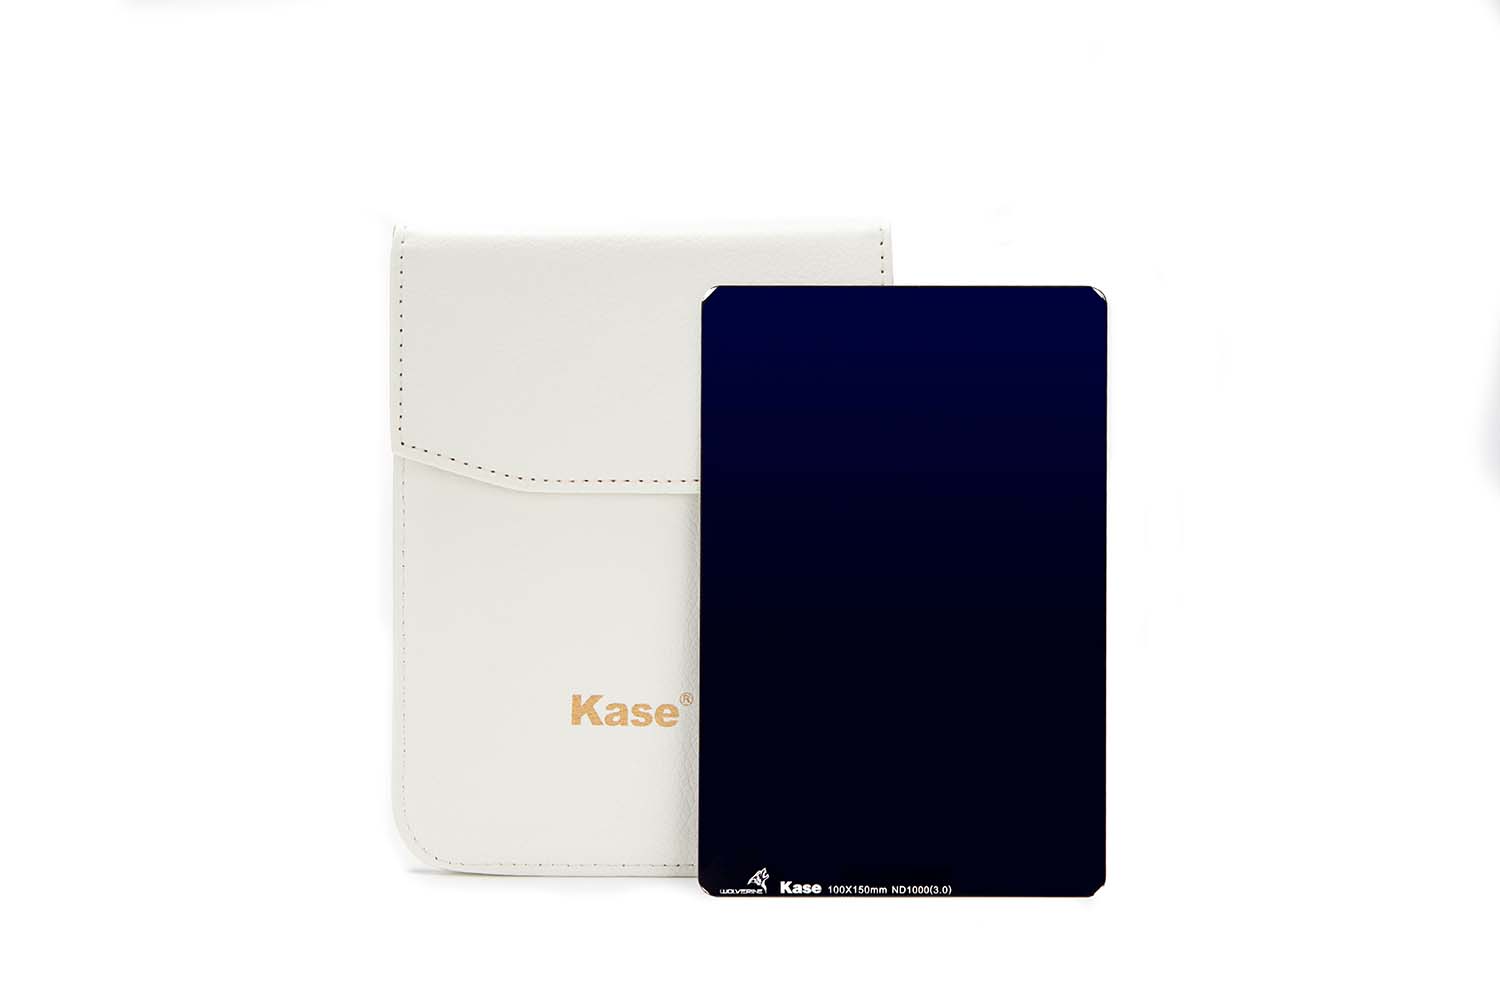
- Jetzt montieren wir den Graufilter, beispielsweise den Kase ND1000 100x150 mm, und merken, dass die Bezeichnung ND1000 lautet. Die 1000 gibt dabei an, mit welchem Wert die Verschlusszeit multipliziert werden muss wenn der Filter montiert wurde. Denn mit montiertem Filter, trifft 1000-mal weniger Licht auf den Sensor. Deswegen muss die Belichtungszeit um das 1000-fache verlängert werden.
- Wenn eine Verschlusszeit vom Bruchteil einer Sekunde von der Kamera ausgegeben wurde (hier 1/125s), sollte der Wert in Sekunden umgerechnet werden. So entspricht 1/125s = 0,008 Sekunden, also 1 geteilt durch 125.
- Dieser Wert wird mit 1000 multipliziert, das bedeutet 0,008s x 1000 = 8 Sekunden. Also ist dies die benötigte Belichtungszeit, um eine Aufnahme mit derselben Belichtung nach Anbringung des ND1000 Graufilters zu erzielen. Im Standardmodus der Kamera werden daraufhin 15 Sekunden eingestellt, da das der nächste Wert ist, der eingestellt werden kann. Auch möglich wäre es, die Belichtungszeit mit einer Timer Fernbedienung die exakte Belichtung von 16 Sekunden einzustellen.
- Wenn wir nun beispielsweise einen ND64 100x150 mm benutzen, würde die Berechnung 0,008s x 64 = 0,512 Sekunden lauten. Das ergibt eine Verschlusszeit von ungefähr 1/2 Sekunde.
Diese Berechnungen können bei der Landschaftsfotografie in der Natur dennoch teilweise unpraktisch sein. Unsere einfache Tabelle kann Ihnen dabei helfen die Berechnungen zu umgehen.
ND-Filter Tabelle
Unten finden Sie nun die einfachere Methode mit Hilfe einer Umrechnungstabelle. Das Ablesen ist dabei sehr simpel: Zuerst suchen Sie sich den ND-Filter heraus, den Sie verwenden wollen. In der linken Spalte finden Sie dann die Zeit, die Sie bei der Probeaufnahme an der Kamera eingestellt haben. In den rechten Spalten finden Sie die passende Belichtungszeit, nachdem Sie den ND-Filter vor dem Objektiv installiert haben. Die Tabelle lässt sich auch andersherum verwenden, wenn Sie also eine bestimmte Belichtungszeit erreichen möchten und wissen wollen, welchen ND-Filter Sie dafür verwenden sollten.
ND Filter Exposure Table
Exposure times chart with different filter strengths
| Exposure time without ND filter | 3 Stops 0.9 ND8 | 4 Stops 1.2 ND16 | 5 Stops 1.5 ND32 | 6 Stops 1.8 ND64 | 7 Stops 2.1 ND128 | 8 Stops 2.4 ND256 | 9 Stops 2.7 ND512 | 10 Stops 3.0 ND1000 | 11 Stops 3.3 ND2000 | 15 Stops 4.5 ND32000 |
|---|---|---|---|---|---|---|---|---|---|---|
| 1/8000s | 1/1000s | 1/500s | 1/250s | 1/125s | 1/60s | 1/30s | 1/15s | 1/8s | 1/4s | 4s |
| 1/4000s | 1/500s | 1/250s | 1/125s | 1/60s | 1/30s | 1/15s | 1/8s | 1/4s | 1/2s | 8s |
| 1/2000s | 1/250s | 1/125s | 1/60s | 1/30s | 1/15s | 1/8s | 1/4s | 1/2s | 1s | 16s |
| 1/1000s | 1/125s | 1/60s | 1/30s | 1/15s | 1/8s | 1/4s | 1/2s | 1s | 2s | 32s |
| 1/500s | 1/60s | 1/30s | 1/15s | 1/8s | 1/4s | 1/2s | 1s | 2s | 4s | 1m 4s |
| 1/250s | 1/30s | 1/15s | 1/8s | 1/4s | 1/2s | 1s | 2s | 4s | 8s | 2m 8s |
| 1/125s | 1/15s | 1/8s | 1/4s | 1/2s | 1s | 2s | 4s | 8s | 16s | 4m 16s |
| 1/60s | 1/8s | 1/4s | 1/2s | 1s | 2s | 4s | 8s | 16s | 32s | 8m 52s |
| 1/30s | 1/4s | 1/2s | 1s | 2s | 4s | 8s | 16s | 32s | 1m 6s | 17m 6s |
| 1/15s | 1/2s | 1s | 2s | 4s | 8s | 16s | 32s | 1m 6s | 2m 13s | 33m 20s |
| 1/8s | 1s | 2s | 4s | 8s | 16s | 32s | 1m 4s | 2m 5s | 4m 10s | 1h 6m 40s |
| 1/4s | 2s | 4s | 8s | 16s | 32s | 1m 4s | 2m 8s | 4m 10s | 8m 20s | 2h 13m 20s |
| 1/2s | 4s | 8s | 16s | 32s | 1m 4s | 2m 8s | 4m 16s | 8m 20s | 16m 40s | 4h 26m 40s |
| 1s | 8s | 16s | 32s | 1m 4s | 2m 8s | 4m 16s | 8m 32s | 16m 40s | 33m 20s | 8h 46m 40s |
| 2s | 16s | 32s | 1m 4s | 2m 8s | 4m 16s | 8m 32s | 17m 4s | 33m 20s | 1h 6m 40s | 17h 23m 20s |
| 4s | 32s | 1m 4s | 2m 8s | 4m 16s | 8m 32s | 17m 4s | 34m 8s | 1h 6m 40s | 2h 13m 20s | 1d 12h 24m 32s |
| 8s | 1m 4s | 2m 8s | 4m 16s | 8m 32s | 17m 4s | 34m 8s | 1h 4m 18s | 2h 13m 20s | 4h 26m 40s | 3d 0h 49m 4s |
| 15s | 2m | 4m | 8m | 16m | 32m | 1h 4m 18s | 2h 13m | 4h 26m | 8h 53m | 5d 16h 32m |
| 30s | 4m | 8m | 16m | 32m | 1h 4m | 2h 8m 36s | 4h 26m | 8h 53m | 17h 6m | 11d 9h 4m |
Welche Effekte lassen sich mit einem Graufilter erzielen?
Der Graufilter kommt nicht nur zum Einsatz, um bei strahlendem Sonnenschein zu fotografieren. Mit einem Graufilter lassen sich die unterschiedlichsten Effekte erzeugen, wie beispielsweise das Verschwinden lassen von Menschen auf belebten Plätzen. Als Faustregel kann man sich merken, dass je dunkler der Graufilter ist, desto stärker ist auch der erzielte Effekt. Die folgenden Effekte, sind die Gängigsten und von den meisten Fotografen am häufigsten gewünscht:
- Bei Architekturaufnahmen kann man Personen verschwinden lassen
- Wischeffekte bei Wasser oder bei Wolken
- Durchgezogene Lichtspuren können bei fahrenden Autos erzeugt werden
Welche Hilfsmittel benötigt man bei Langzeitbelichtungen mit Graufilter?
Besonders beim Fotografieren von Landschaften und Gebäuden ist ein nicht verwackeltes Bild essentiell. Damit das ausgewählte Motiv auch auf dem Foto perfekt dargestellt wird, ist das folgende Equipment fast Pflicht.
- Stabiles und nicht zu schweres Stativ
- Fernauslöser
- Korrekturtabelle oder ein Taschenrechner für das Einstellen der Belichtungszeiten
Selbst mit einem sehr guten und stabilen Stativ kann es dazu kommen, dass Unschärfe im Bild auftreten. Dies liegt dann aber meistens nicht an einem unzureichend festen Stand, sondern an der Spiegelvorauslösung der Kamera. Um die perfekte Aufnahme zu erzeugen, ist es deswegen wichtig selbst die kleinsten Erschütterungen zu vermeiden. Um das zu erreichen, kann man einfach bei Spiegelreflexkameras die Spiegelvorauslösung einschalten.
Durch die Aktivierung der Spiegelvoreinstellung wird der Spiegel der Kamera bereits vor der eigentlichen Aufnahme hochgeklappt. In dieser Position verharrt der Spiegel dann. Drückt man dann den Auslöser der Kamera, ist die Erschütterung durch das Hochklappen des Spiegels schon geschehen. Dann wird lediglich der "Vorhang" der Kamera geöffnet, um die Belichtung durchzuführen, dadurch kann das Spiegelklappen keine negative Wirkung mehr auf das Bild haben.


